

Näin valmistelet kuvan sublimointia varten (ennen kuin hukkaat aihion)
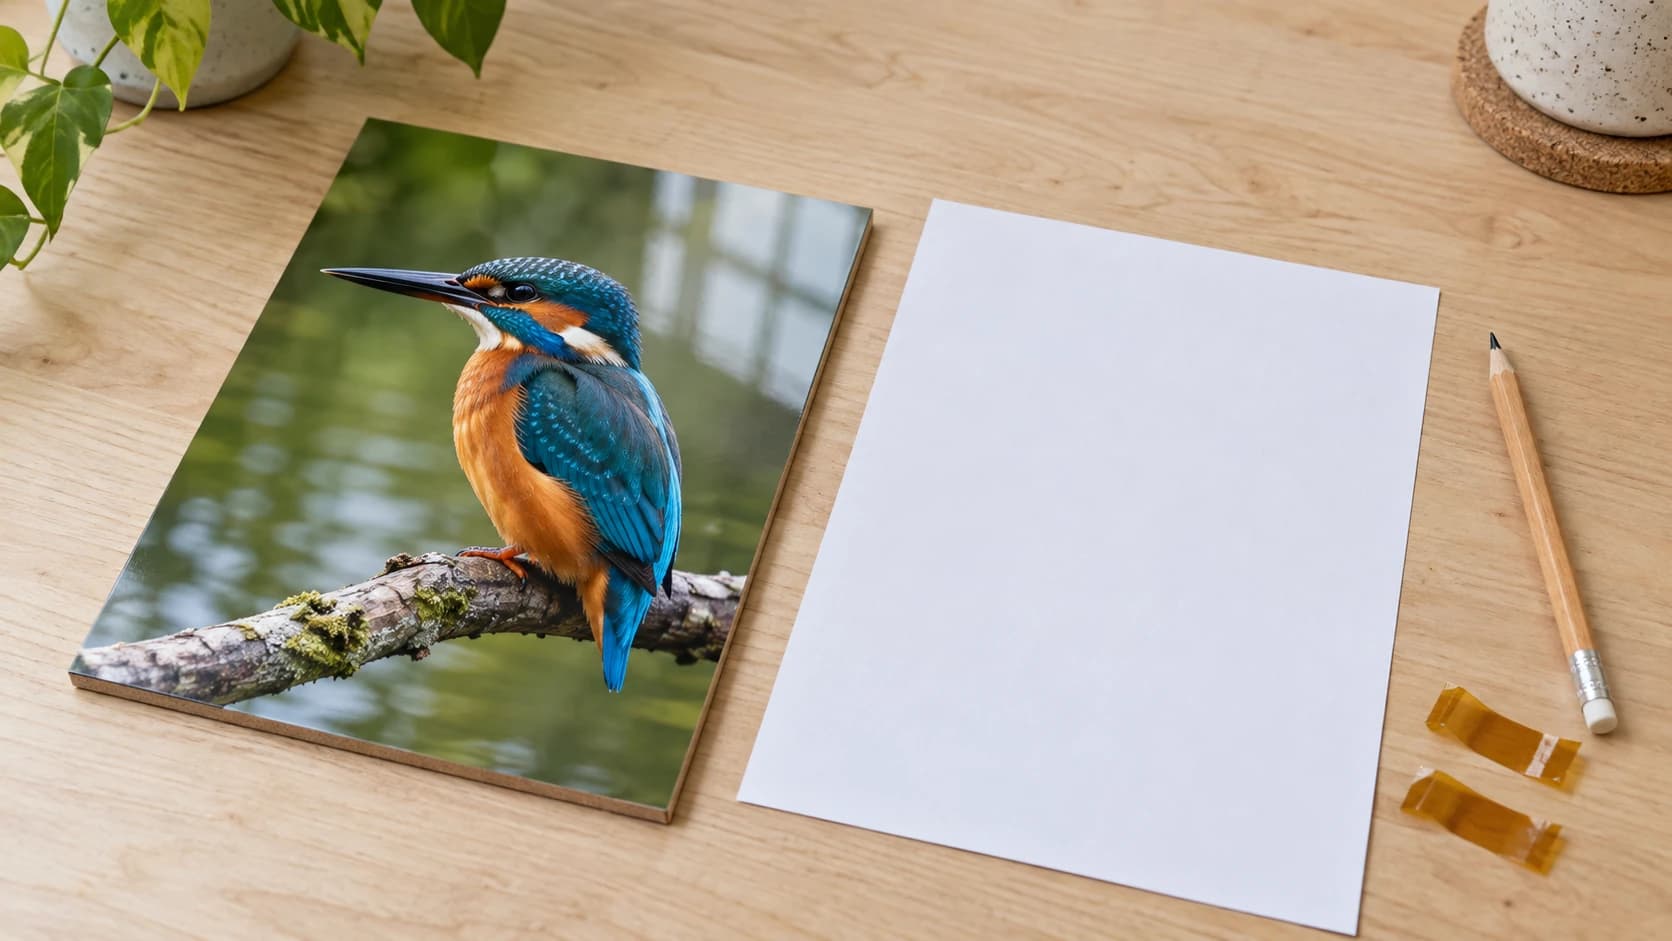
Kuvio näytti näytöllä täydelliseltä. Prässistä se tuli ulos pehmeäreunaisena, ja taustalla näkyi himmeästi hieman erikiiltoinen suorakulmio, vaikka olit varma, että tausta oli valkoinen.
Prässissä ei mennyt mikään pieleen. Tiedostossa meni, noin kaksikymmentä minuuttia aiemmin, ja prässi vain toisensi sen erinomaisesti täydessä koossa.
Sublimointi on poikkeuksellisen armoton lähdekuville. Päällä ei ole peittävää kerrosta eikä valkoista mustetta, jonka päälle rakentaa, joten jokainen tiedoston virhe päätyy suoraan materiaaliin. Hyvä uutinen on, että kyse on aina samoista neljästä asiasta.
Resoluutio: laske kerran oikein
Ainoa merkityksellinen kysymys on, kuinka monta pikseliä sinulla on tulostuskoossa, ei se, kuinka suurelta kuva näyttää näytöllä.
Laskutoimitus on helppo. Kerro valmiin tulosteen mitat tavoiteresoluutiolla:
- 10 tuumaa leveä paitatuloste 300 DPI:llä tarvitsee kuvan, joka on 3000 pikseliä leveä
- 9 x 4 tuuman mukikääre 300 DPI:llä tarvitsee 2700 x 1200 pikseliä
- 5 x 7 tuuman valokuvapaneeli 300 DPI:llä tarvitsee 1500 x 2100 pikseliä
300 DPI on valokuvatasoisen tulostuksen yleinen tavoite. Jonkin verran pienemmälläkin resoluutiolla tuloste on yhä käyttökelpoinen, etenkin kankaalla, jonka kudos peittää paljon, mutta teräväreunainen grafiikka ja teksti kärsivät pienestä resoluutiosta paljon valokuvia enemmän.
Varoitus
Asiakkaan lähettämä 600 pikselin logo on noin 55 DPI, kun se venytetään 11 tuuman mukikääreen kokoiseksi. Sen suurentaminen suunnitteluohjelmassa ei lisää yksityiskohtia, vaan tekee olemassa olevasta sumennuksesta suuremman. Tämä on ylivoimaisesti yleisin syy pettymykseen sublimointitulosteessa.
Ratkaisu on tekoälypohjainen suurennus, joka rekonstruoi yksityiskohtia suurentaessaan sen sijaan, että levittäisi olemassa olevan kuvan. Käsittele kuva [PixelPrep]-työkalulla (/tools/pixel-prep) ja valitse tila kuvan mukaan: Art and Logo pitää logojen, leikekuvien ja viivapiirrosten terävät reunat terävinä, kun taas Photo säilyttää ihmisten, lemmikkien ja paikkojen valokuvien luonnollisen tekstuurin. Väärän tilan käyttö näkyy selvästi. Logo pehmenee Photo-tilassa, ja muotokuva näyttää muoviselta Art and Logo -tilassa.
TULOSTA. LEIKKAA. KAIVERRA.



- Useita formaatteja (SVG, DXF, PNG)
- Koneella testatut mallit
- Kaupalliset käyttöoikeudet
PrintCutCarve.comin sponsoroima
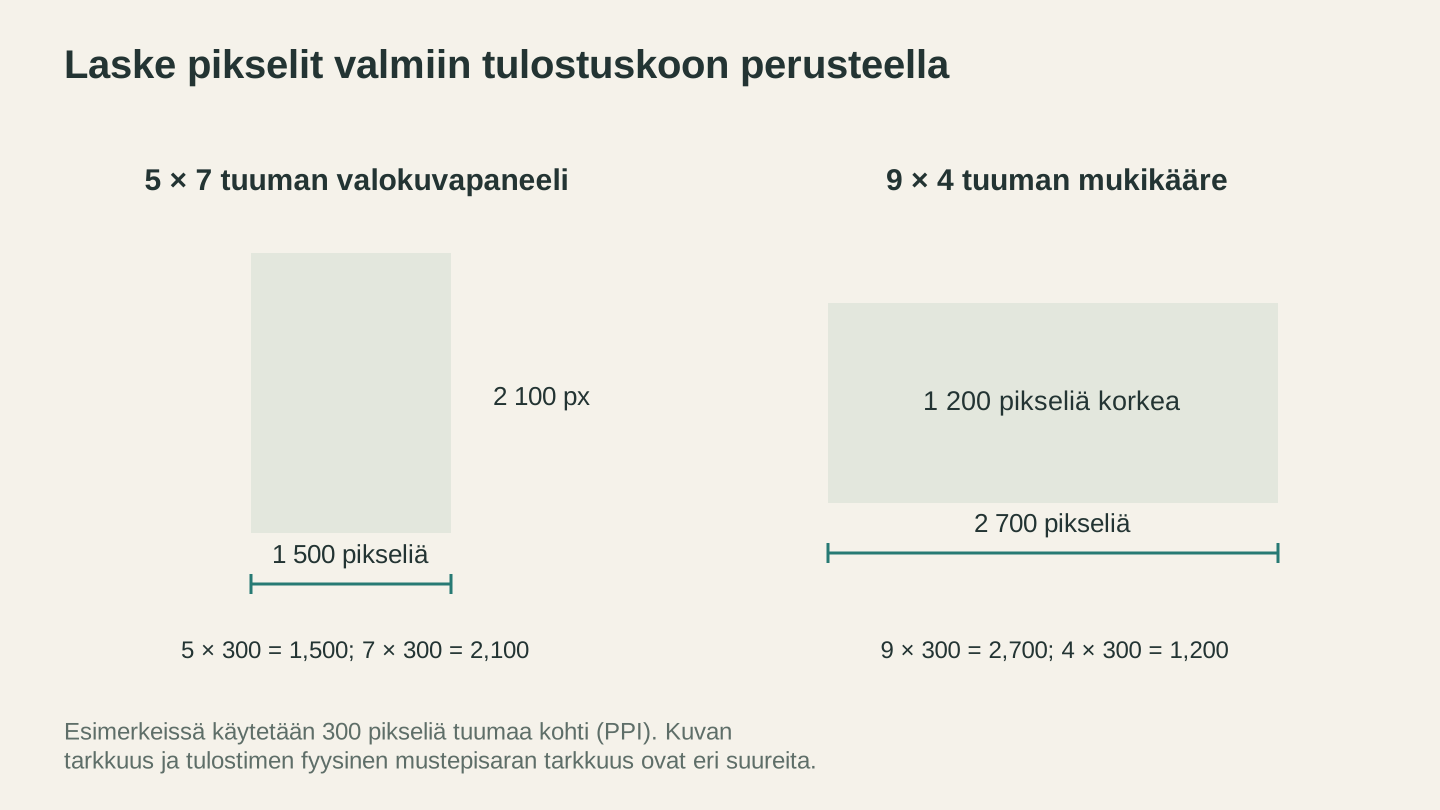
Kerro jokainen tulostusmitta tuumina kuvan resoluutiolla pikseleinä tuumaa kohti. Resoluutioarvolla 300 ppi, 5 × 7 tuuman kuva tarvitsee 1500 × 2100 pikseliä. Tulostimen pisteasetukset ovat erillinen määritys.
Läpinäkyvyys: valkoinen ei ole sama kuin tyhjä
Sublimoinnissa ei ole valkoista mustetta, joten aidosti valkoinen pikseli ei siirry lainkaan ja aihion pinta näkyy läpi. Tämä saattaa kuulostaa siltä, ettei taustalla ole väliä. On sillä.
Ongelma on, että lähes mikään ei ole aidosti valkoista. Luonnonvalkoiset pikselit sisältävät väriainetta. JPG-pakkaus voi jättää terävien reunojen ympärille näkyviä häiriöitä, kuten himmeän, lähes valkoisen reunuksen. Nopeasti tehty irrotus jättää ääriviivan varrelle harmaan reunuksen taustan jäännöspikseleistä. Kirkkaalla näytöllä mikään tästä ei näy, mutta tulosteessa kaikki näkyy.
Valkoisella aihiolla saatat selvitä siitä. Värillisellä aihiolla tai kohdassa, jossa kiilto osuu valoon, kohteen ympärille tulee näkyvä suorakulmio, joka näyttää aivan huonosti kiinnitetyltä tarralta.
Käytä oikeaa läpinäkyvää PNG-tiedostoa, älä valkoista taustaa. PixelPrep poistaa taustan ja antaa tiedostolle aidon alfakanavan, joten reunoilla ei ole mitään tulostuvaa. Jos kuvasi tulee JPG-muodossa, formaatti ei pysty sisältämään läpinäkyvyyttä lainkaan, joten kuva on irrotettava taustasta muuntamisen sijaan.
Vinkki
Zoomaa editorissa irrotetun kuvan reuna 400 %:iin tummaa taustaa vasten. Jokainen siellä näkyvä ylimääräinen harmaa pikseli on pikseli, joka tulostuu. Kolmenkymmenen sekunnin tarkistus säästää yhden aihion.
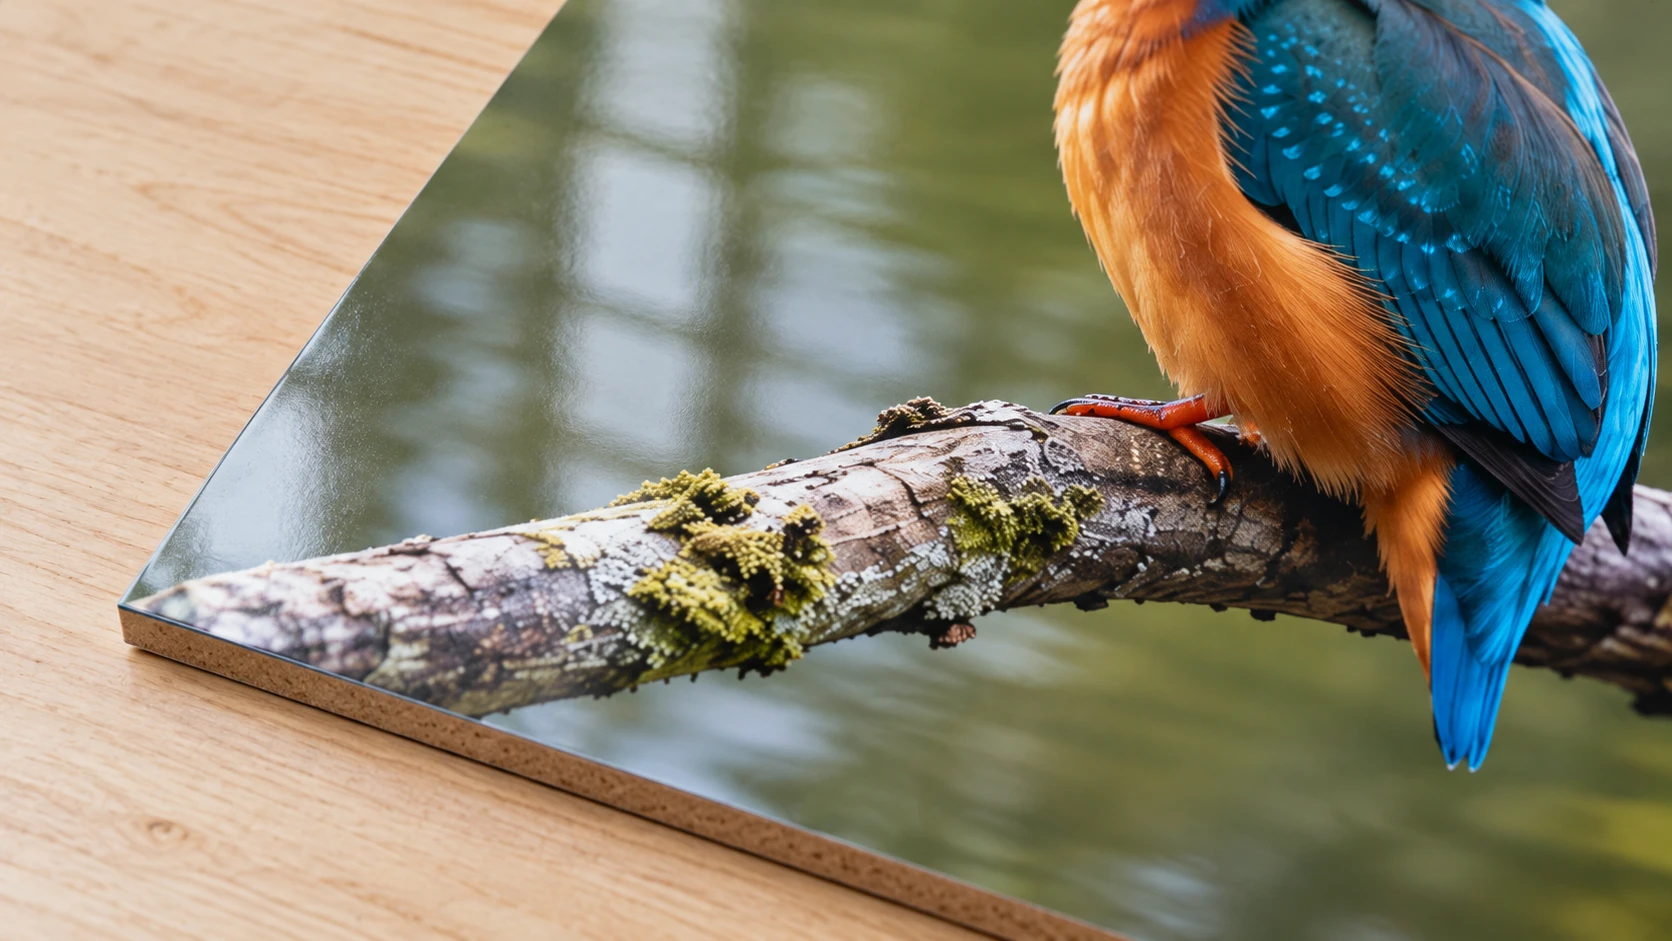
Sama paneeli lähempää tarkasteltuna näyttää kuvan hienot yksityiskohdat ja tasaisen pinnoitteen. Arvioi valmis näytekappale sopivassa valaistuksessa ennen erän valmistamista.
Värit: älä arvioi niitä paperilta
Sublimointitulosteet tulevat tulostimesta himmeinä, latteina ja väärän näköisinä. Vihreät näyttävät sameilta, punaiset ruskehtavilta ja kaikki värit alikylläisiltä.
Se on normaalia. Väri kehittyy, kun lämpö muuttaa väriaineen kaasuksi, joten siirtopaperi näyttää yleensä himmeältä ja sävyiltään erilaiselta valmiiseen tuotteeseen verrattuna. Arvioi lopullinen väri prässätystä testistä, älä arkista. Jos prässätty tulos on yhä väärä, kyse on tulostimesta, väriprofiilista tai suuttimesta, ei tiedostosta.
Tästä päästään aloittelijoiden viikkoja säästävään sääntöön: älä koskaan korjaa värejä tulosteen perusteella. Joka kausi joku kirkastaa tiedostoa, koska paperi näytti haalistuneelta, prässää sen ja saa räikeän tuloksen, joka on nyt aidosti väärä.
Kaksi käytännöllistä tapaa toimia:
Tulosta yksi värimalliliuska. Laita eniten käyttämäsi värit yhdelle arkille, prässää se tavalliselle aihiollesi ja säilytä se. Tästä prässättyä arkista, ei näytöstä eikä paperista, tulee jatkossa väriviitteesi.
Oleta, että aihio muuttaa väriä. Sama tiedosto valkoisella kovalevypaneelilla, hieman kermanvärisellä polyesteripaidalla ja harmaalla kangaskassilla antaa kolme erilaista tulosta, koska väriaine on läpikuultavaa ja alusta on sen alla.
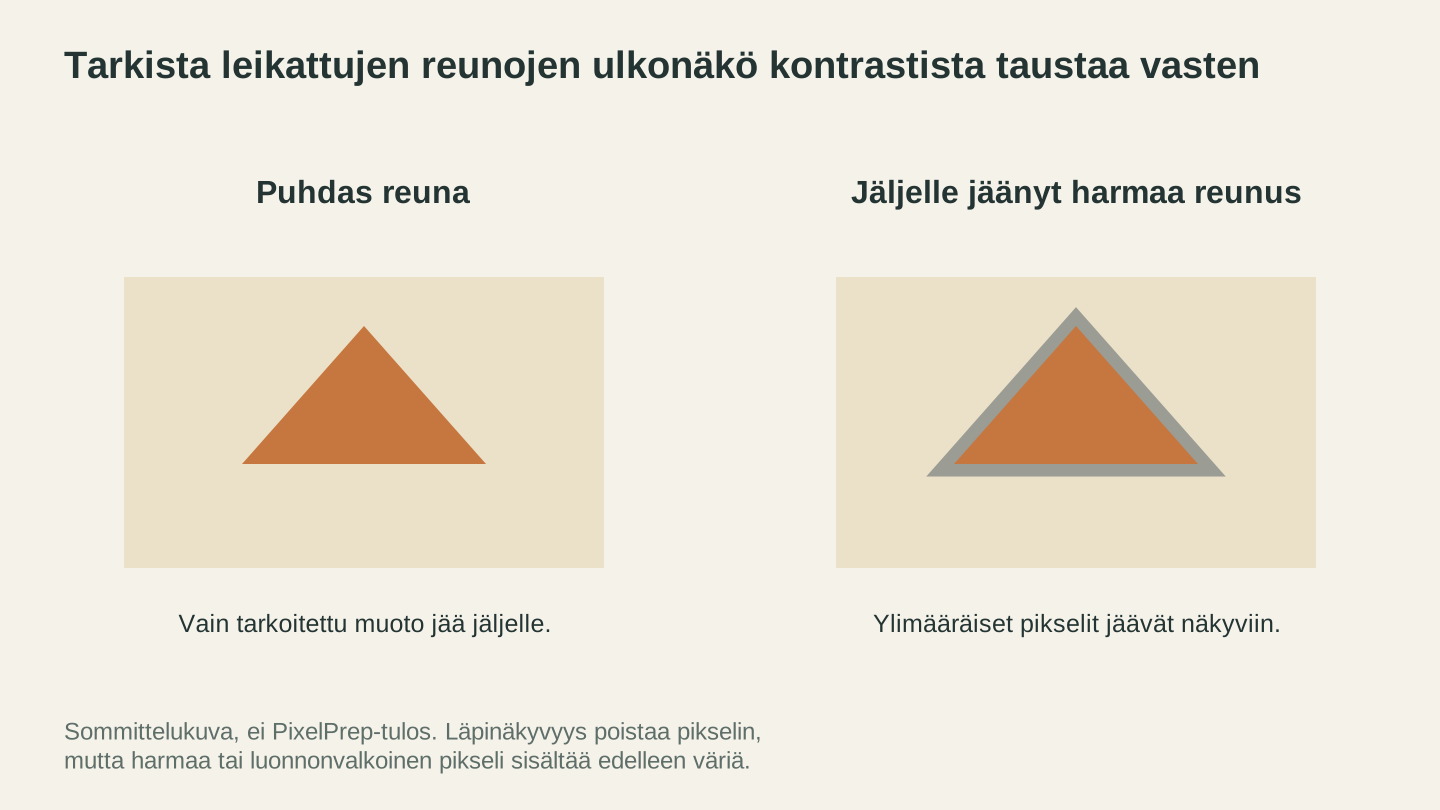
Tarkista leikattu kuva kontrastista taustaa vasten ennen tulostamista. Kaavio näyttää, miten muuten läpinäkyvän kuvan ympärille voi jäädä ylimääräinen reunus.
Peilaus: se, joka maksaa joka kerta yhden aihion
Sublimointitulosteet painetaan aihiota vasten kuvapuoli alaspäin, joten kuva siirtyy käänteisenä. Kaikki tekstiä, logon, allekirjoituksen tai tunnistettavan suunnan sisältävä on peilattava ennen tulostusta.
Symmetriset kuviot antavat virheen anteeksi. Kaikki muu ei, ja huomaat sen vasta, kun prässi on ollut suljettuna minuutin.
Ota tavaksi peilata kuva aivan viimeisenä vaiheena juuri ennen tulostuspainikkeen painamista, jotta se ei ole jotakin aiemmin tehtyä, jota et enää muista. Jos tulostinohjelmistossa on oma peilausasetuksensa, valitse yksi paikka sen tekemiseen äläkä tee sitä molemmissa, sillä silloin kuva kääntyy takaisin.
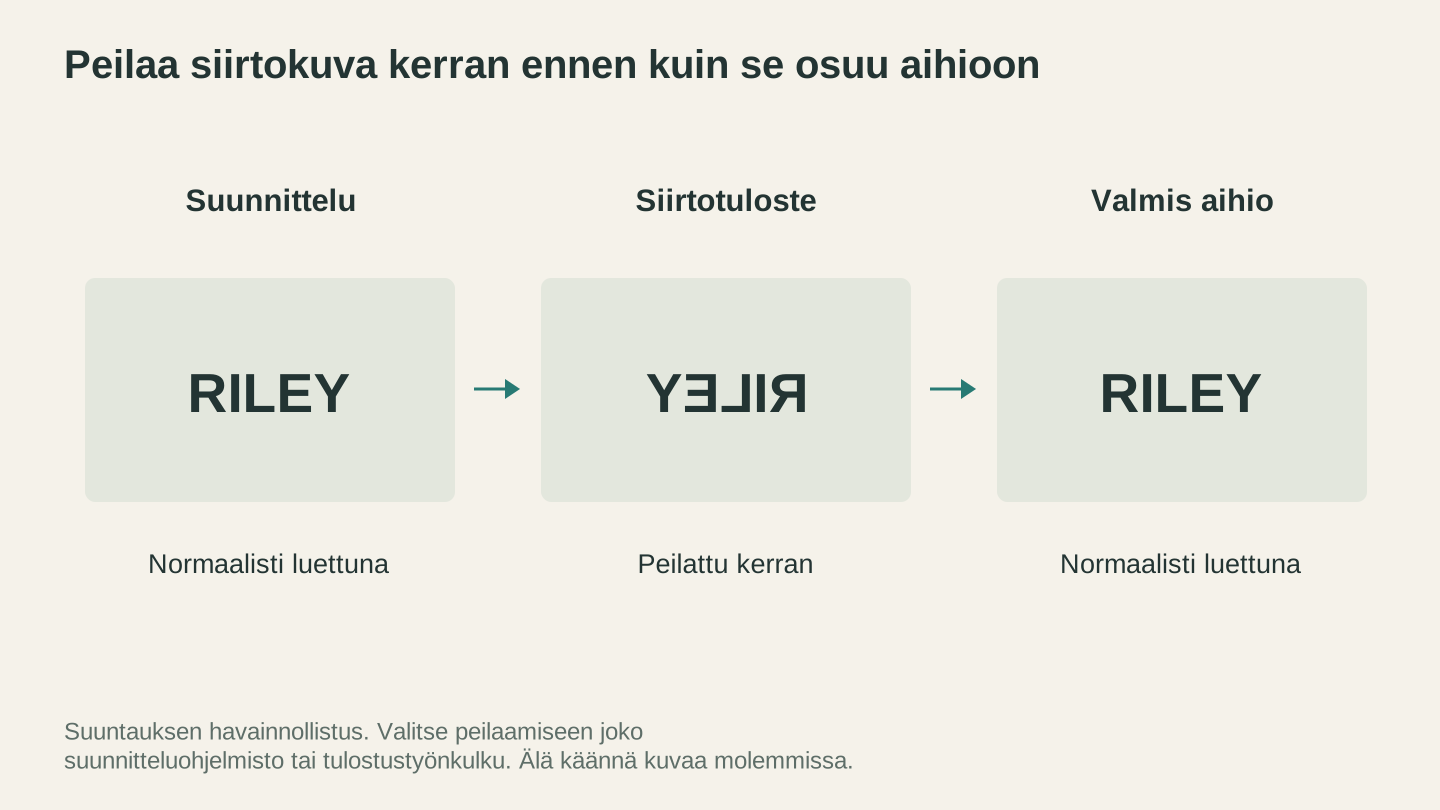
Peilaa kuva kerran valitussa työnkulussa. Siirtokuva näyttää käänteiseltä, jotta valmis kuvio näkyy oikein päin.
Sovita koko aihioon, älä sivuun
Suunnittele todellisissa valmiissa mitoissa. Älä "suunnilleen mukin kokoiseksi", vaan ostamasi aihion tulostettavan alueen todellisilla mitoilla, jotka toimittaja ilmoittaa.
Sommittele asettelu tähän kokoon, jotta näet juuri sen, mikä päätyy tuotteeseen. Lopullisessa koossa työskentely tarkoittaa myös sitä, että aiempi resoluutiolasku tarkistaa juuri sen, minkä aiot tulostaa, eikä sen skaalattua esikatselua.
Canvas Pro toimii pikseleillä ja rajoittaa kankaan 2000 pikseliin sivua kohden, joten muunna tuumat ensin ja tarkista, että luku mahtuu. Se riittää moniin oikeisiin töihin: koristeet, avaimenperät, lasinaluset ja pienet paneelit mahtuvat siihen helposti. Täysleveä paitatuloste tai ympäri mukin ulottuva 300 DPI:n kuvio tarvitsee pitkälle reunalle yli 2000 pikseliä, joten tee ne työpöytäeditorissa ja käytä Canvas Pro -työkalua sopiviin osiin.
Jätä reunoille marginaalia. Aihiot eivät ole täydellisen neliömäisiä, kohdistus tehdään käsin, ja täsmälleen tulostusreunaan ulottuva kuvio on joissakin prässauksissa epäkeskinen.
Neljä tarkistusta järjestyksessä
- Määritä kankaan koko aihion todellisen tulostettavan alueen mukaan.
- Tarkista resoluutio tässä koossa. Suurenna kuvaa PixelPrep-työkalulla, jos lasku osoittaa pikseleitä olevan liian vähän, ja käytä oikeaa tilaa.
- Tarkista läpinäkyvyys. Aito alfakanava, ei harmaata reunusta, tarkistus 400 %:n suurennoksella.
- Peilaa viimeisenä ja tulosta sitten sublimointipaperin pinnoitetulle puolelle.
Jos lähdetiedostosi on hankalassa muodossa, File Converter muuntaa sen PNG- tai JPG-muotoon ilman krediittikuluja, mutta muunnetun tiedoston lataaminen edellyttää maksullista tilausta.
Jos itse prosessi, ei tiedoston valmistelu, on sinulle uusi, sublimoinnin aloittelijan oppaamme käsittelee laitteet, polyesterisäännön ja prässiasetukset.
Missä tiedostot menevät pieleen
Kuvituksen tallentaminen JPG-muodossa. Se ei voi sisältää läpinäkyvyyttä ja lisää pakkaushaloja juuri niiden terävien reunojen ympärille, joilla on merkitystä. Käytä PNG:tä kaikkeen, jossa on irrotettu tausta tai teräviä viivoja.
Suurentaminen suunnitteluohjelmassa. Pienen kuvan venyttäminen suurentaa vain sumennusta. Rekonstruoi yksityiskohdat ensin ja sijoita kuva vasta sitten.
Värien korjaaminen paperin perusteella. Tämä käsiteltiin jo, mutta toisto on aiheellinen.
Suunnitteleminen näytön koossa. 800 pikselin levyinen asettelu, joka tehtiin siksi, että se täytti ikkunan, ei ole tulostustiedosto.
Peilaaminen kahdesti. Kun peilaat kerran suunnittelutiedostossa ja kerran tulostinohjaimessa, kuva palaa alkuperäiseen suuntaansa.
Usein kysytyt kysymykset
Mikä DPI sublimointikuvassa pitäisi olla?
300 DPI valmiissa tulostuskoossa on yleinen tavoite. Kerro tulosteen tuumamitat luvulla 300 saadaksesi tarvittavat pikselimitat.
Tarvitsenko sublimointiin läpinäkyvän taustan?
Irrotettaville kuville ja epäsäännöllisille muodoille sitä suositellaan vahvasti. Aidosti valkoinen pikseli ei siirrä mitään, joten teoriassa valkoinen tausta on harmiton. Käytännössä taustat ovat harvoin aidosti valkoisia, ja oikea läpinäkyvyys varmistaa, etteivät luonnonvalkoiset tai reunuksen pikselit päädy näkyvänä laatikkona kohteen ympärille. Pidä tässä kaksi asiaa erillään: läpinäkyvyys määrittää, mitkä pikselisi tulostuvat, kun taas aihion oma väri näkyy kaiken tulostamasi läpi, koska valkoista mustetta ei ole.
Miksi sublimointitulosteeni näyttää haalistuneelta paperilla?
Sen kuuluukin näyttää. Väri kehittyy, kun lämpö muuttaa väriaineen kaasuksi. Arvioi väri prässätyn värimallin perusteella, älä koskaan tulosteesta.
Onko sublimointikuvio aina peilattava?
Kyllä, jos siinä on tekstiä tai tietty suunta, koska tuloste siirtyy kuvapuoli alaspäin. Peilaa se kerran viimeisenä vaiheena ennen tulostusta.
PNG vai JPG sublimointiin?
PNG. Se tukee läpinäkyvyyttä eikä lisää pakkaushäiriöitä terävien reunojen ympärille. JPG sopii vain kokonaan peittäviin valokuviin, joissa ei ole irrotettavaa taustaa.
Voinko korjata asiakkaan matalan resoluution valokuvan?
Usein kyllä. Tekoälypohjainen suurennus rekonstruoi yksityiskohtia sen sijaan, että vain suurentaisi pikseleitä, ja se voi pelastaa pienen logon tai puhelimella otetun kuvan kohtuullisen kokoiseen tulosteeseen. Se voi myös keksiä yksityiskohtia, joita alkuperäisessä ei ollut, joten tarkista tulos täydessä koossa ennen kuin sitoudut käyttämään aihiota. Hyvin pienellä ja hyvin sumealla lähdekuvalla on rajansa.
Käsittele yksi tiedosto kunnolla
Ota seuraava jonossa oleva kuvio ja tee neljä tarkistusta järjestyksessä ennen kuin tulostat mitään: sovita koko aihioon, tarkista pikselilasku, varmista läpinäkyvyys 400 %:n suurennoksella ja peilaa viimeisenä.
Prässää se sitten ja pidä hyllyllä. Kun sinulla on yksi fyysinen esimerkki, joka onnistui täsmälleen tarkoitetulla tavalla, jokaisella tulevalla tiedostolla on rehellinen vertailukohta, joka päihittää näytön joka kerta.
Aloita siitä, missä tiedostosi ovat heikoimmillaan: PixelPrep irrotuksiin ja suurennukseen, Canvas Pro suunnitteluun aihion todellisessa koossa ja File Converter, kun asiakas lähettää tiedoston väärässä muodossa.
Aiheeseen liittyvät työkalut
PixelPrep
Poista kuvien taustoja tai suurenna kuvia käytettävissä olevilla suurennusasetuksilla.
Taustan poisto edellyttää tilausta; suurentaminen käyttää krediittejä
Canvas Pro
Muokkaa kuvia tasoilla, siveltimillä, muodoilla, tekstillä ja valintatyökaluilla. Vie PNG-, JPEG- tai WebP-muodossa.
File Converter
Muunna tuettuja vektori-, asiakirja-, rasterikuva- ja 3D-verkkotiedostomuotojen yhdistelmiä.
Lataaminen edellyttää tilausta
Haluatko kokeilla näitä työkaluja?
Rekisteröidy ilmaiseksi, et tarvitse luottokorttia. Ilmaiset työkalut ovat heti käytettävissä.
Aloita ilmaiseksi