

Sublimação para iniciantes: o que você precisa e o que realmente funciona
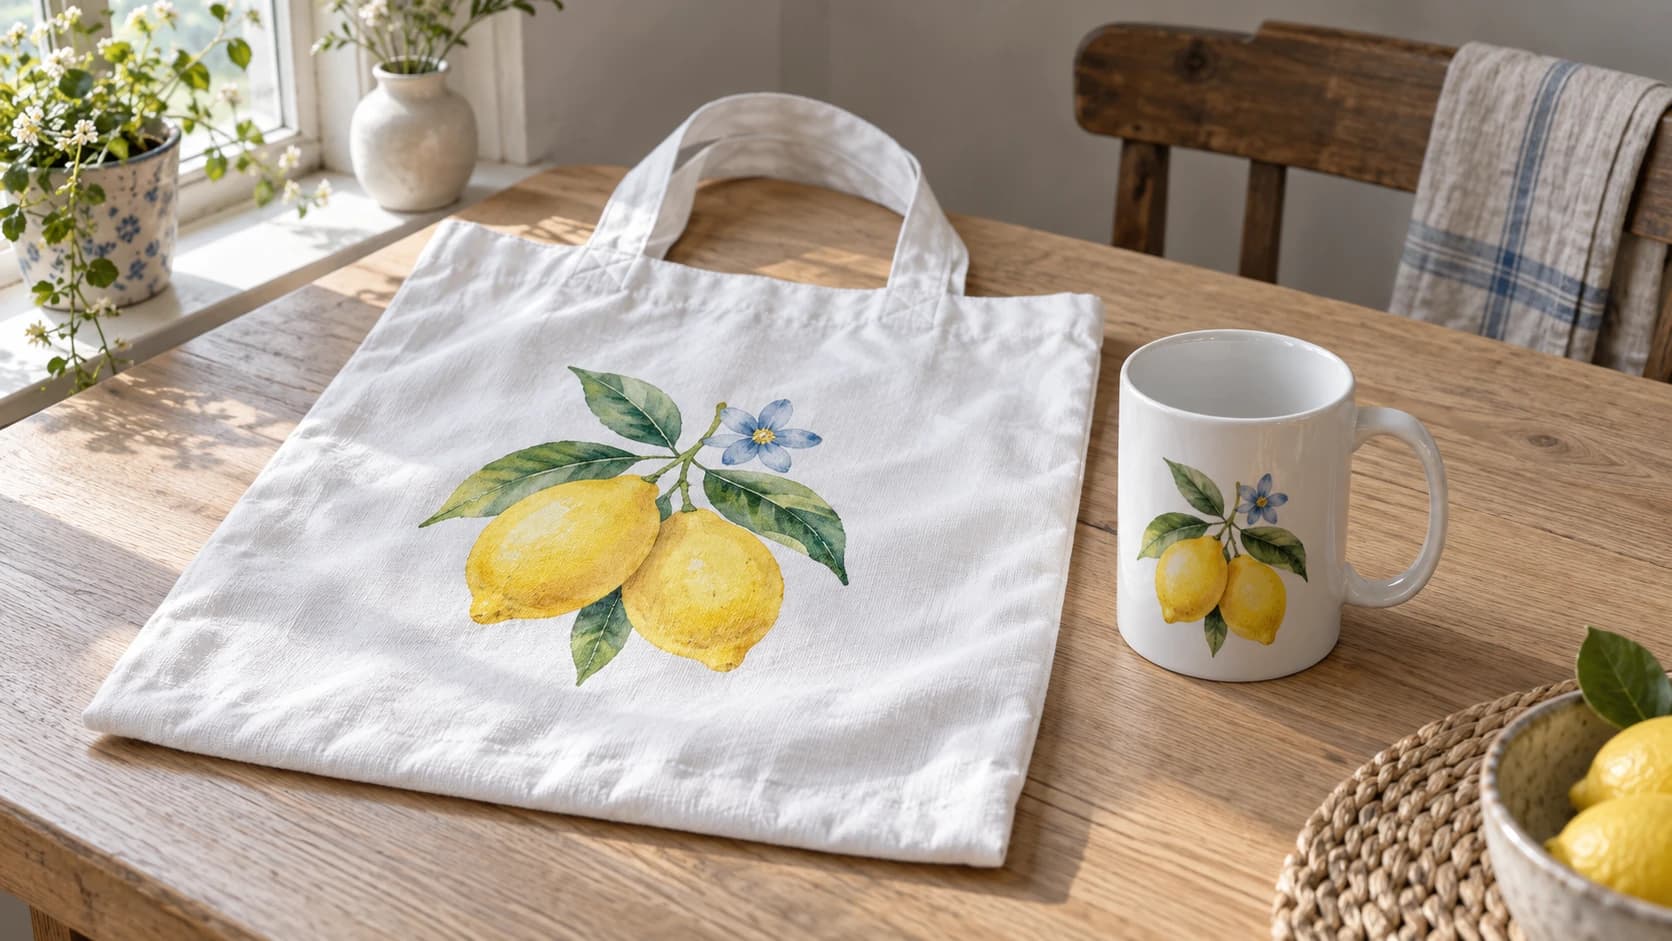
Alguém em um grupo de makers publica uma foto de uma caneca com uma imagem colorida envolvendo-a por completo, de ponta a ponta, sem caixa branca e sem vinil descascando. Você pergunta como fazer, e a resposta é uma palavra que leva a um verdadeiro buraco de coelho: sublimação.
Então você começa a ler, e tudo fica confuso rapidamente. Impressora especial. Tinta especial. Papel especial. Só funciona em poliéster. Só funciona em branco. Algo sobre impressoras convertidas e danos causados pela tinta que a garantia não cobre. Duas horas depois, você tem menos certeza do que quando começou.
Aqui está a versão honesta, incluindo as partes que costumam ser ignoradas nos vídeos.
O que a sublimação realmente é
A tinta de sublimação não fica sobre o blank como a tinta de vinil ou de serigrafia. Sob calor e pressão, a tinta deixa de ser líquida e passa diretamente para o estado gasoso; o polímero do material se abre, o gás penetra e tudo esfria, deixando a cor presa dentro da superfície.
Esse é todo o truque, e ele explica cada regra que vem a seguir.
Você não consegue sentir uma impressão por sublimação. Passe o polegar sobre uma boa impressão e ela terá exatamente a mesma textura do blank antes da prensagem. Ela não racha, não descasca e não sai na lavagem, porque não existe uma camada para rachar, descascar ou sair. A cor agora faz parte do material.
IMPRIMA. CORTE. ENTALHE.



- Vários formatos (SVG, DXF, PNG)
- Designs testados em máquinas
- Licenças comerciais
Patrocinado por PrintCutCarve.com
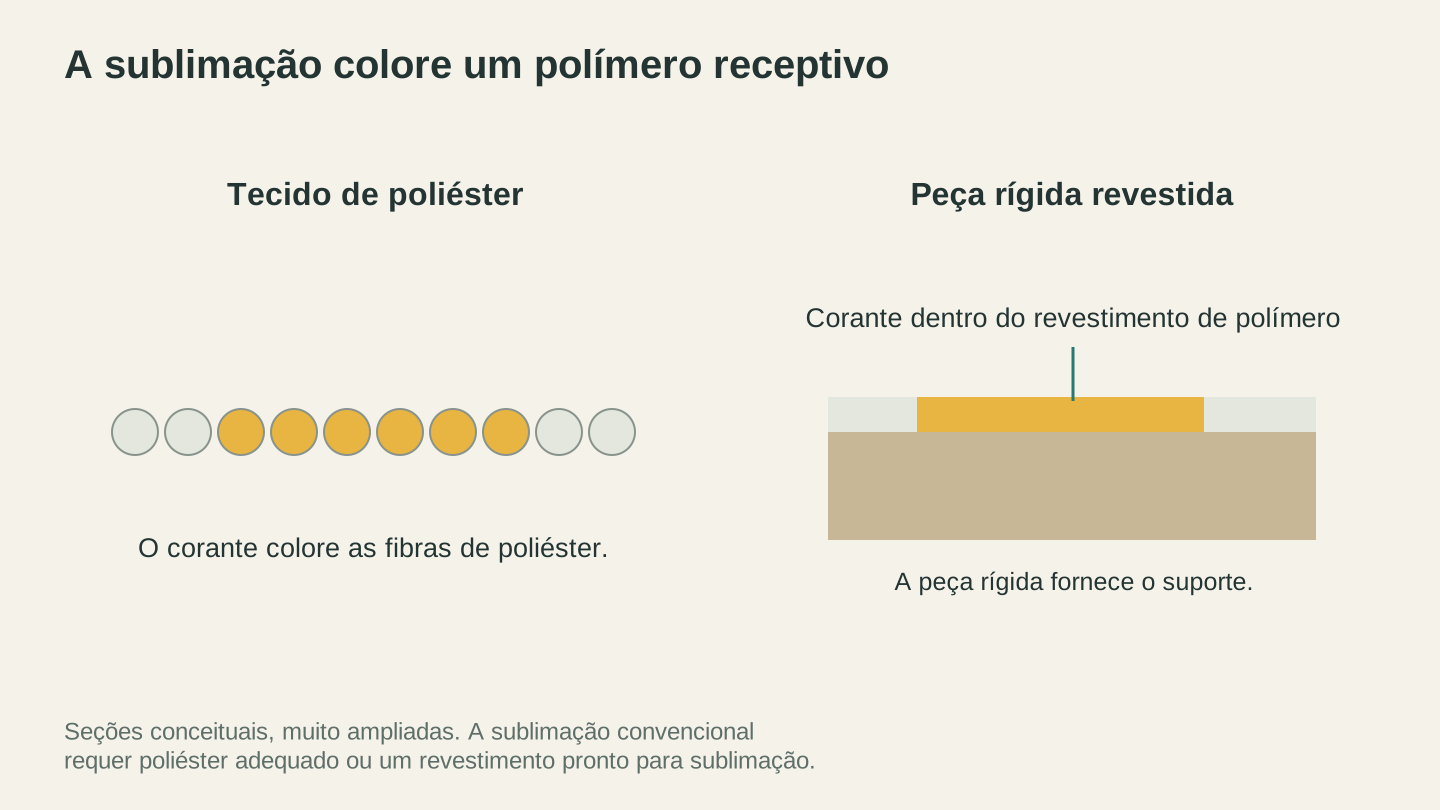
A sublimação precisa de um polímero compatível: poliéster no tecido ou um revestimento próprio na peça rígida. Estas seções são ilustrações ampliadas.
As duas regras que arruínam a maioria das primeiras tentativas
As duas regras vêm diretamente da física acima e, dentro da sublimação convencional por corante, nenhuma delas tem solução alternativa. Alguns fabricantes vendem sistemas proprietários de transferência para algodão, mas esse é um processo diferente usando um nome parecido.
Precisa de polímero. Tecido de poliéster ou um blank rígido com um revestimento de polímero aplicado e curado sobre ele. No algodão 100%, o gás não tem com o que se ligar. A impressão muitas vezes já sai fraca da prensa, e qualquer cor que tenha aderido às fibras continua saindo nas lavagens. Misturas de poliéster e algodão funcionam, mas ficam mais suaves e desbotadas quanto mais algodão houver. Uma mistura de 65% poliéster e 35% algodão pode dar aquele visual propositalmente vintage — exatamente o que você queria ou uma decepção, dependendo de saber que isso aconteceria.
Precisa de cores claras. A tinta de sublimação é translúcida e não existe tinta branca. A cor original do blank aparece por baixo de tudo o que você imprime. Vermelho em uma camiseta amarela fica laranja. Em uma camiseta preta, praticamente nada acontece. Blanks brancos e muito claros não são uma preferência estética aqui; são o meio necessário.
Aviso
Se você quer cores completas em algodão escuro, a sublimação é o processo errado. Esse é um trabalho para vinil de transferência térmica ou HTV imprimível. Nosso guia de vinil de transferência térmica para iniciantes explica esse caminho, e não há problema algum em ter os dois. A maioria dos vendedores tem.
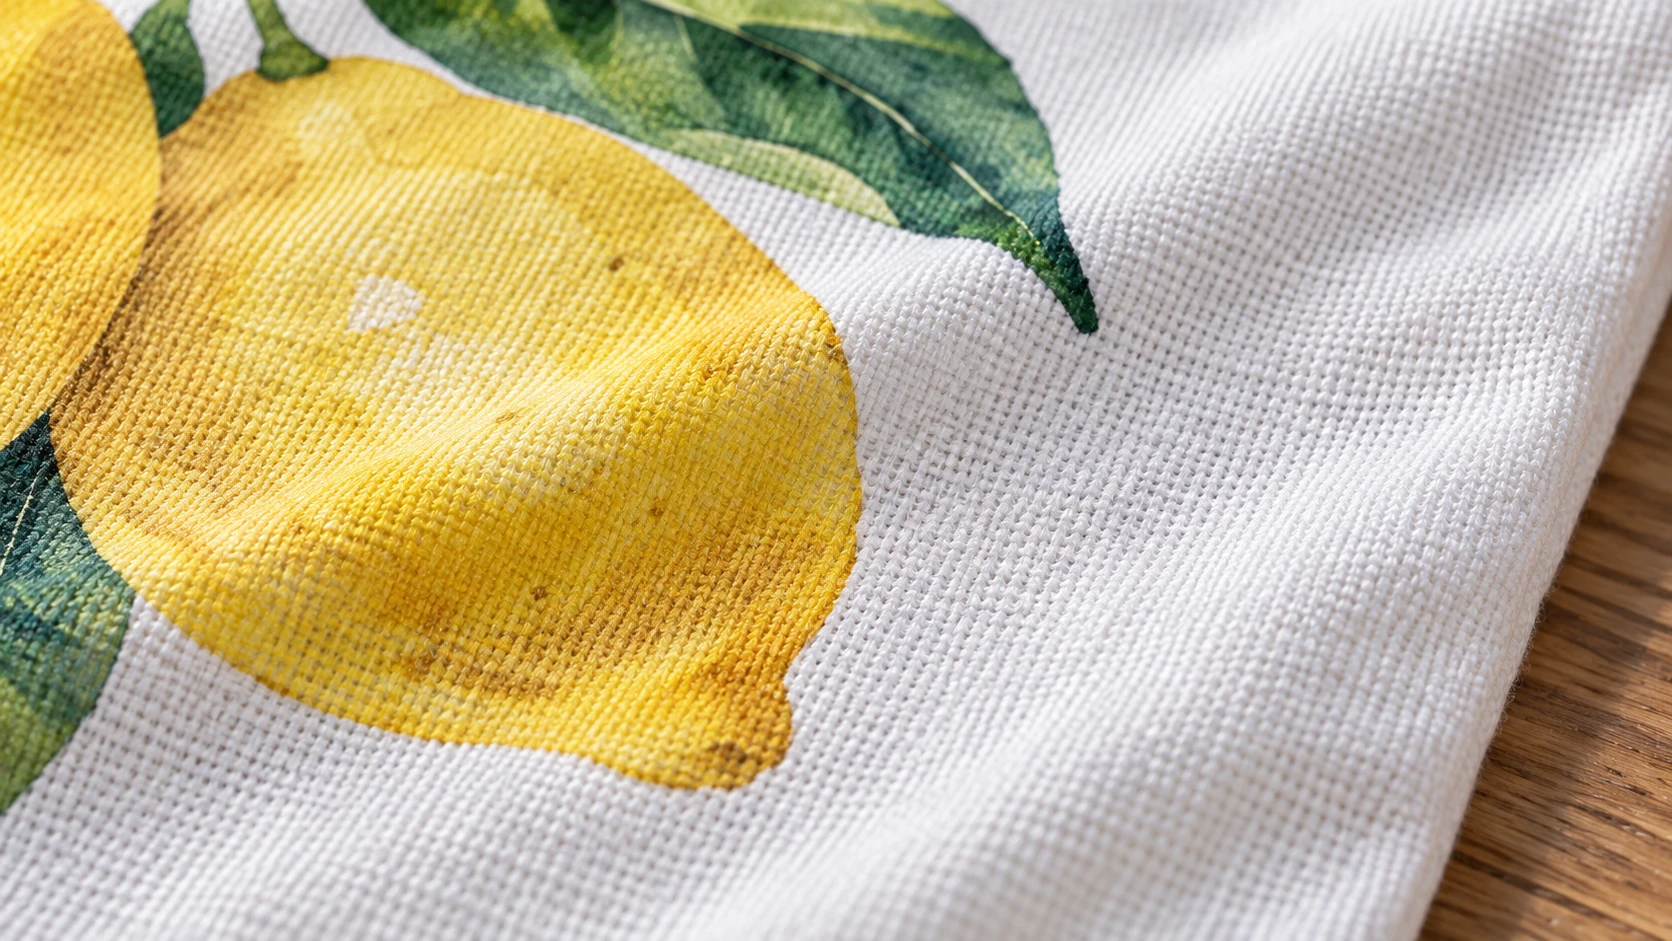
A mesma sacola de perto: a cor acompanha a textura do tecido sem uma borda de filme separada. Comece com uma peça-base especificada para sublimação.
Sublimação vs. HTV, já que todo mundo pergunta
| Sublimação | Vinil de transferência térmica | |
|---|---|---|
| Sensação na camiseta | Nenhuma, faz parte do tecido | Uma camada que você consegue sentir |
| Funciona em algodão | Não | Sim |
| Funciona em peças escuras | Não | Sim |
| Fotos coloridas | Sim, facilmente | Apenas com HTV imprimível |
| É preciso depilar | Nunca | Geralmente, em qualquer peça cortada |
| Blanks rígidos (canecas, ardósia, metal) | Sim, com revestimento | Raramente |
| Custo inicial | Mais alto | Mais baixo |
A sublimação leva vantagem em sensação, durabilidade e trabalhos coloridos. O HTV leva vantagem em algodão, cores escuras e baixo custo para começar. Eles não são exatamente concorrentes; cobrem necessidades diferentes.
O equipamento de que você realmente precisa
Quatro coisas — e a que as pessoas costumam comprar abaixo do necessário é a prensa.
Uma impressora de sublimação. Há dois caminhos realistas. Uma impressora dedicada à sublimação já vem pronta para uso, com tintas e perfis de cores compatíveis, e custa mais. Uma impressora no estilo EcoTank convertida, vendida já abastecida com tinta de sublimação por terceiros, pode custar menos no início e é o ponto de partida de muita gente. O problema é a cobertura da garantia: a Epson, por exemplo, afirma que danos causados por tinta não genuína não são cobertos. Na prática, makers que escolhem esse caminho dedicam a impressora à sublimação e nunca pedem que ela imprima outra coisa.
Papel para sublimação. O papel comum não libera a tinta corretamente. Essa parte é barata, então não improvise.
Uma prensa térmica. É aqui que iniciantes investem pouco e depois se perguntam por que suas impressões ficam manchadas. A sublimação precisa de pressão firme, distribuída uniformemente por todo o desenho, mantida a uma temperatura estável. Uma prensa tipo concha faz isso. Um ferro doméstico, não. Alguns modelos EasyPress lidam com desenhos planos pequenos, desde que o desenho fique dentro da placa térmica e você siga o guia de calor do próprio modelo, mas eles começam a dificultar o trabalho conforme os desenhos aumentam. Utensílios curvos precisam de uma prensa para canecas ou copos que os envolva, ou de um método com manta e forno aprovado pelo fornecedor.
Blanks. Peças de poliéster ou blanks rígidos vendidos especificamente como blanks para sublimação. Se o anúncio não disser sublimação ou revestimento de polímero, presuma que o blank não aceitará a tinta.
Dica
Os preços mudam constantemente, então trate qualquer valor que você ler como uma estimativa. A regra útil para o orçamento é que a prensa não é o lugar para economizar. Calor uniforme e pressão uniforme fazem mais pelos seus resultados do que uma impressora cara, e nenhuma qualidade de impressora compensa uma prensa incapaz de manter qualquer um dos dois.
Acertando o design antes de prensar
As configurações da prensa podem estar perfeitas e, ainda assim, o resultado parecer amador, porque a sublimação não perdoa imagens de origem ruins. Arte de baixa resolução e recortes malfeitos revelam cada defeito quando são reproduzidos em tamanho real e em cores completas.
Três ajustes resolvem quase tudo:
- Remova o fundo. A sublimação não tem tinta branca, então uma área realmente branca é transferida como nada. O problema é que a maioria dos fundos “brancos” não é branca: pixels quase brancos, halos de compressão de JPG e a franja cinza restante de um recorte malfeito carregam tinta e aparecem como uma caixa suave ao redor do objeto. Passe a imagem pelo PixelPrep para obter um recorte verdadeiramente transparente, em vez de um recorte quase branco.
- Corrija a resolução. Uma imagem de 600 pixels esticada ao longo de uma área de 11 inch em uma caneca vira uma massa borrada. Amplie a imagem antes de imprimir, não depois de se decepcionar. O modo Art and Logo do PixelPrep é o adequado para logotipos e cliparts; o modo Photo é para fotografias de verdade.
- Componha no tamanho final. Monte o layout nas dimensões reais do blank no Canvas Pro, para que o que você vê seja o que ficará no produto. Se sua arte chegar em um formato inconveniente, o File Converter a converterá para PNG ou JPG sem custo de créditos, embora o download do arquivo convertido exija um plano pago.
Informação
Espelhe o design antes de imprimir. Na sublimação, a impressão fica voltada para baixo contra o blank, então qualquer texto ou logotipo sairá invertido se você esquecer. Essa é a história de blank arruinado mais comum em todos os grupos de iniciantes, e custa um blank toda vez.
Pontos de partida para tempo e temperatura
Cada fornecedor de blanks publica configurações para os próprios produtos, e elas são mais importantes do que qualquer coisa que você leia em um blog, inclusive este. Use estes valores para chegar perto e depois siga a folha que veio com seus blanks.
| Blank | Temperatura aproximada | Tempo aproximado | Observações |
|---|---|---|---|
| Camiseta ou bolsa de poliéster | 385 a 400°F | 45 a 60 segundos | Pressão média, pré-prensagem para remover a umidade |
| Caneca de cerâmica | 360 a 400°F | 3 a 5 minutos | Em uma prensa para canecas, os tempos variam bastante conforme a prensa |
| Hardboard ou MDF revestido | 385 a 400°F | 60 a 90 segundos | Lado revestido voltado para cima, contra o papel |
| Painel de alumínio revestido | 380 a 400°F | 60 segundos | Muito sensível à pressão uniforme |
Dois hábitos fazem esses números funcionarem. Faça a pré-prensagem do tecido por alguns segundos para eliminar a umidade e alisar as rugas, porque a umidade presa aparece como manchas. E prenda o papel com fita resistente ao calor para que ele não se mova, porque um papel que desliza a millimeter durante a prensagem produz uma imagem dupla e suave, que todos chamam de ghosting e ninguém consegue salvar depois.
Aviso
Coloque papel kraft acima e abaixo do blank dentro da prensa. O gás da sublimação vai para onde quiser e manchará com prazer a placa de uma prensa novinha, para depois transferir essa mancha para as próximas doze camisetas.
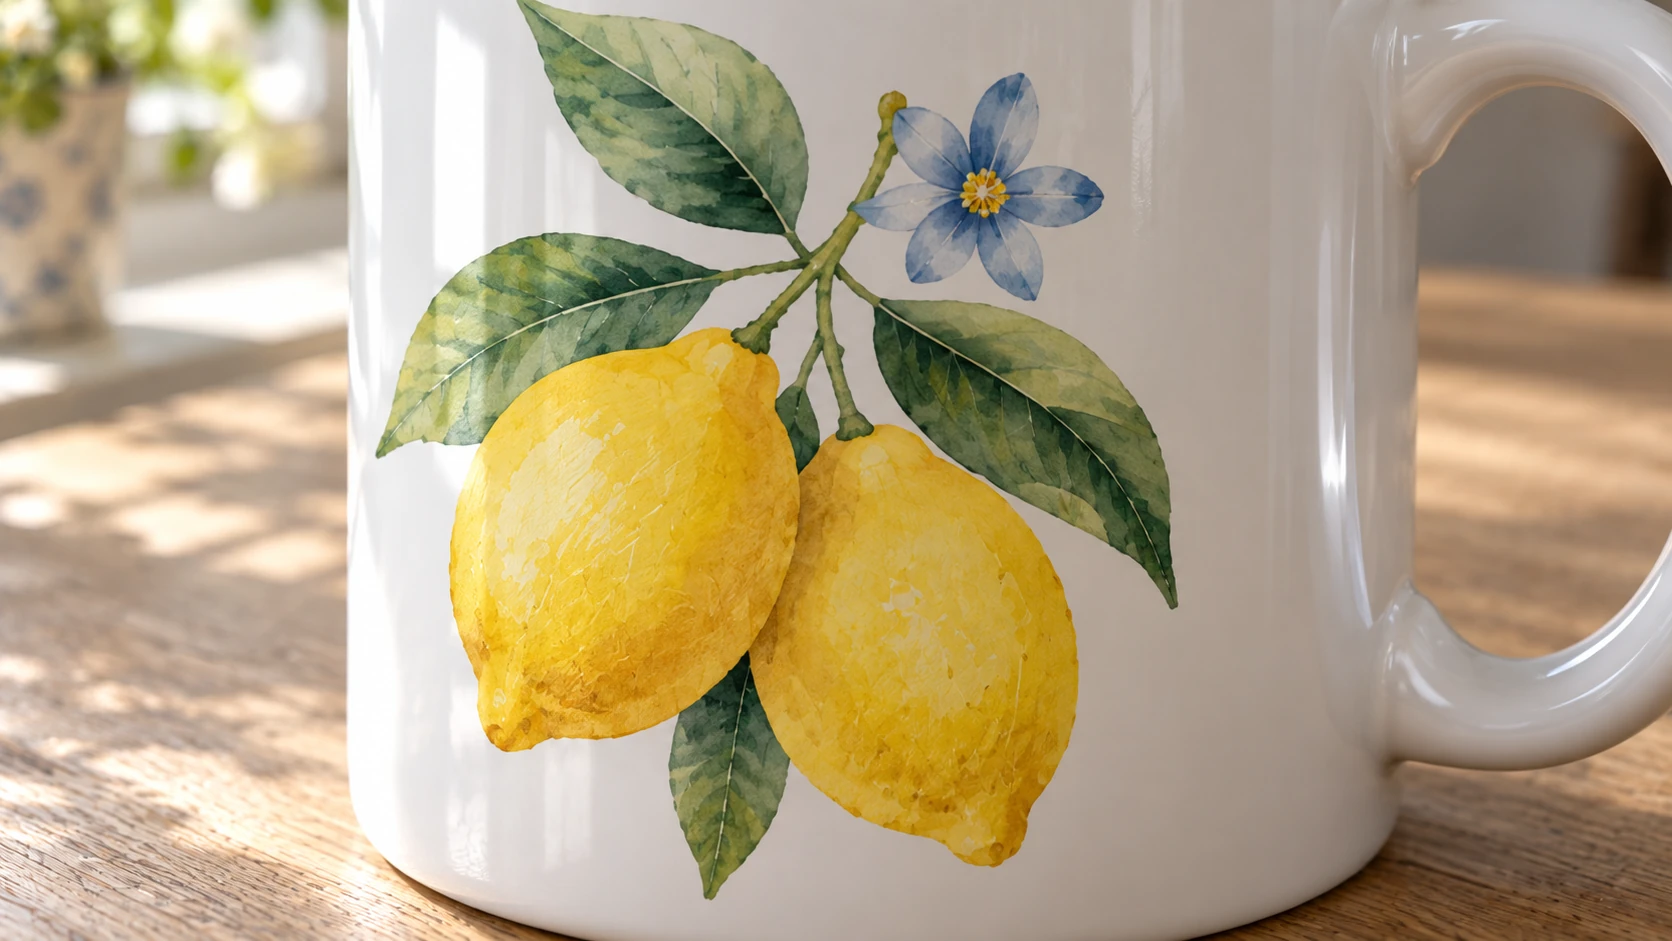
A caneca correspondente tem uma superfície lisa revestida tanto nas áreas impressas quanto nas brancas. Uma caneca simples sem revestimento é um substrato diferente.
Blanks que valem a pena para começar
Comece com blanks tolerantes e com uma margem razoável, e deixe de lado os que vão castigá-lo enquanto você ainda está aprendendo.
Canecas. O clássico, e ainda um produto forte. Uma prensa para canecas faz bem uma tarefa, e canecas com fotos são um presente personalizado consistentemente popular.
Bolsas de poliéster. O grande painel plano é fácil de prensar uniformemente, os blanks são baratos e esse é o melhor lugar para aprender como um design fica em tamanho real.
Enfeites e chaveiros de hardboard revestido. O tamanho pequeno mantém baixo o custo da prática, e você pode colocar uma dúzia de designs em uma única folha de papel enquanto ajusta seu fluxo de trabalho. Eles também combinam naturalmente com as compras de presentes de fim de ano, o que faz valer a pena tê-los prontos antes do Q4.
Ardósia revestida e painéis fotográficos. Eles têm um preço maior porque parecem um presente pronto, mas são menos tolerantes a pressões desiguais. Vale avançar para eles depois que suas primeiras cem prensagens ficarem para trás.
Camisetas esportivas. Produto realmente bom, mas a numeração das peças, a combinação de cores e as devoluções fazem do vestuário a maneira mais difícil de começar. Não é o blank para iniciantes que as pessoas imaginam.
Se você pretende vender, nossos guias sobre precificação de produtos artesanais e como escrever anúncios na Etsy que realmente ranqueiam explicam a etapa que vem depois da prensa. O ListingLab cria um rascunho do texto e das palavras-chave do anúncio a partir de uma foto do produto pronto.
Onde os iniciantes erram
Imprimir no lado errado do papel. O papel para sublimação tem um lado revestido. Imprima no lado errado e quase nada será transferido.
Avaliar a cor pela impressão em papel. As impressões de sublimação parecem desbotadas e ligeiramente erradas no papel. Isso é normal. A cor só aparece quando o calor entra em ação. Nunca ajuste seu design com base na aparência do papel.
Pular a pré-prensagem. A umidade e as rugas ficam invisíveis ao entrar e óbvias ao sair.
Pressão insuficiente. Manchas desbotadas geralmente indicam pressão desigual ou fraca, e não o seletor de temperatura. Verifique primeiro a pressão; depois, o tempo, a temperatura e se o blank está realmente pronto para sublimação. As pessoas passam semanas perseguindo a configuração de temperatura quando a prensa só precisava ficar mais apertada.
Usar algodão mesmo assim. Ele realmente fica bom até a primeira lavagem. Todo mundo tenta uma vez.
Perguntas frequentes
É possível sublimar em algodão?
Não de forma durável. A tinta precisa de poliéster ou de um revestimento de polímero para aderir. Fica ótimo e depois desbota na lavagem. Misturas de poliéster e algodão funcionam com um visual vintage desbotado, que fica mais forte quanto mais algodão houver na mistura.
É possível sublimar em camisetas escuras?
Não. Não existe tinta de sublimação branca e a tinta é translúcida, então a cor da peça aparece por baixo de tudo. Use vinil de transferência térmica em peças escuras.
Preciso de uma impressora especial para sublimação?
Sim, seja uma impressora dedicada à sublimação, seja uma impressora convertida para usar tinta de sublimação. Tinta pigmentada ou corante comum não sublima. Fazer o caminho inverso significa drenar e lavar completamente todo o sistema de tinta; isso não é compatível com as recomendações do fabricante da impressora e pode não proporcionar uma impressão comum confiável depois. Por isso, quase todo mundo dedica a máquina à sublimação e a deixa assim.
A sublimação é melhor que o vinil?
Nenhum dos dois é melhor; eles resolvem problemas diferentes. A sublimação oferece impressões coloridas que você não consegue sentir, em poliéster claro e blanks revestidos. O vinil funciona em algodão e peças escuras, e custa menos para começar.
Por que minha impressão ficou desbotada?
Comece pela pressão e pela uniformidade com que ela é distribuída, pois essa é a causa mais comum. Depois, verifique o tempo e a temperatura, se o blank é realmente de poliéster ou revestido com polímero e se a fonte de calor mantém uma temperatura estável em todo o design.
Preciso de uma Cricut para fazer sublimação?
Não. Máquinas de corte e sublimação são processos não relacionados. Uma máquina de corte é útil junto com a sublimação para trabalhos com HTV e vinil, mas nada na sublimação exige uma.
Prense alguma coisa neste fim de semana
Comece com o blank mais barato que você conseguir comprar em um pacote de dez e espere perder três deles enquanto aprende. Espelhe o design, prenda o papel com fita, faça a pré-prensagem e aplique pressão firme durante todo o tempo.
Se quiser um primeiro projeto de verdade, escolha uma foto de que você goste, remova o fundo com o PixelPrep, ajuste-a ao tamanho de uma caneca no Canvas Pro e prense. Quando retirar o papel e vir a cor completamente presente, em vez de repousando sobre a superfície como um adesivo, você entenderá por que as pessoas entram nesse buraco de coelho.
Ferramentas relacionadas
PixelPrep
Remova fundos ou amplie imagens com os ajustes de ampliação disponíveis.
Remover fundos exige um plano; ampliar imagens usa créditos
Canvas Pro
Edite imagens com camadas, pincéis, formas, texto e ferramentas de seleção. Exporte PNG, JPEG ou WebP.
File Converter
Converta as combinações compatíveis de formatos vetoriais, documentos, imagens raster e malhas 3D.
É necessário um plano para baixar
ListingLab
Crie textos para anúncios e fotos de produto ambientadas a partir de uma imagem do produto.
Os textos usam a cota do chat; as fotos usam créditos
Pronto para experimentar estas ferramentas?
Cadastre-se grátis, sem precisar de cartão de crédito. Ferramentas gratuitas disponíveis imediatamente.
Começar grátis