

Tasses et gobelets à sublimation, étape par étape
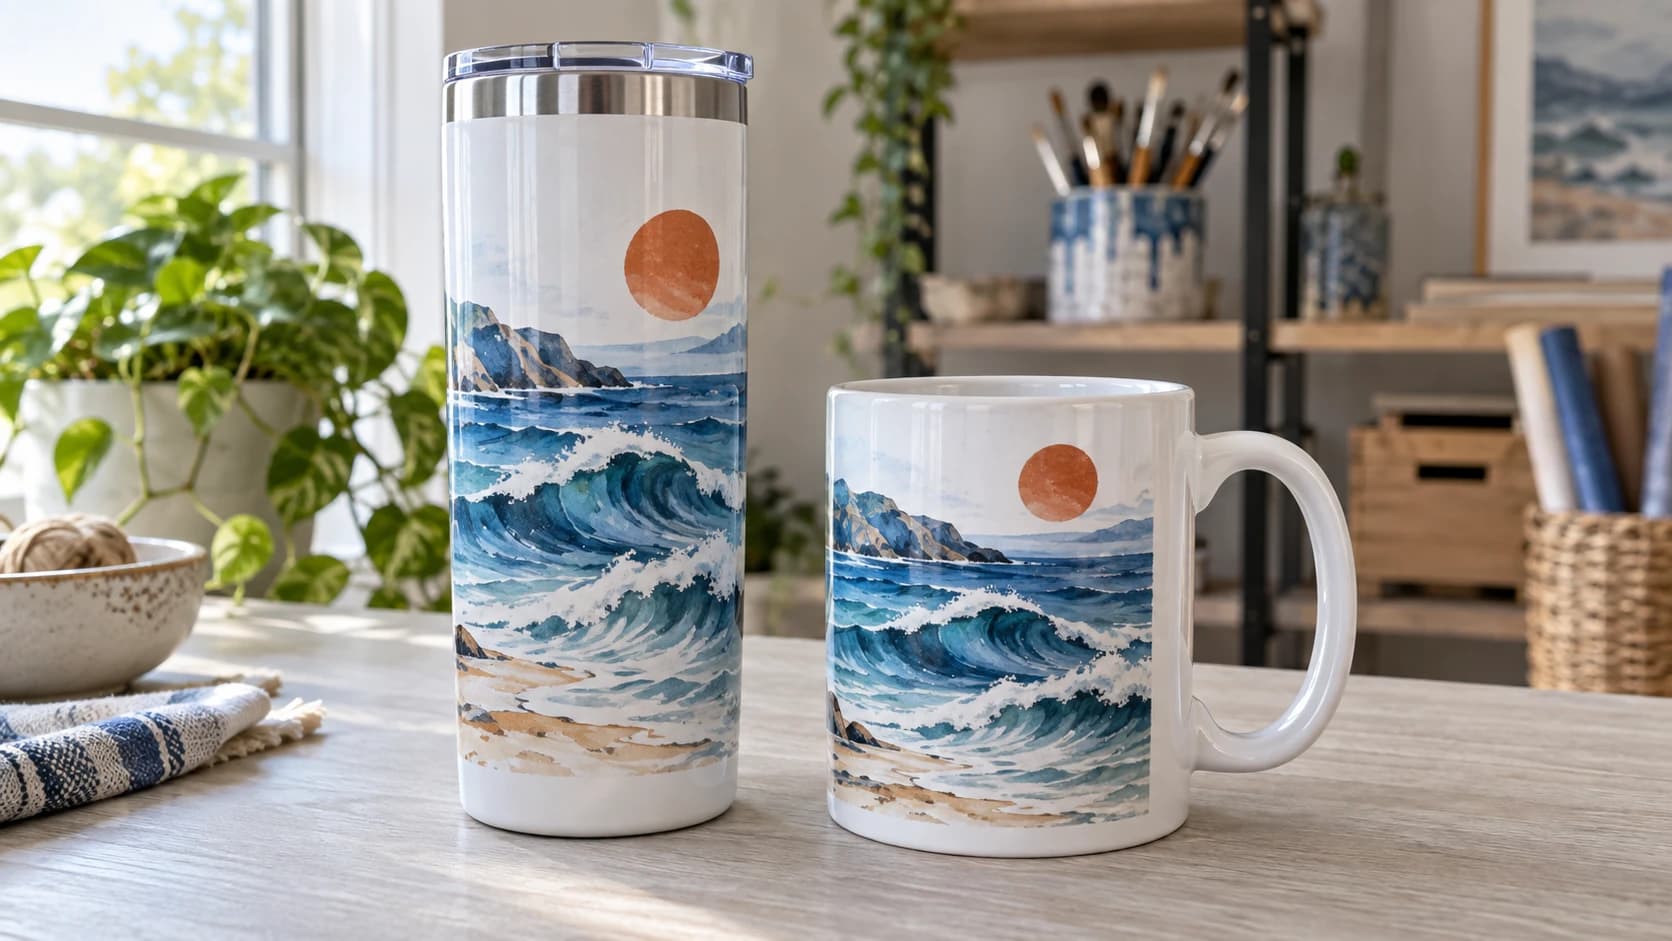
Les supports plats pardonnent beaucoup. Vous posez le papier, fermez la presse, et tout le motif reçoit la même chaleur et la même pression au même moment.
Les supports courbes ne sont pas plats. Le papier doit s’enrouler, ce qui signifie qu’il peut glisser. La pression vient d’une bande qui comprime un cylindre, ce qui peut la rendre irrégulière. Et le motif se rejoint à l’arrière, ce qui crée un joint qui disparaît ou s’affiche sur chaque photo que vous prenez de la tasse terminée.
Presque tous les échecs avec les mugs et les tumblers remontent à l’une de quatre causes, et elles sont toutes évitables : le papier a bougé, le papier n’était pas parfaitement en contact, le support n’était pas adapté au procédé ou la chaleur était incorrecte.
Ce qu’il vous faut
Une presse adaptée à la forme. Une presse à mugs possède un élément chauffant courbe, dimensionné pour un diamètre de mug donné. Une presse à tumblers convient aux contenants droits ou coniques. Certains fournisseurs de supports publient aussi une méthode avec four et bande, dans laquelle une bande en silicone maintient le papier en place et l’ensemble est placé dans un four à convection. Si vous choisissez cette méthode, suivez à la lettre les consignes de sécurité du fournisseur du support et de celui des encres, notamment leurs recommandations concernant l’utilisation d’un four réservé à la sublimation plutôt que celui dans lequel vous cuisinez. Une presse plate ne peut pas faire ce travail.
Des supports avec revêtement. Les mugs et tumblers à sublimation sont conçus avec un revêtement adapté. Un mug en céramique non revêtu acheté au supermarché supportera la chaleur sans rien vous donner.
Du ruban adhésif résistant à la chaleur. Un ruban ordinaire cède à la température de la presse et laisse le papier bouger au pire moment.
Des gants et une surface résistante à la chaleur. Ces supports sortent réellement brûlants, et vous devez les déplacer immédiatement lorsque le minuteur s’arrête.
IMPRIMEZ. DÉCOUPEZ. GRAVEZ.



- Plusieurs formats (SVG, DXF, PNG)
- Créations testées sur machine
- Licences commerciales
Sponsorisé par PrintCutCarve.com
Dimensionnez la bande selon le support réel
Votre fournisseur publie une zone imprimable pour chaque support. Utilisez la sienne plutôt qu’un gabarit générique, car un mug de 11oz provenant d’un fournisseur et un mug de 11oz provenant d’un autre n’ont pas toujours la même bande.
Deux décisions sont importantes ici.
Espace autour de l’anse ou couverture complète. La plupart des mugs nécessitent que le motif s’arrête avant l’anse des deux côtés. Quelques supports permettent une véritable couverture complète, mais il s’agit d’un produit spécifique, et non de quelque chose que vous pouvez imposer à un mug ordinaire.
L’emplacement du joint. Si votre motif se rejoint, placez ce point directement à l’opposé de l’anse afin qu’il soit orienté vers l’arrière sur toutes les photos du produit et à l’opposé de la personne qui boit.
La résolution est plus importante ici que pour un travail plat, car une bande pour mug est physiquement grande. Une bande de 9 sur 4 inch à 300 DPI mesure 2700 sur 1200 pixels ; créez donc vos bandes dans un éditeur de bureau plutôt que sur un canevas de navigateur avec une limite plus basse. Si votre image source est trop petite, PixelPrep l’agrandira d’abord, et File Converter convertira un fichier difficile en PNG sans dépenser de crédits ; un forfait payant est nécessaire pour télécharger le fichier converti. Notre guide de préparation des images explique correctement les calculs de résolution.
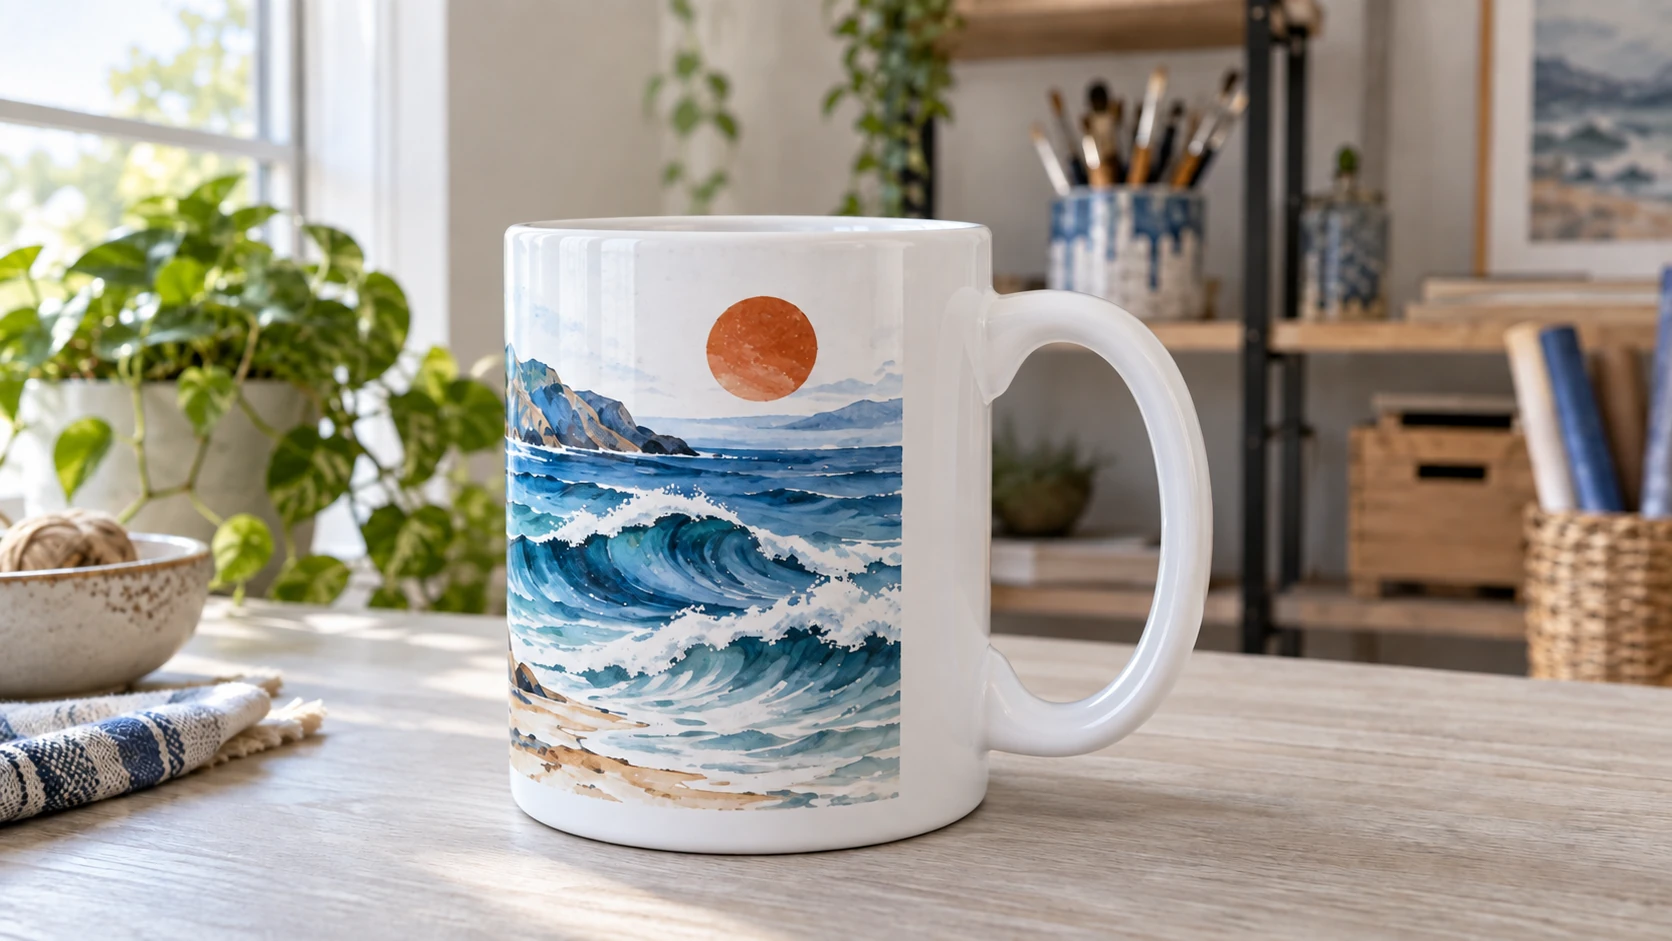
La même tasse vue du côté de l’anse. Utilisez le gabarit du fournisseur du support vierge ainsi que les indications relatives à la zone imprimable pour planifier la marge autour de l’anse.
La presse, étape par étape
- Mettez le motif en miroir et imprimez-le sur le côté revêtu du papier de sublimation.
- Découpez au plus près du motif. Le papier en trop qui flotte autour du support est ce qui se déplace pendant la manipulation.
- Nettoyez le support. Utilisez un chiffon non pelucheux ou un peu d’alcool isopropylique, puis laissez sécher. Les traces de doigts et la poussière se transfèrent toutes les deux.
- Positionnez le papier avec le motif à l’endroit voulu et le joint à l’opposé de l’anse.
- Fixez-le fermement avec du ruban. Tendez le papier contre la surface au moment de le fixer afin qu’il n’y ait aucune bulle ni zone soulevée. Chaque endroit où le papier ne touche pas le support ressortira pâle.
- Préchauffez la presse à la température indiquée par votre fournisseur et chargez le support.
- Pressez pendant la durée indiquée. Les mugs en céramique sont souvent pressés entre 360 et 400°F pendant environ trois à cinq minutes, mais les presses varient énormément et la valeur indiquée par votre fournisseur prime sur toute plage donnée dans un blog.
- Retirez-le immédiatement lorsque le minuteur s’arrête, en portant des gants.
- Retirez aussitôt le papier, sauf indication contraire de votre fournisseur. Laisser le papier chaud sur un support chaud est une façon d’obtenir un bord flou.
- Refroidissez-le selon les indications de votre fournisseur. Certains publient une étape de refroidissement contrôlé à l’eau tiède ou sur une plaque de refroidissement ; d’autres laissent simplement le support refroidir à l’air. L’eau froide et tout changement brusque de température sont systématiquement déconseillés, car le choc thermique fissure la céramique et peut faire craqueler le revêtement.
Avertissement
N’empilez pas les mugs fraîchement pressés et ne les posez pas sur une surface froide. Un refroidissement irrégulier peut réellement fissurer la céramique, quelques minutes après une presse qui semblait parfaite.
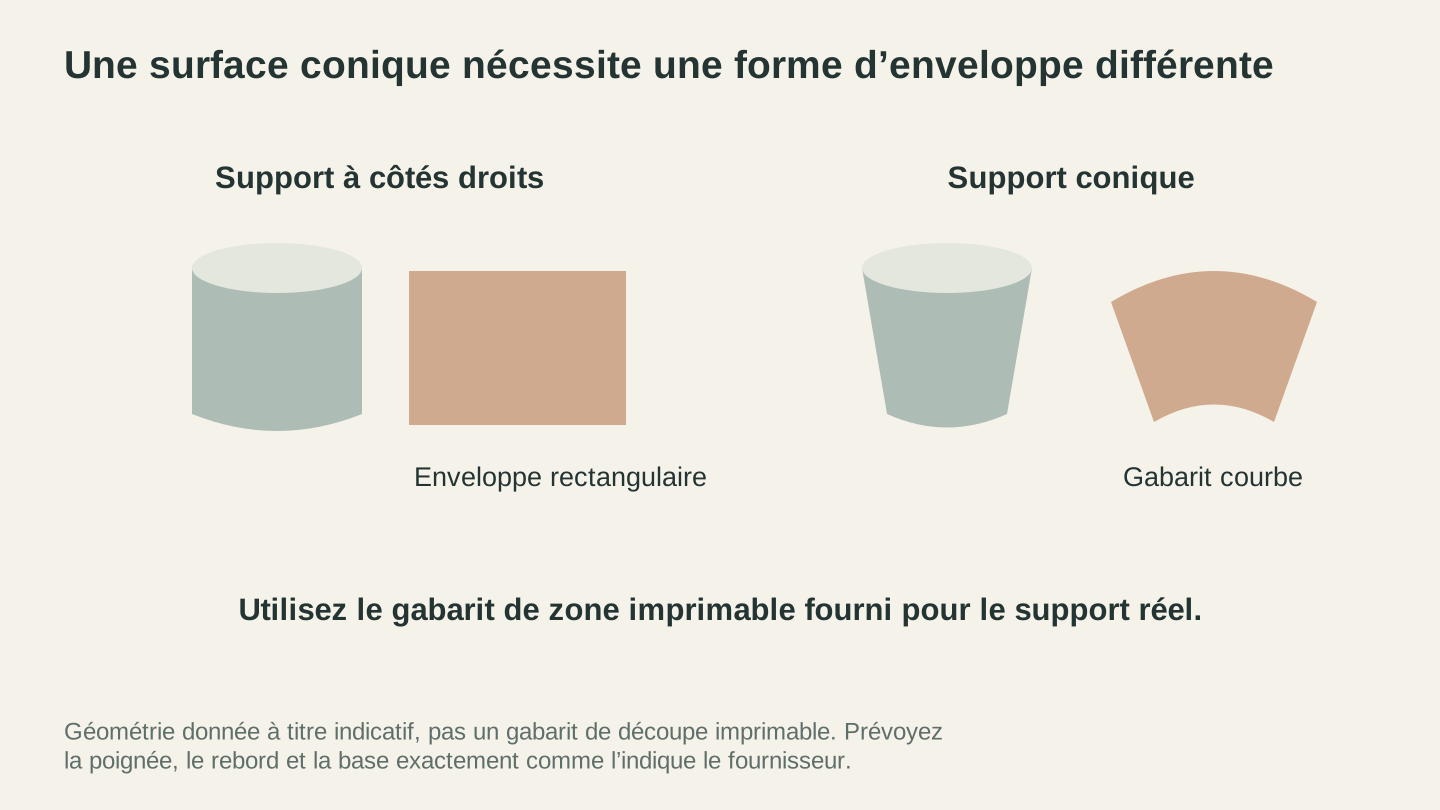
Les supports vierges droits et coniques nécessitent une géométrie d’enveloppe différente. Ces formes expliquent la distinction ; utilisez le gabarit réel du fournisseur pour la production.
Les tumblers ont leurs propres problèmes
Les tumblers sont en acier inoxydable, généralement coniques et souvent à double paroi. Chacun de ces éléments ajoute une difficulté.
La forme conique. Un rectangle de papier enroulé autour d’un cône ne reste pas à plat. Les tumblers coniques nécessitent un motif conçu pour cette forme, que votre fournisseur fournit normalement sous forme de gabarit. Enrouler un rectangle sur un support conique produit un motif qui grimpe visiblement vers le haut.
La double paroi. Elle isole, ce qui est l’objectif du produit mais complique le procédé. Les réglages des tumblers varient beaucoup selon le support, la presse et la méthode, bien davantage qu’en fonction du seul matériau ; il n’existe donc pas de règle générale utile ici. Utilisez les instructions exactes fournies avec vos supports.
Le bord supérieur et la base. Tous deux s’éloignent de la presse. Les motifs qui vont jusqu’au bord supérieur ou inférieur ont tendance à s’estomper à cet endroit. Laissez une marge.
Conseil
Enroulez le ruban tout autour du tumbler, au niveau des bords supérieur et inférieur du papier, et pas seulement au niveau du joint. C’est au niveau des bords que le soulèvement commence, et c’est exactement ce qui crée la bande délavée.
Quand cela ne fonctionne pas
| Ce que vous voyez | Cause habituelle | Solution |
|---|---|---|
| Bande pâle sur un côté | Papier soulevé ou fixé trop lâchement à cet endroit | Tendez davantage le ruban, surtout sur les bords |
| Espace blanc au niveau du joint | Motif dimensionné plus étroitement que la bande | Dimensionnez selon la zone imprimable du fournisseur et prévoyez un léger chevauchement |
| Image double et floue | Papier déplacé pendant ou après la presse | Ajoutez du ruban, découpez le surplus et retirez rapidement le papier |
| Ensemble délavé et peu marqué | Durée insuffisante ou support non revêtu | Vérifiez que le support est prévu pour la sublimation, puis prolongez la durée |
| Aspect brun ou brûlé | Température trop élevée ou durée excessive | Réduisez d’abord la durée, puis la température |
| Fines taches sur toute l’impression | Poussière ou traces de doigts sur le support | Essuyez avec de l’alcool et laissez sécher avant de fixer le papier |
| Motif qui grimpe vers le haut sur un tumbler | Motif rectangulaire sur un support conique | Utilisez le gabarit conique du fournisseur |
Deux de ces problèmes méritent d’être soulignés, car ils expliquent la plupart des défauts. L’effet fantôme est toujours dû à un mouvement : la solution consiste donc toujours à ajouter du ruban et à réduire le papier qui dépasse. Une bande délavée est presque toujours due au contact : il faut donc tendre davantage le papier plutôt que d’augmenter un réglage.
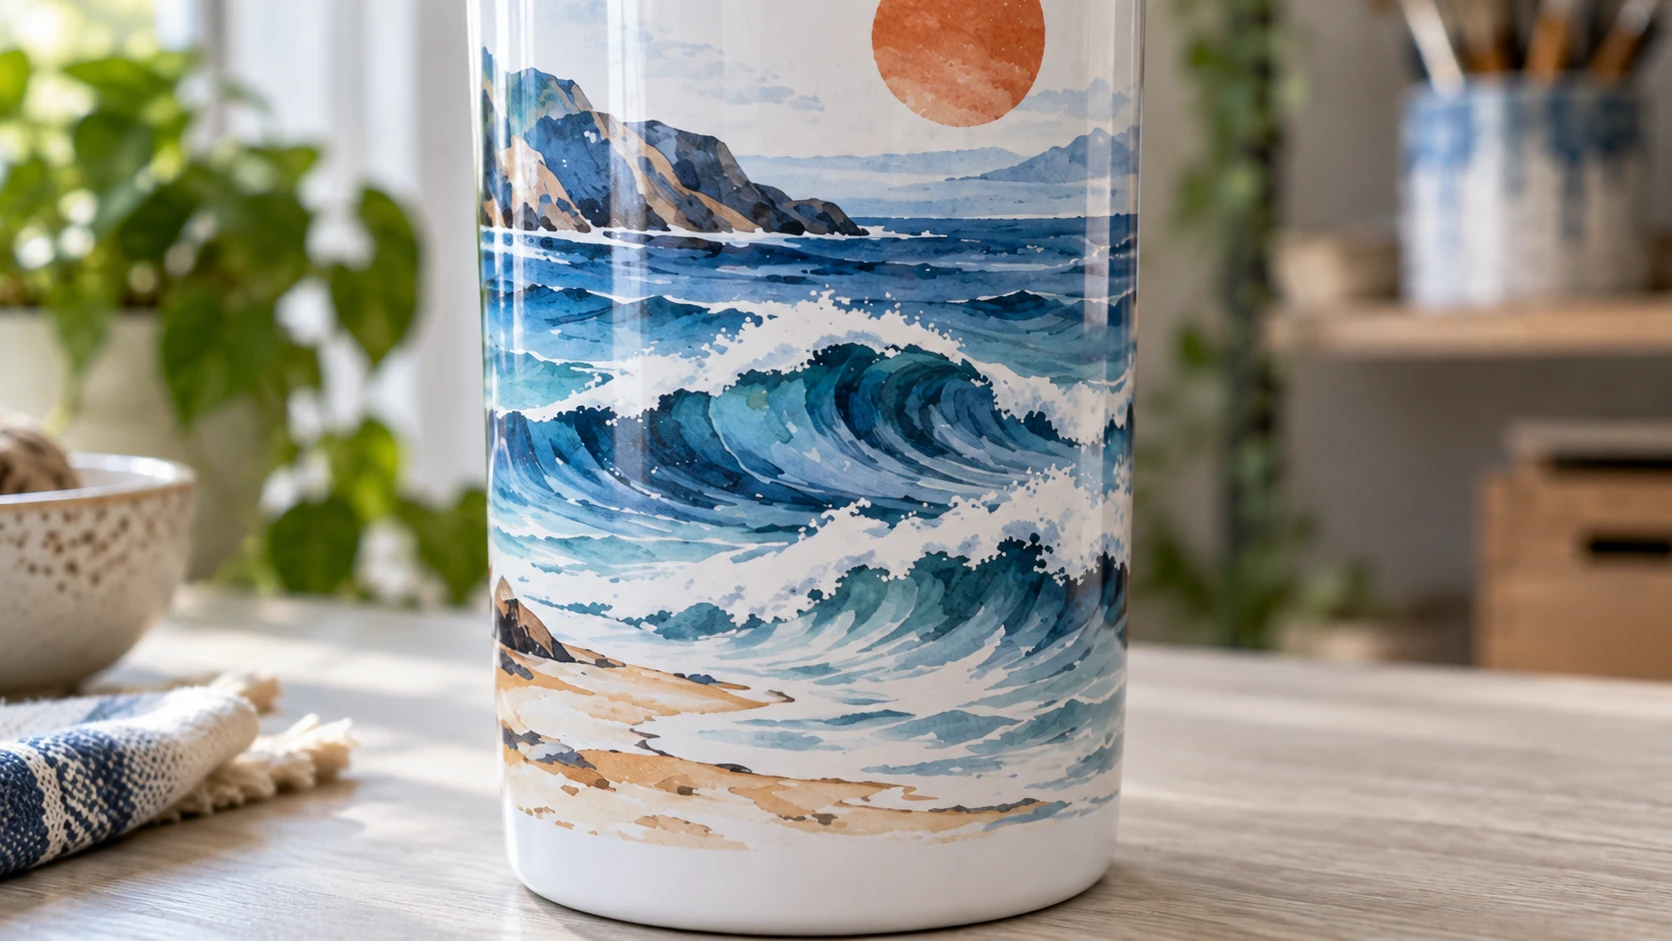
Un gros plan du tumbler coordonné montre la surface plane imprimée et sa marge inférieure blanche. Gardez le visuel dans la zone spécifiée pour le support vierge.
Les vendre
Les mugs et les tumblers comptent parmi les cadeaux personnalisés les plus fiables et se photographient bien, ce qui compte davantage que ne le pensent la plupart des makers dans une catégorie aussi concurrentielle.
Deux choses valent la peine d’être faites :
Photographiez volontairement le côté du joint. Si votre motif se rejoint proprement, montrez-le. Les acheteurs qui ont été déçus par des mugs imprimés à la demande bon marché cherchent précisément à savoir si le motif s’enroule correctement.
Indiquez ce à quoi ils résistent. Les supports de sublimation revêtus sont généralement déclarés compatibles avec le lave-vaisselle et le micro-ondes par leurs fabricants, mais cela varie selon le support ; citez donc votre fournisseur plutôt que de deviner. C’est l’une des premières questions posées par les acheteurs.
ListingLab rédigera les titres, descriptions et mots-clés à partir d’une photo du mug terminé. Nos guides sur la tarification des produits faits main et la rédaction d’annonces Etsy bien classées couvrent le reste.
Foire aux questions
Quelle température et quelle durée pour les mugs à sublimation ?
Les mugs en céramique sont souvent pressés autour de 360 à 400°F pendant environ trois à cinq minutes dans une presse à mugs, mais cela varie beaucoup selon la presse et le support. Suivez les réglages publiés par votre fournisseur de supports.
Pourquoi y a-t-il une ligne blanche sur mon mug à sublimation ?
Soit le motif était plus étroit que la bande imprimable, laissant un espace à la jonction des deux bords, soit le papier s’est soulevé au niveau du joint. Dimensionnez selon le gabarit du fournisseur et faites se rejoindre les bords avec un léger chevauchement.
Pourquoi le motif de mon mug paraît-il flou ou dédoublé ?
Le papier a bougé. C’est un effet fantôme, causé par un ruban mal tendu, un excédent de papier non découpé ou le fait de laisser le papier chaud en place après la presse.
Puis-je sublimer un mug ordinaire acheté en magasin ?
Non. Le mug doit posséder un revêtement polymère conçu pour la sublimation. La céramique non revêtue ne donne absolument rien.
Les tumblers nécessitent-ils des réglages différents de ceux des mugs ?
Oui, et ils varient considérablement selon le support, la presse et la méthode plutôt que de suivre une règle unique ; utilisez donc les valeurs exactes de votre fournisseur. Les tumblers coniques nécessitent également un motif conçu pour leur forme plutôt qu’un simple rectangle.
Puis-je utiliser un four au lieu d’une presse ?
Certains fournisseurs de supports publient une méthode au four avec des bandes en silicone qui maintiennent le papier contre le support. Suivez précisément leurs instructions, puisqu’il s’agit de leur revêtement et de leur procédé testé.
Pressez un mug test
Achetez un lot des mugs revêtus les moins chers que vous puissiez trouver et considérez les trois premiers comme des frais d’apprentissage.
Pressez-en un selon les réglages indiqués par votre fournisseur et, à sa sortie, faites attention à seulement deux choses : y a-t-il une bande pâle quelque part et le joint est-il net ? Ces deux réponses vous diront si votre ruban est assez tendu et si votre motif est correctement dimensionné, ce qui constitue l’essentiel du procédé.
Une fois que le joint disparaît, il ne reste plus qu’à recommencer.
Si le motif est ce qui vous bloque, PixelPrep nettoiera et agrandira une image source de faible qualité, File Converter gère les formats de fichiers difficiles, et ListingLab rédigera l’annonce une fois que vous aurez un mug digne d’être photographié.
Outils associés
PixelPrep
Supprimez l'arrière-plan des images ou agrandissez-les avec les réglages disponibles.
La suppression d’arrière-plan nécessite un abonnement ; l’agrandissement utilise des crédits
File Converter
Convertissez les combinaisons compatibles de formats vectoriels, de documents, d'images matricielles et de maillages 3D.
Un abonnement est requis pour télécharger
ListingLab
Créez des textes d'annonce et des photos de produit mises en scène à partir d'une image du produit.
Les textes utilisent le quota de chat ; les photos utilisent des crédits
Prêt à essayer ces outils ?
Inscrivez-vous gratuitement, sans carte bancaire. Les outils gratuits sont disponibles immédiatement.
Commencer gratuitement