Free Image Editor for Makers: How to Use Canvas Pro
Every maker hits the same wall eventually: you need to edit an image before sending it to your machine, and you don't have a full photo editor installed. Maybe you need to clean up the background on a logo. Maybe you want to add text to a design. Maybe you downloaded a clip art pack and need to combine elements from three different images into one file.
You could install a free desktop image editor (powerful but complicated). You could try a dozen online editors (most limited, some sketchy with your files). Or you could open Canvas Pro, which is free, runs in your browser, and was built with maker workflows in mind.
What Canvas Pro Does
Canvas Pro is a full-featured image editor with the tools makers actually need:
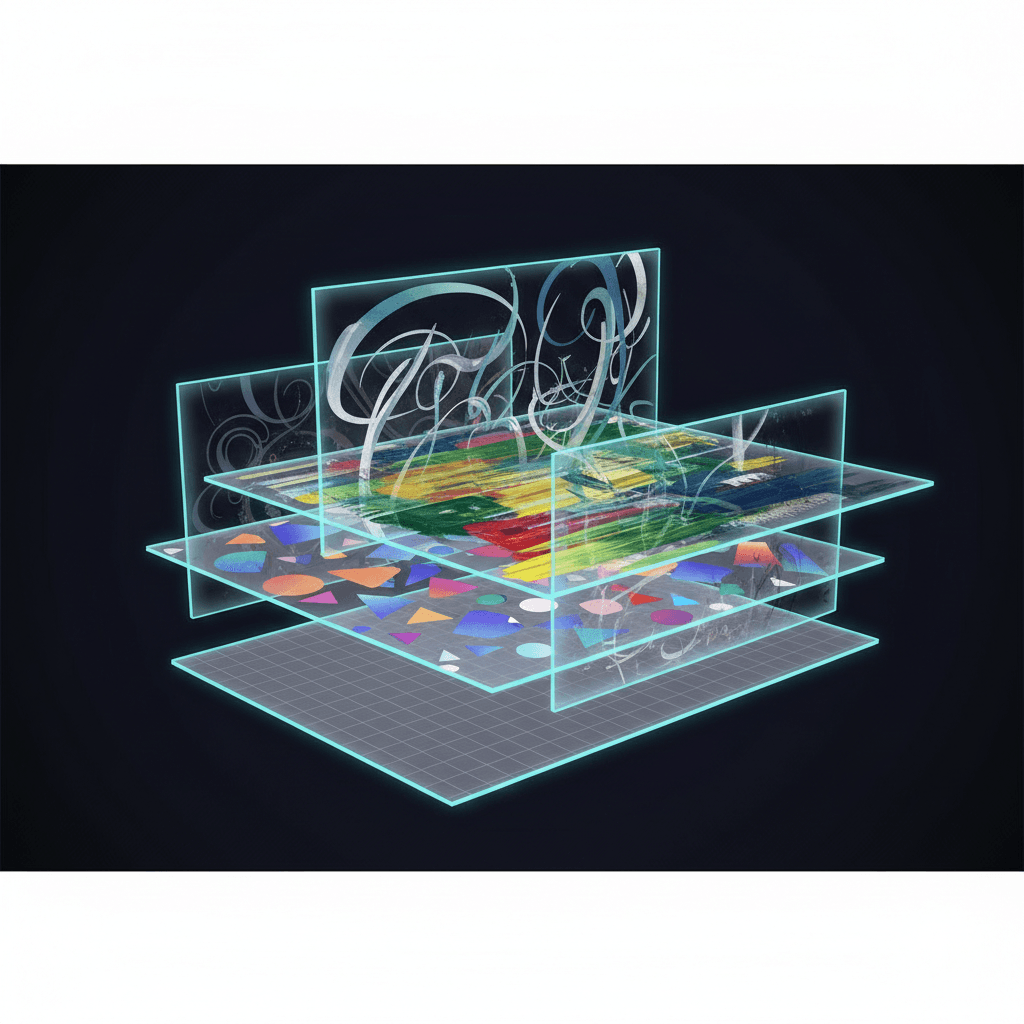
Layers. Stack multiple images, text, and shapes. Toggle visibility, adjust opacity, reorder. Layers are the foundation of any serious image editing, and Canvas Pro handles them the same way professional photo editors do.
Brushes. Standard brushes plus specialty brushes (pattern, vintage, chalk, calligraphy) for artistic effects. Useful for hand-detailing designs or creating textures.
Shapes. Rectangles, circles, lines, polygons. Draw geometric elements directly on the canvas.
Text. Add text with font selection, sizing, and positioning. Create text-based designs, add labels, or build complete sign layouts.
Export. Canvas Pro saves your work as PNG, JPEG, or WebP. When you need a vector file for a laser, CNC, or cutting machine, run the exported PNG through MonoTrace, which is also free, to get an SVG.
Pairs with MonoTrace. Clean up a raster image here, export it, then run it through MonoTrace to get vector paths. Both tools are free, so the whole cleanup-to-vector route costs no credits.
PRINT. CUT. CARVE.


- Multiple formats (SVG, DXF, PNG)
- Machine-tested designs
- Commercial licenses
Sponsored by PrintCutCarve.com
Practical Maker Workflows
Here are the specific tasks makers use Canvas Pro for most often:
Cleaning Up a Scan or Photo
You sketched a design on paper, photographed it with your phone, and now need to clean it up before vectorizing. Open the photo in Canvas Pro, increase contrast, erase stray marks and background noise, crop to the design boundary, and export. Then vectorize with MonoTrace for a clean SVG.
Steps:
- Open the photo in Canvas Pro
- Use the eraser tool to remove background noise, pencil smudges, and the paper texture around the design
- Adjust brightness and contrast to make the design lines stand out
- Crop to the design boundary
- Export as PNG
- Upload to MonoTrace for vectorization
Combining Multiple Images
You have a deer silhouette, a mountain outline, and a text banner. You want all three in one design, properly sized and positioned. In Canvas Pro, each element goes on its own layer. Scale and position each element independently. When the composition looks right, flatten and export.
Steps:
- Create a new canvas at your desired output size
- Import each image as a separate layer
- Scale and position each layer using the selection tool
- Toggle layer visibility to work on individual elements without the others distracting you
- Export the combined result as a PNG
Adding Text to a Design
You have a decorative border or frame and need to add a name, date, or phrase inside it. Import the border image as one layer, add a text layer on top, choose your font and size, position the text within the frame.
Steps:
- Import the border/frame as the base layer
- Add a new text element with your content
- Choose the font, size, and color
- Position the text within the frame boundaries
- Export the combined design
Tip
When adding text that will be laser engraved or CNC carved, use bold fonts. Thin, delicate fonts look great on screen but can be difficult to engrave cleanly, especially at small sizes. A minimum stroke width of 1mm is a good rule for laser work, and 2mm+ for CNC (depending on your bit size).
Removing Backgrounds
You have a product photo or a design element with a cluttered background. You need just the subject on a transparent background so you can place it on a different background or combine it with other elements.
Steps:
- Open the image in Canvas Pro
- Use the eraser tool to remove the background areas around your subject
- The transparency checkerboard shows where the background has been removed
- Export as PNG (preserves transparency) or continue editing with other layers
Creating Simple Designs from Scratch
Not every design needs to start from an imported image. Canvas Pro's shape and text tools let you build basic designs directly:
- Geometric patterns: Use the shape tool to create repeating patterns of circles, rectangles, or polygons. Good for decorative tiles, coasters, and simple wall art.
- Text-based signs: Add text, choose a display font, add a border shape around it. Simple but effective for quick signage.
- Layout compositions: Arrange shapes and text to create a complete sign or label layout.
Inverting Colors for Different Materials
The invert layer colors feature is useful when preparing designs for different materials. A design that looks great as dark lines on light wood (standard) might need to be inverted for engraving on dark materials like slate or anodized aluminum (light lines on dark background).
Steps:
- Open or create your design
- Click the invert button on the layer
- Dark becomes light, light becomes dark
- Export the inverted version for dark material engraving
The Layer System
Layers are the most important feature for design work. Here's how to think about them:
Each element on its own layer. Background, main design, text, decorative elements. Each gets its own layer. This lets you edit any element without affecting the others.
Visibility toggles. Click the eye icon to hide a layer temporarily. Useful when working on a lower layer that's partially covered by elements above it. Also useful for comparing versions: put two design variations on separate layers and toggle between them.
Layer opacity. Reduce opacity to make a layer semi-transparent. Useful for placing text over an image: reduce the image layer opacity to see your text positioning more clearly, then bring opacity back up.
Layer order. Drag layers up or down in the stack. Higher layers cover lower layers. Put backgrounds at the bottom, main designs in the middle, and text/labels on top.
Background layer. When you hide the background layer, Canvas Pro shows a transparency checkerboard. This is helpful for isolating your design elements and seeing exactly what content will be in the exported file versus what's just background.
Brushes for Makers
Beyond the standard round brush, Canvas Pro includes specialty brushes that are useful for maker projects:
Pattern brushes lay down repeating patterns as you draw. Create borders, textures, or decorative fills by painting with a pattern brush.
Vintage brushes have weathered, textured strokes. Good for creating a hand-made or distressed look on designs intended for engraving.
Chalk brushes simulate chalk on a chalkboard. The textured, slightly rough strokes look natural and handmade. Good for creating chalkboard-style sign designs.
Calligraphy brushes vary in width based on stroke direction, mimicking a calligraphy pen. Useful for hand-lettering effects and decorative flourishes.
Getting a Vector File Out
Canvas Pro exports PNG, JPEG, and WebP. Those are raster formats, and a laser or cutting machine wants paths to follow, so there is one more step to get a machine-ready vector.
Export your finished canvas as a PNG at a generous size, then run it through MonoTrace. It traces the image into clean SVG paths, and it is free. Because you did the cleanup in Canvas Pro first, with a solid background, strong contrast, and the stray marks erased, the trace has far less junk to misread.
Tip
Trace quality is decided before you ever hit Vectorize. High contrast and clean edges in your PNG do more for the result than anything you can fix afterwards.
Info
If your machine software needs DXF instead of SVG, take the SVG from MonoTrace and convert it with File Converter. The full SVG to DXF pipeline is covered in our conversion guide.
Canvas Pro vs Other Options
| Feature | Canvas Pro | GIMP | Photopea | Canva |
|---|---|---|---|---|
| Price | Free | Free | Free (ads) | Free (limited) |
| Runs in browser | Yes | No (install) | Yes | Yes |
| Layers | Yes | Yes | Yes | Limited |
| Specialty brushes | Yes | Yes (plugins) | Limited | No |
| Free companion vectorizer | Yes (MonoTrace) | No | No | No |
| Designed for makers | Yes | No | No | No |
Canvas Pro won't replace Photoshop for professional photo retouching or GIMP for complex compositing. It's not trying to. It's built for the specific tasks makers need: combining design elements, adding text, cleaning up images, and getting files ready for machines.
Go Edit Something
Open Canvas Pro, import an image you've been meaning to clean up, add some text, and export the PNG. The whole workflow takes minutes, runs in your browser, and costs nothing.
For vectorizing your edited images, MonoTrace picks up where the export leaves off. For converting output files to other formats, File Converter handles that. The full design-to-machine pipeline stays inside the browser, and none of it costs credits.
Happy making.
Related Tools
Canvas Pro
Full-featured image editor with layers, brushes, shapes, text, and SVG export. Create and edit designs directly in your browser.
MonoTrace
Free image-to-SVG vectorizer. Convert photos and graphics to clean vector outlines.
File Converter
Universal file converter for makers. Convert between SVG, DXF, PDF, images, and 3D models (STL, OBJ, 3MF).
Ready to try these tools?
Sign up free, no credit card required. Free tools available immediately.
Start Free