

How to Turn Any Photo into a Laser-Cut Jigsaw Puzzle
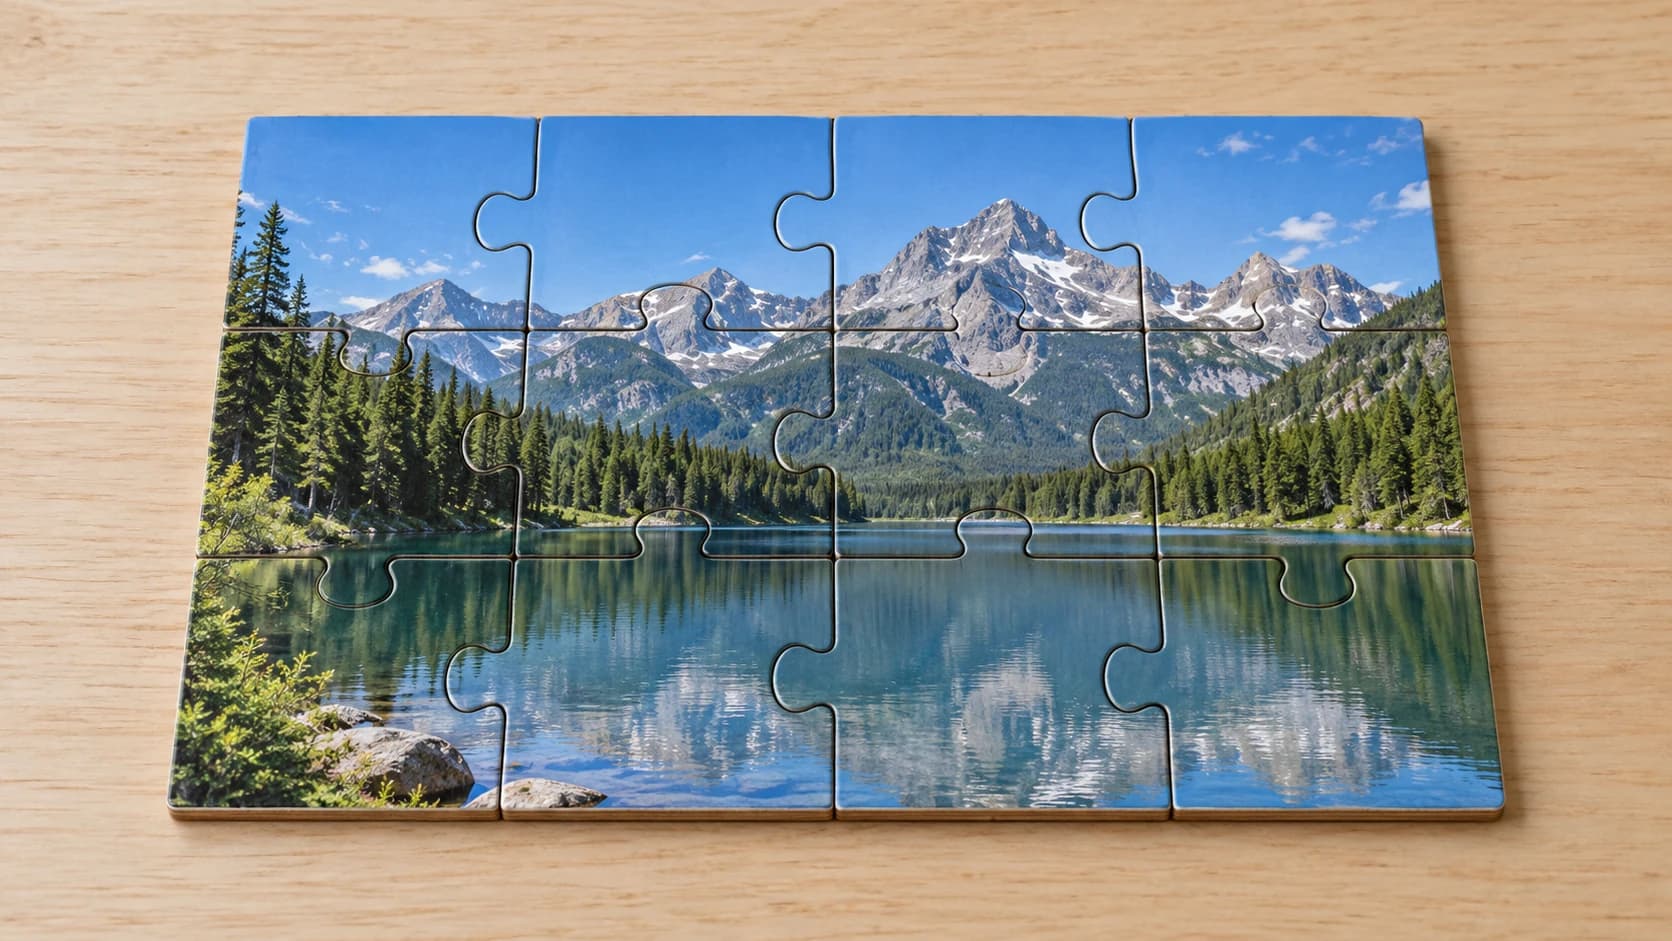
A custom photo puzzle is one of those gifts that lands every time. A wedding photo, a family pet, a favorite vacation shot, cut into interlocking pieces on a slab of Baltic birch. The problem is drawing the cut lines. Nobody wants to hand-draw a grid of interlocking tabs in a vector editor, and generic puzzle templates never match the size or shape of your photo.
That is the whole reason PuzzleCut exists. Upload a photo, pick how many pieces you want, and it generates true-size jigsaw cut lines that fit your image exactly. Every tab is randomized so no two pieces are the same, and the cut file drops straight into your laser or CNC job.
How PuzzleCut Works
The workflow is short:
- Upload your photo (PNG, JPG, or WebP)
- Choose a piece count with the slider
- Pick a puzzle shape and tune the tabs
- Set the physical size in millimeters or inches
- Download the cut lines as a true-size SVG
The piece-count slider does something smart: it picks a grid that matches your photo's aspect ratio. Feed it a wide landscape shot and you get more columns than rows, so the pieces stay close to square instead of getting stretched. You are not fighting the tool to keep pieces looking right.
PRINT. CUT. CARVE.



- Multiple formats (SVG, DXF, PNG)
- Machine-tested designs
- Commercial licenses
Sponsored by PrintCutCarve.com
The Four Puzzle Shapes
PuzzleCut gives you four cut-line styles, and they change the whole character of the finished puzzle.
| Shape | What it looks like | Good for |
|---|---|---|
| Classic | Traditional knobs and sockets | The puzzle look everyone expects |
| Rounded | Softer, curved interlocks | A gentler, modern feel |
| Wavy | Flowing, organic cut lines | Artistic pieces, kids' puzzles |
| Straight | A clean grid with no tabs | Coasters, sample tiles, simple layouts |
Classic is the safe default. Straight is worth knowing about too: with no interlocking tabs it becomes a fast way to slice an image into a clean grid, which is handy for tile sets or when the pieces will sit in a tray.
Tabs, Variation, and the Seed
Three controls decide how the pieces actually feel in your hand:
Tab size sets how deep the knobs go. Bigger tabs lock together more firmly. Smaller tabs look delicate but get fragile.
Variation controls how irregular the pieces are. Low variation gives you a tidy, uniform puzzle. Crank it up and every piece becomes its own odd little shape, which is more fun to assemble.
Seed is the reshuffle button. Every seed value produces a different arrangement of tabs, and the same seed always recreates the exact same puzzle. Found a layout you love? Note the seed so you can reproduce it later.
Warning
Watch the piece size. When pieces get very small, the tab necks (the thin part where a knob joins the piece) turn fragile and can snap during cutting or handling. PuzzleCut warns you when pieces get too small. If you see that warning, drop the piece count or make the board bigger.
Set the True Size Before You Download
This is the step people skip, and it matters. Before you download, set the physical width in your chosen unit. PuzzleCut exports the cut lines at true size, so a 300mm width in the tool means 300mm on your machine. Get this right and the puzzle drops into your job at the correct scale with no resizing.
The cut lines export as red hairlines, which most laser software reads as a cut layer automatically.
Engrave First, Then Cut
Here is the part that makes a photo puzzle actually work: the image and the cut lines live on the same sheet, in the same job.
- Engrave or print the photo first onto your material.
- Then run the cut lines on the same sheet without moving it.
Because the photo and the cut file share the same coordinates, the pieces line up with the image perfectly. If you move the material between steps, alignment is gone, so lock it down and run both operations in one session.
Tip
Photos with strong contrast make the best puzzles. A muddy, low-contrast image engraves flat and the pieces get hard to tell apart. Run your photo through DitherLab first to convert it into a crisp, laser-ready engraving, then bring the cut lines in from PuzzleCut.
Material and Machine Notes
Baltic birch plywood (3mm or 6mm) is the classic puzzle material. It engraves with beautiful contrast and cuts cleanly.
MDF works and is cheap, but the edges char more and it lacks the wood grain charm.
Acrylic makes a striking modern puzzle, especially with a photo engraved on the back of clear stock.
For a CNC router, use a small straight bit (1/8" or smaller) so the tabs come out with enough detail, and cut with tabs or a spoilboard so the loose pieces do not shift once they separate.
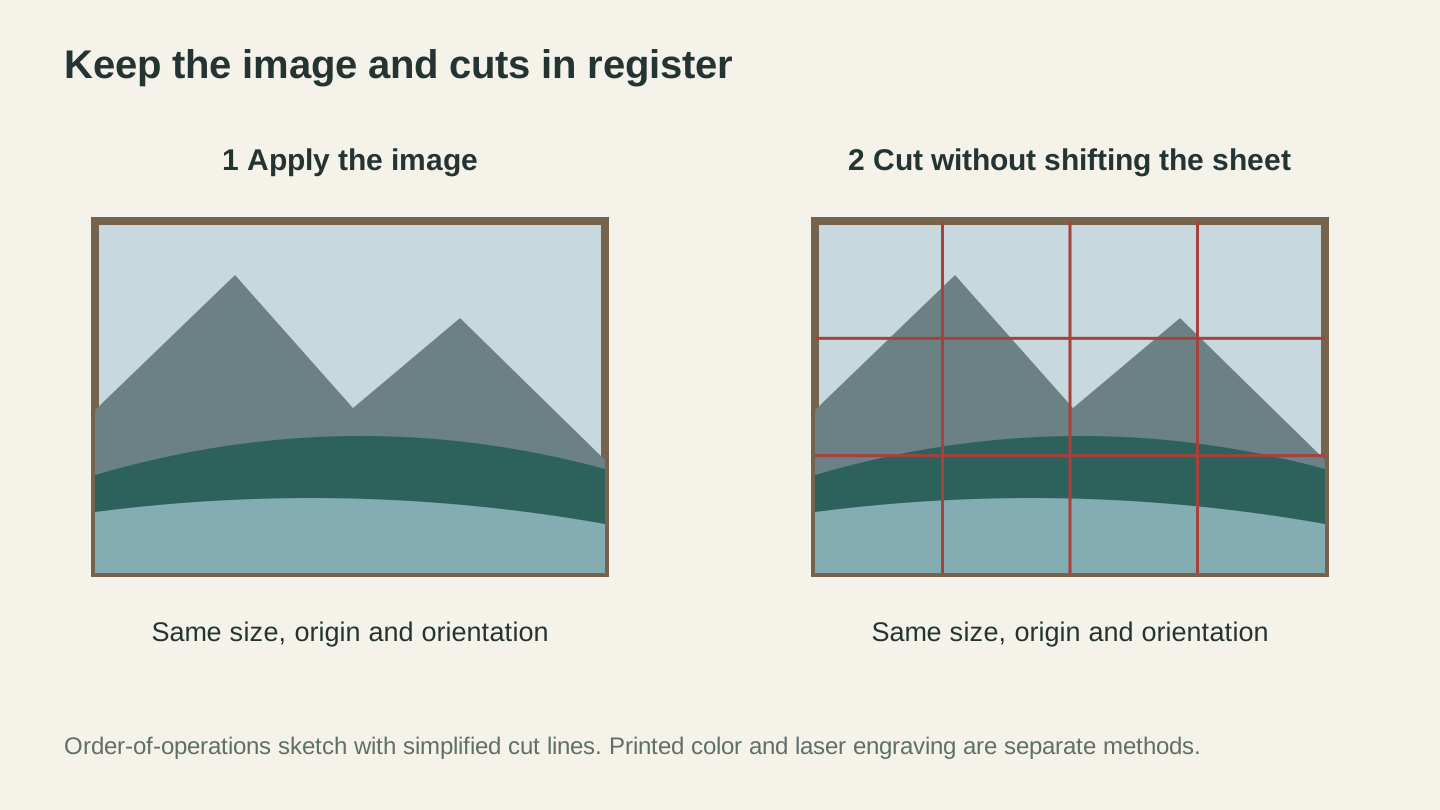
Apply the image first, then cut in the same coordinate position. The color example uses printing; laser engraving makes its image by marking the material.
Project Ideas
Wedding and anniversary gifts. A favorite photo becomes a keepsake puzzle in a small wooden box.
Pet portraits. Cut a photo of someone's dog into a 30-piece puzzle. These sell well at craft fairs.
Kids' name puzzles. Use a bright illustration with the Wavy shape and a low piece count (12 to 20 pieces) so little hands can manage them.
Business swag. A logo or product photo puzzle makes a memorable leave-behind.
If you want to sell these, our guide on the best things to sell with a laser engraver and the craft fair selling guide cover pricing and presentation.
Go Make a Puzzle
Open PuzzleCut, drop in a photo, and slide the piece count around until the grid looks right. It is free and unlimited, so roll a few different seeds and shapes before you commit. The first time you pop a freshly cut photo puzzle apart and snap it back together, you will already be planning the next one.
Happy making.
Related Tools
Ready to try these tools?
Sign up free, no credit card required. Free tools available immediately.
Start Free