

How to Finish 3D Prints: Sanding, Priming, and Painting
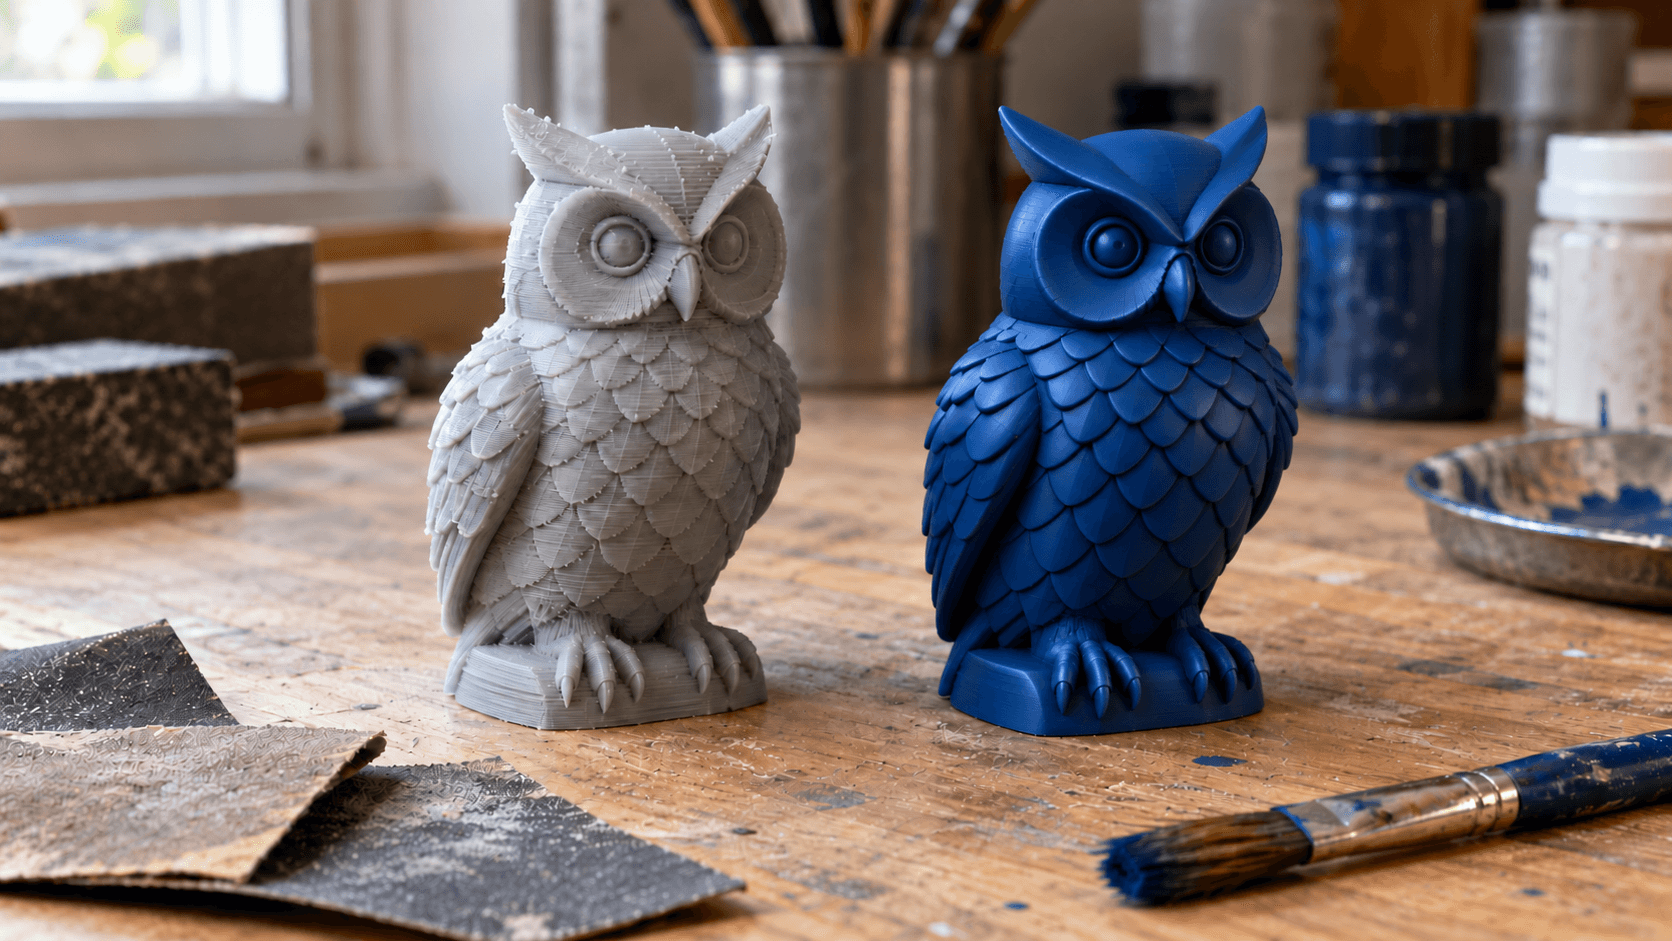
A fresh 3D print has a look. Those fine horizontal lines, the little nubs where supports broke off, the slight shine of plastic. It screams "printed," and for a lot of projects that's fine.
But for a gift, a prop, or something you want to sell next to store-bought products, you want those lines gone. The good news: finishing a print is mostly patience and the right order of steps. No special machine required.
Before You Sand: Print It Smarter
The easiest layer lines to remove are the ones you never printed. A few tricks:
- Orient the part so the most visible surface isn't a shallow slope. Gentle slopes show the worst stair-stepping.
- Use thinner layers for showpieces. They take longer but leave less to sand.
- Place supports where they won't show, like the bottom or the back.
Our supports explainer covers support placement in detail.
Step 1: Clean Up Supports and Blobs
Snip support remnants with flush cutters, then shave any remaining bumps with a hobby knife, cutting away from yourself. Fill small gaps or holes with a little filler putty and let it dry fully.
Step 2: Sand in Stages
Work up through the grits rather than jumping straight to fine paper:
| Stage | Grit (approximate) | Goal |
|---|---|---|
| Rough | 120 to 220 | Knock down layer lines and nubs |
| Medium | 320 to 400 | Remove the rough scratches |
| Fine | 600 and up | Smooth surface ready for primer |
Tip
Wet sanding (sandpaper made for wet use, plus a little water) keeps PLA from heating up and gumming the paper, and it keeps the dust down. Let the part dry completely before priming.
Go easy with power tools. PLA softens at fairly low temperatures, and a rotary tool at high speed can melt the surface instead of sanding it. PETG is tougher and gummier, so it sands slower than PLA.
Step 3: Filler Primer
Here's the secret most beginners miss: you don't sand away all the lines. You sand most of them, then let filler primer (a thick, sandable primer) fill the rest.
- Spray a light coat of filler primer.
- Let it dry fully.
- Sand lightly with fine grit.
- Repeat until the lines disappear.
Two or three rounds usually turn a "printed" surface into a smooth one. Spray outdoors or with good ventilation, and wear a respirator rated for paint fumes.
Step 4: Paint
Acrylic paints work well on primed prints, whether brushed or airbrushed. Spray paint is fine for large, single-color pieces. A few habits that help:
- Thin coats. Several thin coats look better than one thick one.
- Base coat first, details second.
- Let each coat dry before handling. Fingerprints in wet paint are forever.
Step 5: Clear Coat
A clear coat protects the paint from scratches and handling. Pick matte, satin, or gloss depending on the look you want. Check that the clear coat is compatible with your paint by testing on a scrap print first.
Warning
Acetone vapor smoothing works on ABS, not on PLA. Don't try it on PLA prints, and never heat solvents. If you want a chemically smoothed surface, check what actually dissolves your specific filament and follow its safety data sheet.
Skip the Paint Entirely
Not every project needs painting. Multicolor prints made from separate color regions can look finished straight off the plate. Our multicolor 3D prints from images post covers that route, and best filaments helps you pick materials that look good raw, like silk or matte finishes.
Need Help With a Specific Print?
Every model and filament behaves a little differently. Describe what you're finishing to Craft Chat, our AI maker assistant, and ask for a finishing plan.
Grab a print you've been embarrassed to show anyone, and give it the sand, prime, and paint treatment this weekend. The difference is startling.
Keep reading
Ready to try these tools?
Sign up free, no credit card required. Free tools available immediately.
Start Free