

How to Make a Lithophane Night Light, Step by Step
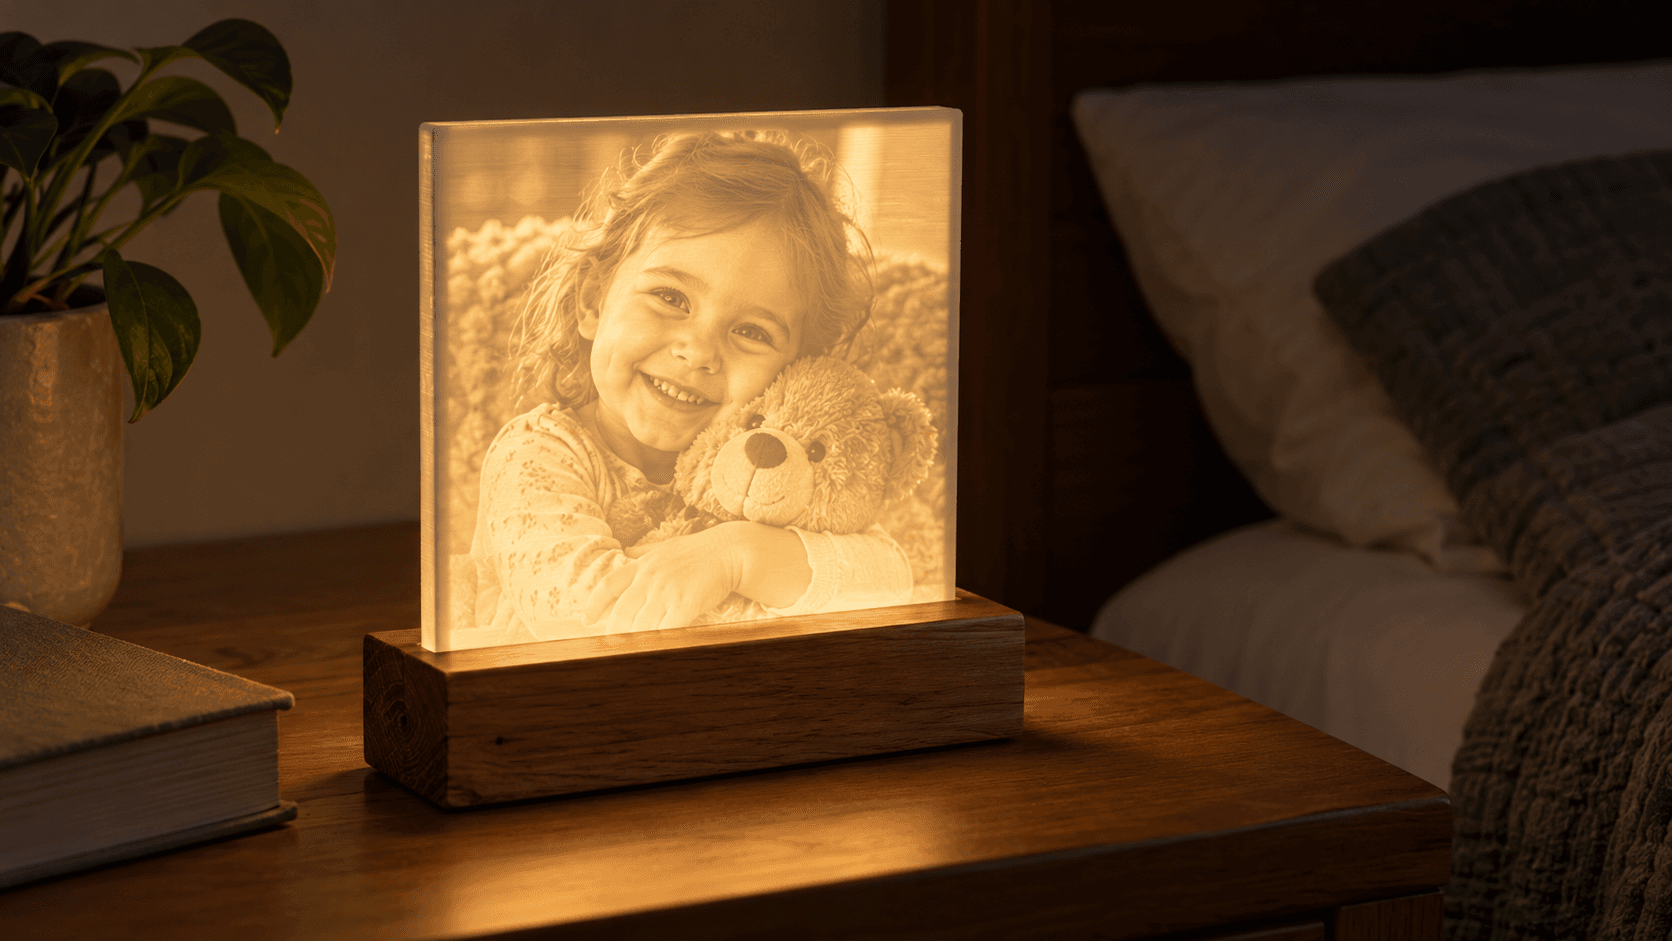
A lithophane is one of those objects that seems like a magic trick. With the light off, it's a white plastic panel with some bumps on it. Turn the light on behind it, and a photograph appears, glowing in soft, warm detail.
Put one in a little base with an LED and you have a night light that people genuinely cry over. Baby photos, a late grandparent, a beloved dog. It's one of the best gifts a 3D printer can make.
How It Works
A lithophane is thin where the photo is light and thick where it's dark. When light shines through, the thin areas glow brightly and the thick areas block more light. The plastic thickness is the image.
Our 3D printed lithophanes guide explains this in more depth. Here, we'll focus on turning one into a finished night light.
Step 1: Pick the Right Photo
Lithophanes reward a specific kind of photo:
- One clear subject, close up.
- Good contrast between the subject and the background.
- Not too dark overall. Very dark photos turn into thick, dim panels.
- Simple backgrounds. Busy backgrounds become visual noise.
A photo that looks great on a phone screen can look flat as a lithophane. If you have a few candidates, try them all at small size first.
Step 2: Make the Model
ReliefMaker turns an image into a 3D relief you can preview in your browser. For a lithophane, you want the photo's brightness to set the thickness, not an estimate of how far away things are in the scene. So:
- Convert your photo to grayscale in any photo editor.
- In ReliefMaker, choose Depth Map under "Start from" and upload the grayscale photo. ReliefMaker treats it as the height map, free.
- Turn on Invert Depth, the setting backlit prints use, so light areas come out thin and dark areas thick.
Set the height scale and base thickness in the 3D Model step and check the preview. Uploading a depth map and the 3D preview cost nothing. Downloading the STL needs a paid plan.
Tip
Size the panel to your light first. Measure the base or LED you'll use, then size the lithophane to fit, rather than designing a beautiful panel and discovering nothing lights it evenly.
Step 3: Print It
Common lithophane advice that holds up well:
- White or natural filament. Colored filament tints the image and blocks light.
- Print it standing upright, so the layer lines run horizontally across the image and the fine detail comes from the nozzle moving sideways.
- Solid infill, so the thickness is truly plastic and not air gaps.
- Go slow and fine. Thinner layers and slower speeds pick up more detail.
Our lithophane guide covers print settings in more detail.
Step 4: Build the Base
The base holds the panel and hides the light. A few ways to make one:
| Base type | Machine | Notes |
|---|---|---|
| Printed box with a slot | 3D printer | Easiest; print in a contrasting color |
| Wooden block with a routed slot | CNC or table saw | Warm, premium look |
| Laser-cut box | Laser | Can carry an engraved name on the front |
Leave a gap of an inch or so between the light and the panel. Too close and you get a hot spot in the middle instead of an evenly lit picture.
Step 5: Light It Safely
Use LEDs only. They run cool and use little power. Good options include battery-powered LED puck lights, USB-powered LED strips, and small LED tea lights.
Warning
Never use incandescent or halogen bulbs inside a plastic lithophane base. They get hot enough to warp PLA. And if you wire your own LEDs, use a proper low-voltage power supply rather than improvising with mains power.
Warm white LEDs give the classic glowing-photo look. Cool white looks more like a backlit screen. Many people prefer warm white for a bedside light.
Make It a Gift
Engrave or print a name and date on the base. Wrap it with a note explaining to "turn it on in the dark." The first time someone switches it on is half the gift.
Lithophane night lights also sell well as custom photo gifts. If you plan to sell them, our 3D printed gift ideas post has more ideas for building a product line around photos.
Pick a photo tonight and load it into ReliefMaker. The 3D preview is free, so you can see how it'll look before you print anything.
Keep reading
Related Tools
Ready to try these tools?
Sign up free, no credit card required. Free tools available immediately.
Start Free