

3D Printed Christmas Ornaments: 5 Styles Worth Printing This Year
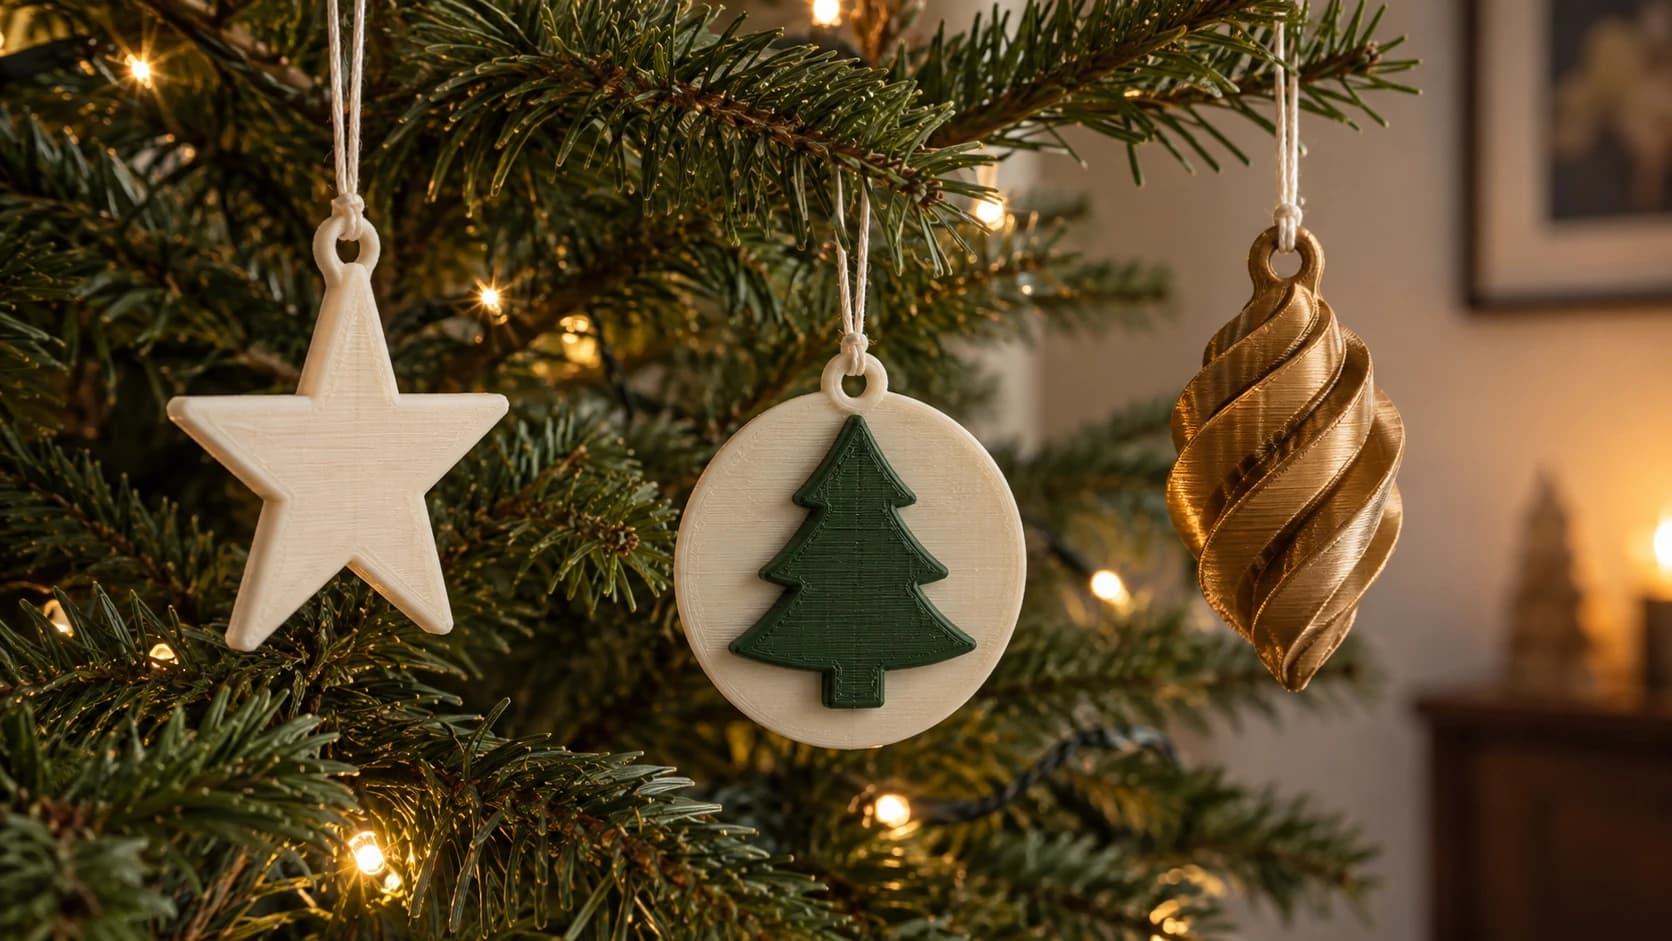
Every year, sometime around December 10th, a wave of makers discovers that ornaments are the perfect 3D print and that they have about nine printing days left before people start opening gifts. The prints are small and cheap, they can be deeply personal, and everyone on your list can use one. The math just falls apart when you start late.
So here is the pitch: it is September. Your printer is probably sitting idle between projects anyway. Ornaments can run in the background of your normal printing for weeks if you start now, and by Thanksgiving you have a box of finished gifts while everyone else is doomscrolling for deals.
The five styles below run roughly in order of effort, from "print thirty tonight" to "someone will tear up when they unwrap this." The practical stuff comes after: hanging holes, brims on skinny parts, and how to plate batches so gift runs do not eat your evenings.
The Five Styles at a Glance
| Style | Effort | Design source | Best for |
|---|---|---|---|
| Flat silhouettes | Minimal | Any simple shape | Bulk gifts, craft fairs, tree filler |
| Multicolor flat art | Medium | A photo or image | Pets, logos, favorite characters |
| Photo lithophanes | Medium | A photo | The sentimental centerpiece gift |
| Geometric and spiral | Low per print, slow per piece | Parametric or downloaded models | Showpieces, modern trees |
| Name and year ornaments | Medium | Text you lay out | Baby's first Christmas, new homes |
Nothing on this list needs a fancy printer. A basic single-nozzle machine handles all five styles, including the multicolor ones, because the multicolor approaches below are built around printing parts separately or swapping filament at a layer change rather than requiring a multi-material setup.
PRINT. CUT. CARVE.



- Multiple formats (SVG, DXF, PNG)
- Machine-tested designs
- Commercial licenses
Sponsored by PrintCutCarve.com
Flat Silhouette Ornaments: The Volume Play
A snowflake, a star, a gingerbread man, a pine tree. A flat outline a few millimeters thick with a hole at the top. This is the least glamorous style here and the one you will actually print the most of.
The appeal is pure economics. Each one uses a few grams of filament, prints quickly, and a full build plate of them runs while you eat dinner. If you sell at craft fairs or want a small something to tie onto every gift you wrap, this is the style that scales.
They also photograph better than they sound. White PLA snowflakes with visible layer lines catch tree lights in a way that reads as intentional texture, not a printing artifact. Lean into it.
Tip
Print silhouettes flat on the bed, not standing up. The layer lines run through the ornament like wood grain instead of across its weakest point, so thin snowflake arms survive being jammed into an ornament box eleven months a year.
If you have a laser as well as a printer, the same silhouette idea gets a different treatment in our family name tree ornaments post, which builds a personalized tree design for engraving.
Multicolor Flat Art From an Image: The Crowd Pleaser
This is where ornaments stop being generic. Take an image that matters to someone, their dog, their favorite character, the family cabin, and turn it into a flat multicolor piece that hangs on the tree.
You do not need a multi-material printer for this. There are two ways to get multicolor from an image, and Craftgineer has a tool for each:
- Separate pieces per color. MosaicFlow analyzes your image, splits it into color regions, and generates an independent 3D piece for each color. You print each piece in its filament and fit them together like a puzzle inlay. Flat, flush, and the color boundaries are crisp because they are physical seams, not blends.
- Stacked layers. StackLab takes the same kind of image and builds cumulative layers instead: each layer includes everything above it, so the bottom layer is the full silhouette and each layer up adds a smaller detail level. Stack them and you get a stepped, dimensional relief look, like a topographic map of the image.
Same photo in, two very different ornaments out. MosaicFlow gives you smooth and graphic, StackLab gives you depth and shadow. Uploads and previews do not charge credits. AI generation uses credits. Downloads require an active paid subscription or a current unlock for that design.
The full workflow, including how to pick images that split into clean color regions, is in our multicolor prints from images guide. The short version for ornaments: bold shapes and limited palettes win, busy photos with gradients fight you.
Info
For ornament-sized prints, fewer colors is better. An image reduced to three or four colors reads clearly at palm size. Twelve colors turns into confetti.
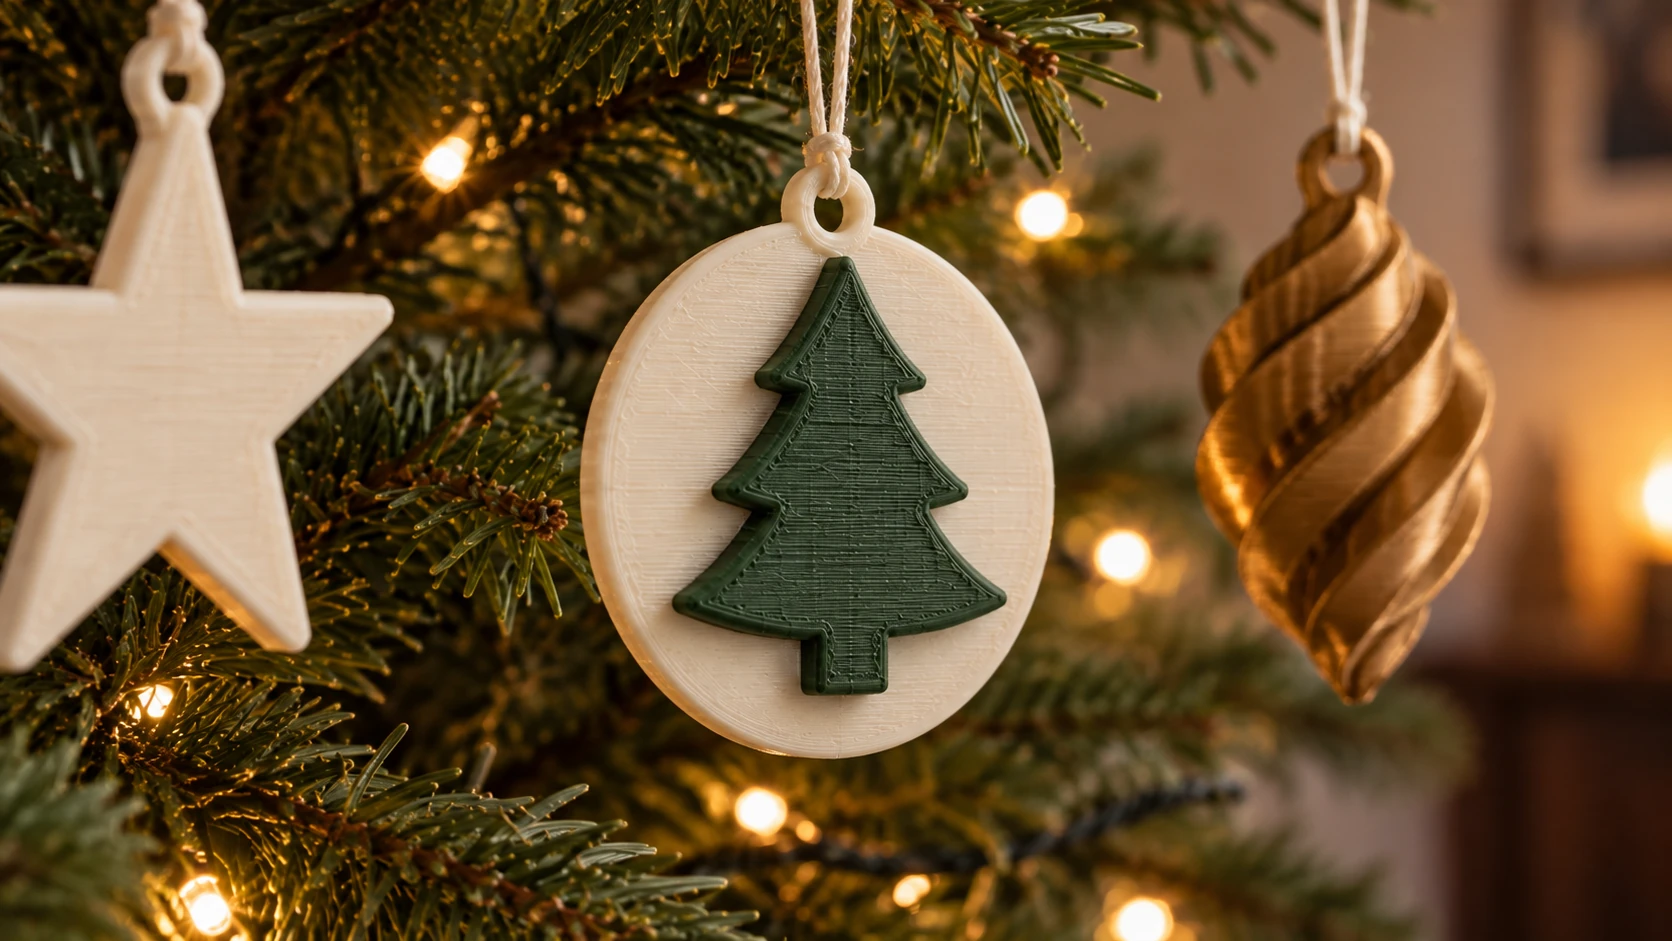
A simple two-color design stays readable at ornament size. Here the green tree sits on a cream base, with the hanging loop built into the backing.
Photo Lithophane Ornaments: The One That Gets a Reaction
A lithophane looks like a plain white disc until light passes through it. Then the photo appears, drawn in the varying thickness of the plastic. Hang one in front of a lit Christmas tree and the tree lights do the work: the photo of grandma, the new baby, the dog who is no longer around, glowing softly from inside the branches.
This is the highest emotional payoff per gram of filament in all of 3D printing, and ornaments are the best possible use for it because a tree comes with built-in backlighting.
ReliefMaker handles the conversion. Upload a photo, turn on lithophane mode, and it generates the depth model where dark areas become thick and bright areas become thin. You get an interactive 3D preview before you commit, and export as STL. The local AI engine is free; there is also a higher-quality mode for 1 credit if a particular photo deserves it.
Two things matter for a lithophane ornament that actually works on a tree:
- Orientation on the tree. A lithophane needs light behind it, so hang it slightly in front of a cluster of tree lights, image facing out into the room. Flat against the wall side of the tree, it stays a blank white disc. Position it where a viewer sees the ornament with lights directly behind it.
- White or light translucent filament. The image is made of thickness, and light has to pass through for anyone to see it. White and natural give the classic monochrome look; lightly colored translucent filaments can work too, but they tint the whole image, and dark opaque filament can hide it completely.
Photo choice matters more than printer tuning here. High contrast portraits with the subject filling the frame work beautifully. Photos taken in dim light come out muddy, and so do busy scenes where the subject is lost in background clutter. Our complete lithophane guide goes deeper on choosing and preparing photos.
Geometric and Spiral Ornaments: The Showpieces
Twisted vases, low-poly baubles, spiral shells, wireframe stars. These are the ornaments that make non-printer people ask "wait, you made that?" because the geometry is obviously impossible by hand.
Many of these are designed to print in vase mode, a slicer feature that prints the outer wall as one continuous spiral with no seams and no infill. The results look delicate and glassy, especially in translucent or silk filament, and each one uses barely any material. They print as a single slow continuous motion, so this is the style where one ornament occupies the printer for a while, which is fine, because you are starting in September.
There is no Craftgineer tool for this style. Parametric modeling tools and the big model libraries are full of ornament designs, and this is a great excuse to finally learn one. The multicolor and lithophane styles above are where our tools earn their spot.
Name and Year Ornaments: The Personal Ones
"Baby's First Christmas 2026." A name in a snowflake. The year the couple bought the house. Personalized ornaments are the ones people keep for decades and the ones that command real prices at markets, because nobody mass-produces your kid's name.
Design-wise this is text layout: pick a chunky, readable font, connect the letters to the frame or to each other so nothing prints as a floating island, and keep strokes thick enough to survive at ornament scale. Script fonts look lovely on screen, but once their thin strokes shrink below what your nozzle can actually draw, they turn into spaghetti. Slice and test one before committing to a batch of twelve cousins.
A two-color version needs no special hardware, just a slicer and firmware that support a pause or filament change at a chosen layer (check yours): print the base plate in one color, pause, swap filament, and the raised text comes out in the second color. Ornaments are more forgiving of a slightly scruffy color change line than most prints, since the swap happens at the text boundary where the geometry changes anyway.
Personalized ornaments also make great toppers for larger gifts: tie one onto the ribbon and the wrapping itself becomes part of the present.
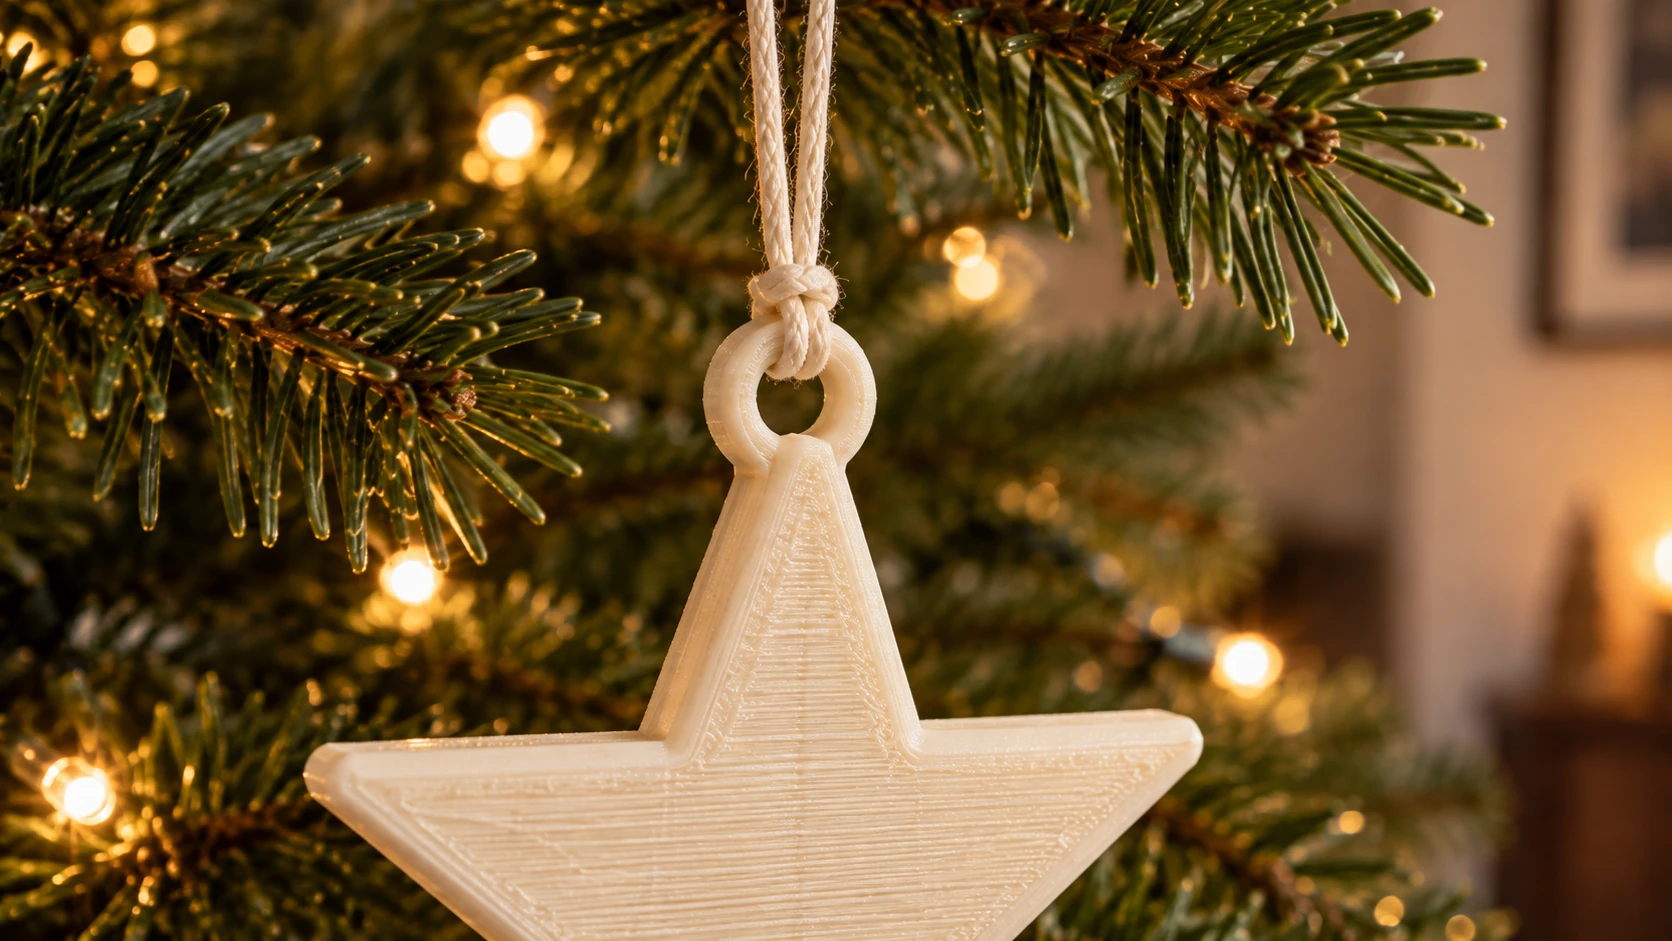
Leave material around the hanging hole and test the cord or hook before printing a batch. This eyelet is joined to the star itself.
Printing Notes That Save Your December
None of what follows is exotic, but each item here is a lesson someone learns the hard way every year.
Thin parts want a brim. Ornaments are mostly small footprints and skinny features, which is exactly the geometry that pops off the bed mid-print. A brim costs you a little cleanup and can save the print. On a plate of twenty snowflakes, one popped part can wreck the other nineteen, so cheap insurance is worth it.
Model the hanging hole, do not drill it. A printed hole with a little reinforcing ring around it keeps its strength; drilling through layer lines after the fact is asking a thin part to take exactly the kind of stress it handles worst. Put the hole in the design, keep some material around it, and check it fits an ornament hook before you print thirty. The alternative, gluing a loop or a jump ring onto the back, works fine for lithophanes and other designs where a hole would cut into the image, but a glued joint is one more thing that can let go somewhere down the line. When the design allows it, the modeled hole wins.
PLA is fine. Indoor tree, normal house, PLA is perfectly suited and comes in every festive color and finish. The one warning: do not store ornaments in a car trunk or a baking attic over the summer, because PLA softens in that kind of heat and your snowflakes will come out of storage as modern art. A closet is fine.
Plate in batches, sanity-check in singles. Print one of a new design first, confirm the hole fits a hook and the thin bits survive, then fill the plate. For gift runs, a full build plate of the proven design can run while you do other things around the house. Follow your printer manufacturer's guidance on supervision, because policies differ by machine, and treat a smoke detector near the printer as an extra precaution, not a substitute for the monitoring your manual asks for. A few plates a week starting in September is a completely painless pace that produces an absurd pile of ornaments by December.
Warning
The one style to never batch blind is lithophanes. Every photo has different contrast, so preview each one in ReliefMaker and print a test before running the full set of grandparent gifts.
Start the Pile Now
The whole argument for September ornaments is that the effort is spread so thin you barely notice it. One test print this week. A plate of silhouettes next week. The lithophane of the grandkids sometime in October, with enough calendar left to reprint it twice if the first photo choice was wrong.
Pick the style that fits the person: MosaicFlow or StackLab to turn a meaningful image into multicolor flat art, and ReliefMaker to turn a photo into the lithophane that glows in front of the tree lights. Upload one image today and get the first ornament into the finished-gifts box.
Related Tools
MosaicFlow
Turn uploaded or AI-generated artwork into separate color regions for inlays, with optional 3D exports.
Downloads require a plan or a design unlock
StackLab
Separate uploaded or AI-generated artwork into stacked layers, with adjustable layer order and optional 3D models.
Downloads require a plan or a design unlock
ReliefMaker
Create depth maps from images or AI generation and build relief meshes for carving or printing.
Downloads require a plan or a design unlock
Ready to try these tools?
Sign up free, no credit card required. Free tools available immediately.
Start Free