How to Create Multicolor Wood Inlays from Any Image
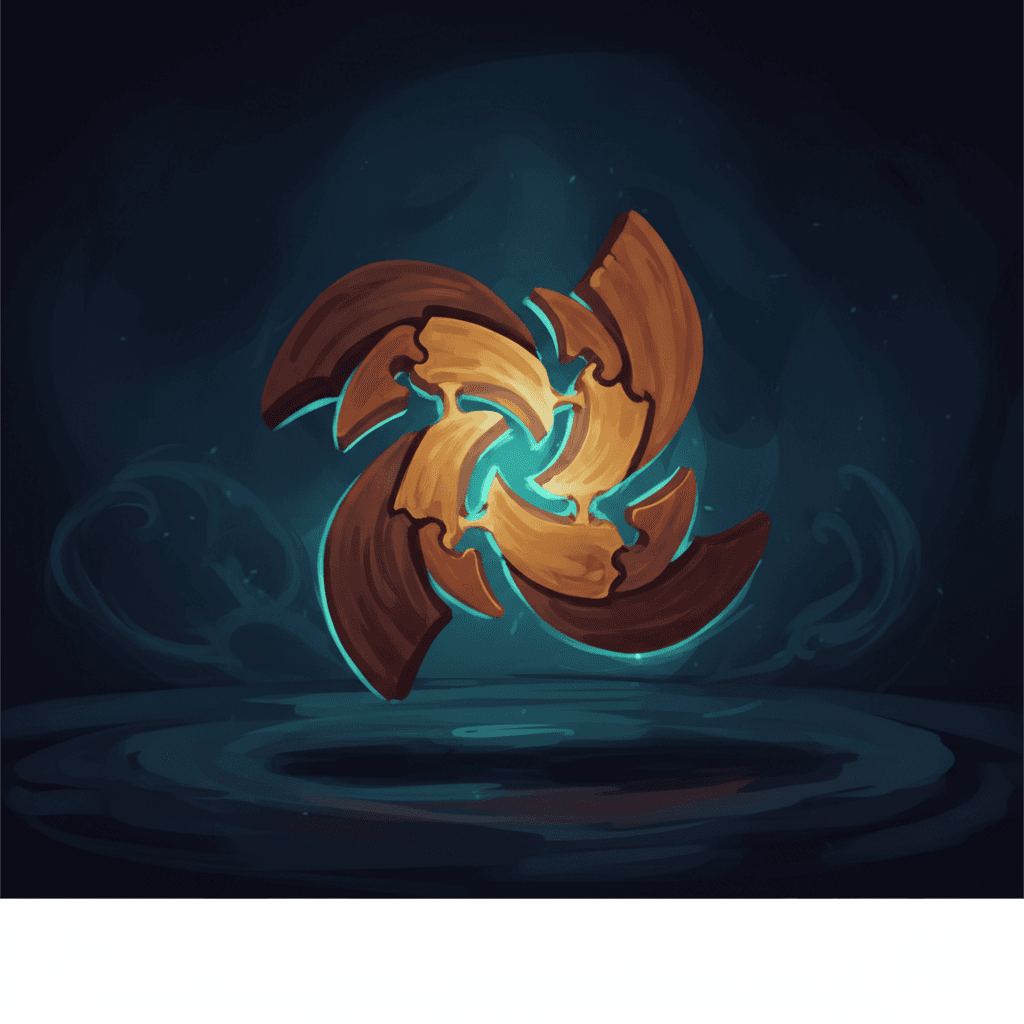
A multicolor wood inlay takes a flat piece of material and makes it look like a painting. Different species of wood (or colored acrylic) are cut into interlocking shapes and assembled into a single surface where the colors form an image. The result is one of the most impressive things you can make with a CNC router or laser cutter.
The problem has always been the design step. Taking a photograph or illustration and manually separating it into color layers, each with clean vector outlines, is tedious work. You're talking hours in a vector editor, tracing every color boundary by hand, making sure pieces fit together, fixing gaps. Most people give up before they finish.
That's the problem MosaicFlow solves. Upload an image, and the AI separates it into color groups with clean vector boundaries. Each color becomes a cuttable SVG layer. The whole process takes about a minute.
What Are Inlays, Exactly?
An inlay is a decorative technique where pieces of one material are set into a surface of another material so they're flush (level with the surface). The contrast between different wood species, colors, or materials creates the design.
There are different types:
Flat inlay (puzzle style): Each color is a separate piece cut from a flat sheet. The pieces fit together like puzzle pieces, edge-to-edge. Glued to a backer board and sanded flush. This is what MosaicFlow produces.
Pocket inlay: A pocket is carved into a base piece, and a contrasting piece is cut to fit inside that pocket. More traditional, typically done with V-bits on a CNC. Great for single-element inlays (a logo in a tabletop, for example).
Epoxy inlay: A design is carved into wood, then filled with colored epoxy resin. Simpler execution but limited to flat designs. Popular for river tables and accent details.
This guide focuses on flat/puzzle-style inlays since that's what MosaicFlow generates. The same principles apply whether you're cutting on a CNC, laser, or cutting machine.
PRINT. CUT. CARVE.


- Multiple formats (SVG, DXF, PNG)
- Machine-tested designs
- Commercial licenses
Sponsored by PrintCutCarve.com
The MosaicFlow Workflow
Here's the full process from image to assembled inlay.
Step 1: Upload Your Image
Head to MosaicFlow and upload a PNG or JPG. The AI analyzes the colors in your image and groups them into distinct regions. Designing and previewing is free, you'll only spend a credit when you're ready to download.
For best results, use images with:
- Clear, distinct color areas (not subtle gradients)
- Strong contrast between adjacent colors
- Simple enough composition for the number of pieces you want to cut
- At least 800px on the longest side
Logos, illustrations, and stylized artwork work better than photographs. A photo of a sunset has thousands of blended colors. A stylized landscape illustration with flat color regions is perfect.
Tip
If you're starting with a photograph, consider running it through Photo Converter first to create a simplified version, or manually reducing the colors in an image editor before uploading to MosaicFlow.
Step 2: Adjust Color Count
MosaicFlow auto-detects and suggests an optimal number of colors (between 4 and 16). You can adjust this up or down.
Fewer colors = simpler design, fewer pieces to cut, easier assembly. Good for beginners and small projects.
More colors = more detail, more pieces, more complex assembly. Better for large showpiece projects where you want maximum visual impact.
For your first inlay project, keep it to 4-6 colors. You can always go more complex on the next one.
Step 3: Merge and Exclude Colors
This is where you fine-tune the design. MosaicFlow shows you a bubble palette of all detected colors. You can:
Merge colors: If two similar greens were detected as separate colors, merge them into one. This reduces the number of pieces to cut.
Exclude colors: Remove a color from the design entirely. Typically used to exclude the background color. If the image has a white background that you don't want in your inlay, exclude it.
Step 4: Despeckle
The despeckle slider removes tiny color islands (speckles) that would be too small to cut as individual pieces. Crank it up if you see lots of tiny dots in the preview. These small fragments would be nearly impossible to cut and place accurately anyway.
Step 5: Download SVG
Downloading the layered SVG unlocks the design for one credit. Each color in your design is a separate layer in the SVG file, and each layer contains the vector outlines for every piece of that color. That unlock is per image, and once you've paid for it you can re-download the same design for free for 24 hours.
Import this SVG into your design software and you'll see each color as a separate group. Assign each group to a different material, set up your cut path, and you're ready to go.
Choosing Materials
The magic of inlays comes from contrast. You need materials that are visually distinct from each other so the design is readable.
Wood Species for Inlays
| Color Needed | Wood Species | Notes |
|---|---|---|
| Light/white | Maple, Holly, Aspen | Holly is whitest but expensive. Maple is the practical choice. |
| Yellow | Yellowheart, Osage Orange | Yellowheart is the go-to. Bright, consistent color. |
| Orange/red | Padauk, Bloodwood | Padauk darkens over time to brown. Bloodwood stays red. |
| Medium brown | Cherry, Mahogany | Cherry darkens with age and UV exposure. Beautiful natural tone. |
| Dark brown | Walnut, Wenge | Walnut is the most popular dark wood for inlays. Gorgeous contrast against maple. |
| Black | Ebony, Blackwood | True black. Expensive but nothing looks quite like it. |
| Purple | Purpleheart | Starts bright purple, mellows to dark brown/purple over time. |
Info
Most exotic wood colors shift over time with UV exposure. Padauk fades from orange to brown. Purpleheart mellows to dark brown. Cherry darkens significantly. A UV-blocking finish (like lacquer or polyurethane with UV inhibitors) slows this process. For long-lasting color, consider acrylic instead of wood for the brightest colors.
Acrylic for Maximum Color
Colored acrylic sheets give you every color at full saturation, and they never fade. A maple inlay with bright red, blue, and green acrylic pieces has a completely different look than an all-wood version. It's more modern, more graphic, and the colors stay permanent.
Acrylic cuts cleanly on a laser and reasonably well on a CNC with the right bit (single-flute O-flute or downcut spiral). For cutting machines, only thin acrylic sheets (under 2mm) work, and only on machines with a deep-cut blade.
Mixing Materials
Some of the most striking inlays combine wood and acrylic. Use wood for the natural tones (the background, the dark outlines) and acrylic for the bright accents. A walnut base with turquoise acrylic inlay pieces is a classic look.
Cutting Your Pieces
How you cut depends on your machine.
Laser Cutting
The fastest and most precise method for flat inlays. Lasers cut tight, consistent kerf (the width of material removed by the cut) which means your pieces fit together well.
Material thickness: 1/8" (3mm) is the standard for inlay pieces. Thin enough to cut easily, thick enough to sand and finish without losing the design.
Kerf compensation: Laser kerf is typically 0.1-0.2mm for a focused diode laser and 0.2-0.3mm for CO2. Your pieces will be slightly smaller than the vector paths. For tight-fitting inlays, offset your cut lines outward by half the kerf width. Most laser software has a kerf offset setting.
If you need to convert your SVG to DXF for your laser software, File Converter handles that for free. Our SVG to DXF guide covers the process.
CNC Routing
CNC gives you more material options (thicker stock, harder materials) but has wider kerf from the bit diameter. A 1/16" bit has about 1.5mm kerf, so small details need to be at least that wide.
Bit choice: Use the smallest bit that's practical for your design. 1/16" (1.5mm) for detail work, 1/8" (3mm) for the main cuts. A downcut end mill gives the cleanest top edge on wood.
Tabs: When cutting pieces from a sheet, the CNC needs small tabs holding each piece to the surrounding material. Without tabs, pieces fly around when they separate. Add small tabs in your CAM software and trim them with a hobby knife after cutting.
For detailed CNC settings, our feeds and speeds guide covers bit selection and cutting parameters. The CNC beginner's guide is helpful if you're new to the machine.
Cutting Machines (Cricut/Silhouette)
Cutting machines can handle thin materials: vinyl, paper, cardstock, and thin wood veneer. They won't cut 3mm plywood, but they can cut veneer sheets (0.5-1mm thick) which work for decorative inlays on flat surfaces.
The advantage is precision. Cutting machines follow vector paths extremely accurately, and the blade kerf is tiny. The downside is the material thickness limitation.
Assembly
This is where the puzzle comes together. Literally.
Step 1: Cut All Pieces
Cut every color layer from its respective material. Label the pieces by color or keep them organized on the cut sheet. It helps to have a reference print of the design handy so you know where each piece goes.
Step 2: Prepare a Backer Board
Cut a backer board (plywood, MDF, or hardboard) to the size of your final piece. This provides structural support and a flat gluing surface. The backer won't be visible in the finished piece.
Step 3: Dry-Fit First
Lay all the pieces on the backer board without glue. Make sure everything fits. Adjust any pieces that are slightly off. This is much easier to fix now than after the glue is on.
Step 4: Glue and Clamp
Apply wood glue (Titebond II or III) to the backer board. Place each piece carefully, working from the center outward or from one edge across. Once all pieces are placed, lay a flat board on top and clamp evenly. Use wax paper between the top board and your inlay to prevent them from being glued together.
Let the glue dry fully (at least 2 hours for Titebond, overnight is better).
Step 5: Sand Flush
Once the glue is cured, sand the surface. Start with 120 grit to level any slight height differences between pieces, then work through 180, 220, and optionally 320 grit. The goal is a perfectly flat, smooth surface where all the pieces blend together seamlessly.
Warning
Sand carefully across the grain of all pieces, not just along one grain direction. Different wood species have different hardnesses, so one species can sand faster than another. Keep the sander moving and check your progress frequently to avoid creating valleys in softer pieces.
Step 6: Apply Finish
A clear finish (polyurethane, lacquer, or oil) brings out the color contrast and protects the surface. The first coat of finish is a revelation. Colors that looked muted on raw wood suddenly pop with depth and richness.
For maximum color retention over time, use a finish with UV inhibitors. This slows the natural color changes that occur in exotic woods when exposed to light.
Project Ideas
Coasters: 4" square or round, 4-6 colors, stylized designs. Make a set of four with different images. These are quick to make and popular as gifts.
Wall art: 12"x12" or larger. More colors, more detail. Frame it or mount it on a backing panel. An inlay portrait or landscape at this size is genuinely gallery-worthy.
Cutting boards: End-grain cutting boards with inlay accents. Use food-safe wood species and mineral oil finish. The inlay is decorative. The board is functional.
Game boards: Chess boards, cribbage boards, and similar games are natural fits for inlay work. Two or three contrasting woods create a striking game surface.
Signage: Business logos and family names in inlay look significantly more impressive than flat engraving. The dimensional quality of different wood tones catches the eye immediately.
Tips for Great Results
Start simple. Your first inlay should be 4-6 colors on a small piece (coaster size). Work up to complex designs once you've mastered the assembly and sanding process.
Use consistent material thickness. Every piece should be the same thickness so they sit flush. Buy all your material from the same supplier and batch if possible. Even 0.5mm difference in thickness creates visible steps that are annoying to sand out.
Cut extras. Small pieces break, get lost, or don't fit quite right. Cut 2-3 extras of any small pieces. You'll thank yourself during assembly.
Photograph the reference. Keep a copy of the MosaicFlow design visible while assembling. When you're staring at thirty pieces of wood on a table, it's easy to lose track of which goes where.
Patience during assembly. Rushing the glue-up is where most inlay projects go wrong. Take your time placing each piece. A misplaced piece means pulling it out of wet glue and cleaning both surfaces. Not fun.
Go Make an Inlay
Find an image with strong, distinct colors. A logo, a cartoon character, a simplified landscape. Upload it to MosaicFlow, adjust the colors, and download the SVG. Cut the pieces from contrasting materials, assemble them, and sand it flat.
The first time you apply finish to a completed inlay and all the colors come alive, you'll understand why inlay work has been prized for centuries. The difference is that it used to take weeks of hand-cutting. Now it takes an afternoon.
Happy making.
Related Tools
MosaicFlow
Use AI to create perfect multicolor inlays and 3D prints in seconds. Convert your images into precision-fit vector parts that snap together perfectly.
Photo Converter
Transform photos into pen-and-ink style line art for engraving. Supports standard and inverted output for light or dark materials.
File Converter
Universal file converter for makers. Convert between SVG, DXF, PDF, images, and 3D models (STL, OBJ, 3MF).
Ready to try these tools?
Sign up free, no credit card required. Free tools available immediately.
Start Free