

Vinyl Weeding Tips That Save Your Sanity
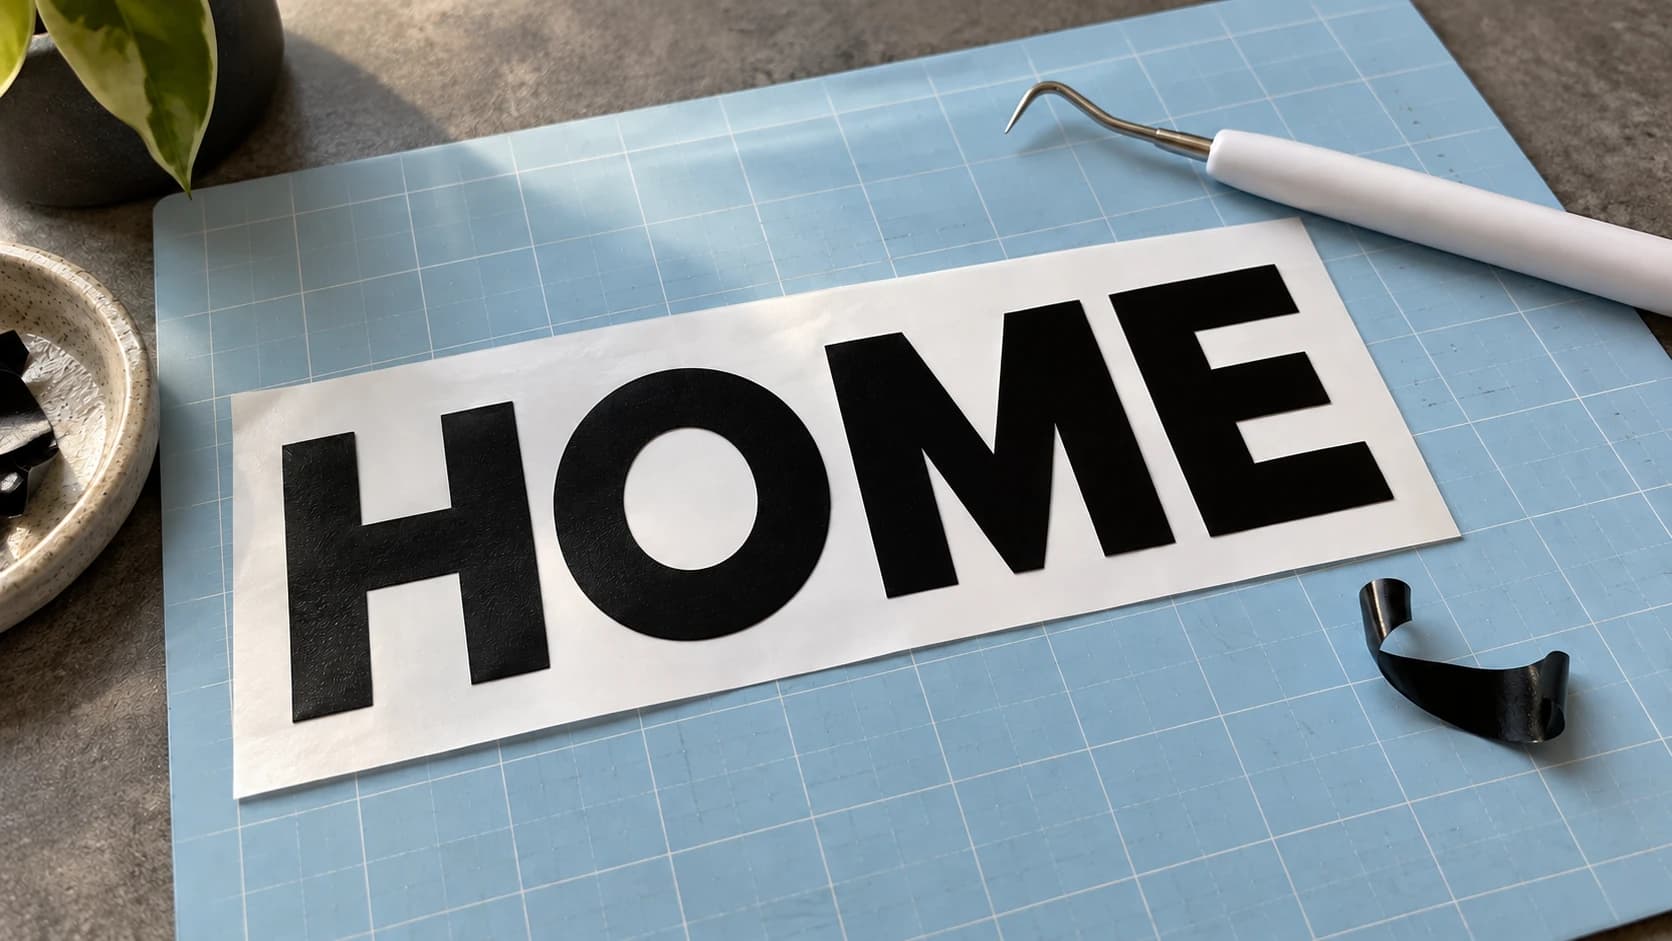
Nobody buys a cutting machine because they are excited about weeding. The machine does the glamorous part in ninety seconds, and then you sit there for forty minutes with a hook, picking tiny triangles out of the middle of every letter while the design slowly tries to come up with the excess.
Here is the thing most weeding advice misses: the fight usually starts before the blade ever touches the vinyl. A design with hairline gaps and confetti-sized shapes is going to be miserable to weed no matter how good your hook technique is. So this post works in that order. Fix the file, fix the cut, and then use the hands-on tricks for whatever difficulty is left.
Weed It in the Design First
Every stray speck in your file becomes a physical speck of vinyl you have to pick out with a pointed tool. Every gap thinner than a blade width becomes two shapes that tear as one. The cheapest weeding time you will ever save is the time you spend in the design before cutting.
Three things to check:
- Minimum sizes. As a starting guideline, anything much under about 1.5 mm wide in adhesive vinyl is living dangerously: small interior details lift with the excess instead of staying put. The real limit varies by film, blade, and font, so test cut your specific material. If a detail is that small and not essential, delete it or fatten it.
- Hairline gaps. Two shapes separated by a sliver leave a sliver of vinyl between them, and slivers do not weed. They stretch, snap, and stay behind in pieces. Either merge the shapes or open the gap up to something the blade can honestly separate.
- Traced art full of junk. This is the big one. Auto-traced images are where the confetti comes from: dozens of micro-shapes from JPEG noise, doubled paths, and ragged edges made of hundreds of tiny nodes. Ragged edges are not just ugly, they grip the excess so it will not release in a clean pull.
That third problem is exactly what MonoTrace exists for. It is Craftgineer's free image-to-SVG vectorizer, and it filters out the micro-shape confetti automatically while producing clean, smooth paths, so the junk never reaches your cutting software in the first place. A trace with smooth curves and no stray islands weeds dramatically easier than a raw auto-trace, because the excess peels away from smooth edges in one piece instead of catching on every jagged point.
If your trace already exists and it is a mess, our traced image cleanup guide walks through diagnosing specks, jagged edges, and doubled lines one problem at a time.
PRINT. CUT. CARVE.



- Multiple formats (SVG, DXF, PNG)
- Machine-tested designs
- Commercial licenses
Sponsored by PrintCutCarve.com
A Too-Shallow Cut Is Unweedable
If the excess will not separate from the design and the whole sheet lifts together, stop. That is not a weeding problem. That is a cut problem, and no amount of careful picking fixes it.
The blade has to cut fully through the vinyl and its adhesive while leaving the backing intact. Too shallow and the shapes are still connected by an uncut layer at the bottom. Too deep and you score the backing, which lets small pieces punch out and stick to the excess.
So before any real project on a new material:
- Run a test cut. A small shape in the corner of the sheet, using the machine's built-in test cut if it has one.
- Weed the test. The excess should peel away with light, even resistance and the shape should stay flat on the backing. If you have to saw at it or the shape lifts, adjust.
- Change one thing at a time. Pressure first, in small steps. If cranking pressure still does not cut through, stop cranking and start inspecting: check the blade for dullness or a fleck of vinyl stuck in the housing, then recheck the material setting, blade depth, and speed before pushing pressure further. Blades are consumables, and a fresh one fixes more "bad vinyl" than new vinyl does.
Different brands and finishes of the same nominal material cut very differently, which is why the test cut is per-roll, not per-machine. Our materials guide for Cricut and Silhouette machines gets into why glitter and metallic vinyls in particular need their own settings.
Warning
If a cut weeded fine last week and fights you today with the same settings, suspect the blade before the material. A tiny chip in the tip cuts a channel that looks complete but is not.
Weeding Boxes: Divide and Conquer
A weeding box is just a rectangle you draw around your design, or around each cluster of it, that gets cut along with everything else. It sounds too simple to matter. It changes everything about a big weed.
Instead of pulling one giant sheet of excess across the whole design, praying it does not grab a letter on the way, you pull several small panels. Each pull is short and controlled, with almost nothing riding on it. If something starts to lift, you are two centimeters from where it went wrong instead of thirty.
For a layout with scattered elements, box each element separately. For a wall of text, box each line or each word. The extra vinyl the boxes waste is a few millimeters of margin. The design it saves is the whole sheet.
Tip
Draw the boxes in your design software before cutting, not on the machine's canvas at the last minute. Boxed clusters also make it obvious which pieces belong together when you get to application time.
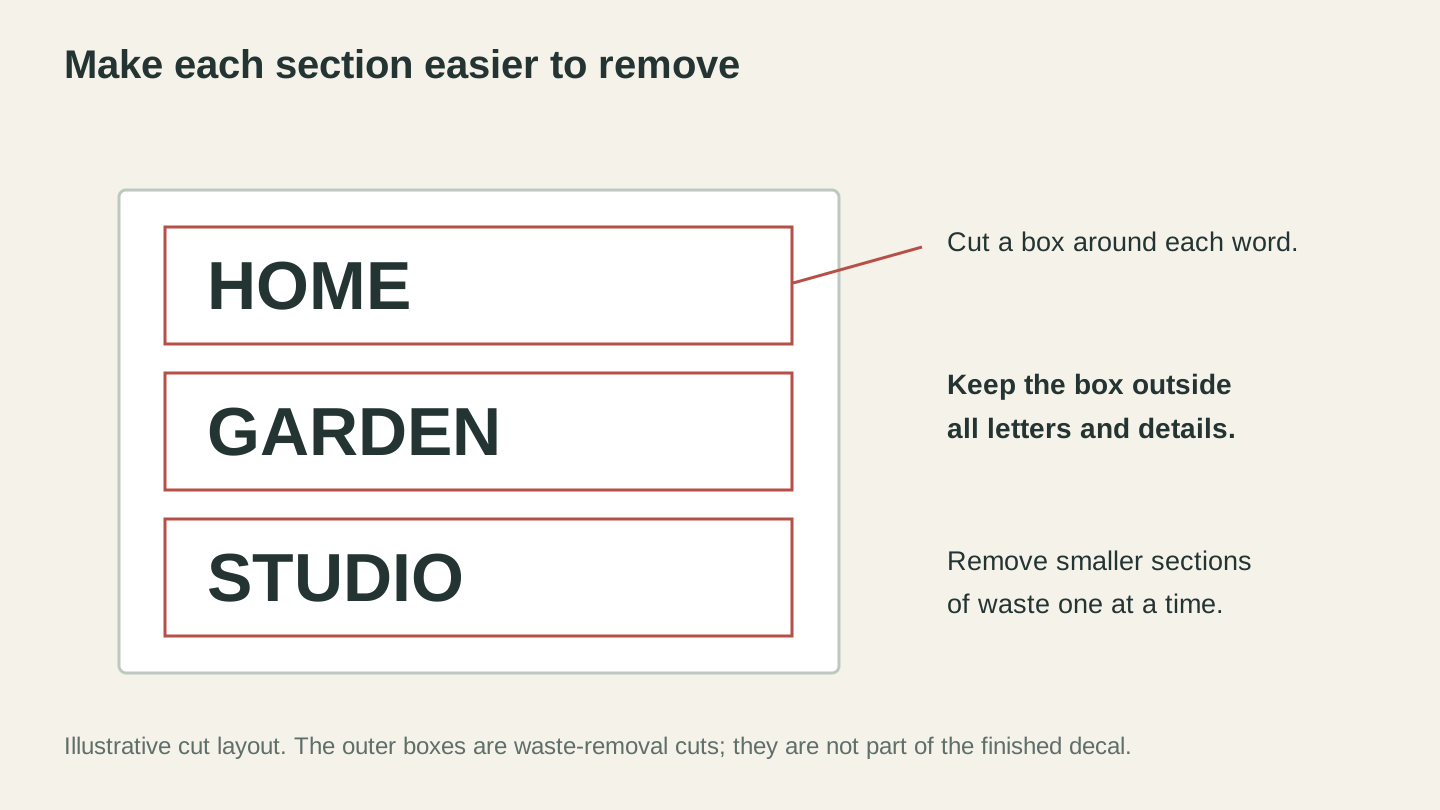
Boxes outside the lettering divide the waste into smaller sections. Keep each box clear of the design itself.
Light, Angle, and Temperature
Three environmental fixes that cost almost nothing:
Raking light. The cut lines in matte vinyl are nearly invisible under flat overhead light. Put a bright lamp low and off to one side, so the light rakes across the surface, and every cut line throws a tiny shadow. Suddenly you can see where the blade went. A cheap LED panel or even your phone flashlight propped at a shallow angle works. Some people use a light pad underneath instead, which shines through the backing and outlines every cut from below. Both beat squinting.
A raking pull angle. Pull the excess back low and across the sheet, folding it back over itself at a sharp angle, rather than lifting it straight up. A low peel concentrates the separation force right at the cut line, so the excess releases cleanly instead of levering your design up with it. Slow down at every junction where the excess necks down between two shapes. That is where tears start.
Warmth. Cold vinyl is stiff and its adhesive is sluggish, so pieces snap instead of peeling and small bits stay stuck to the excess. Warm vinyl is dramatically more cooperative. If your craft space is cold, a few seconds of gentle warmth from a hair dryer, or just letting the sheet sit somewhere warm first, makes the excess stretchy and willing. Warm, not hot. You want cooperative vinyl, not distorted vinyl.
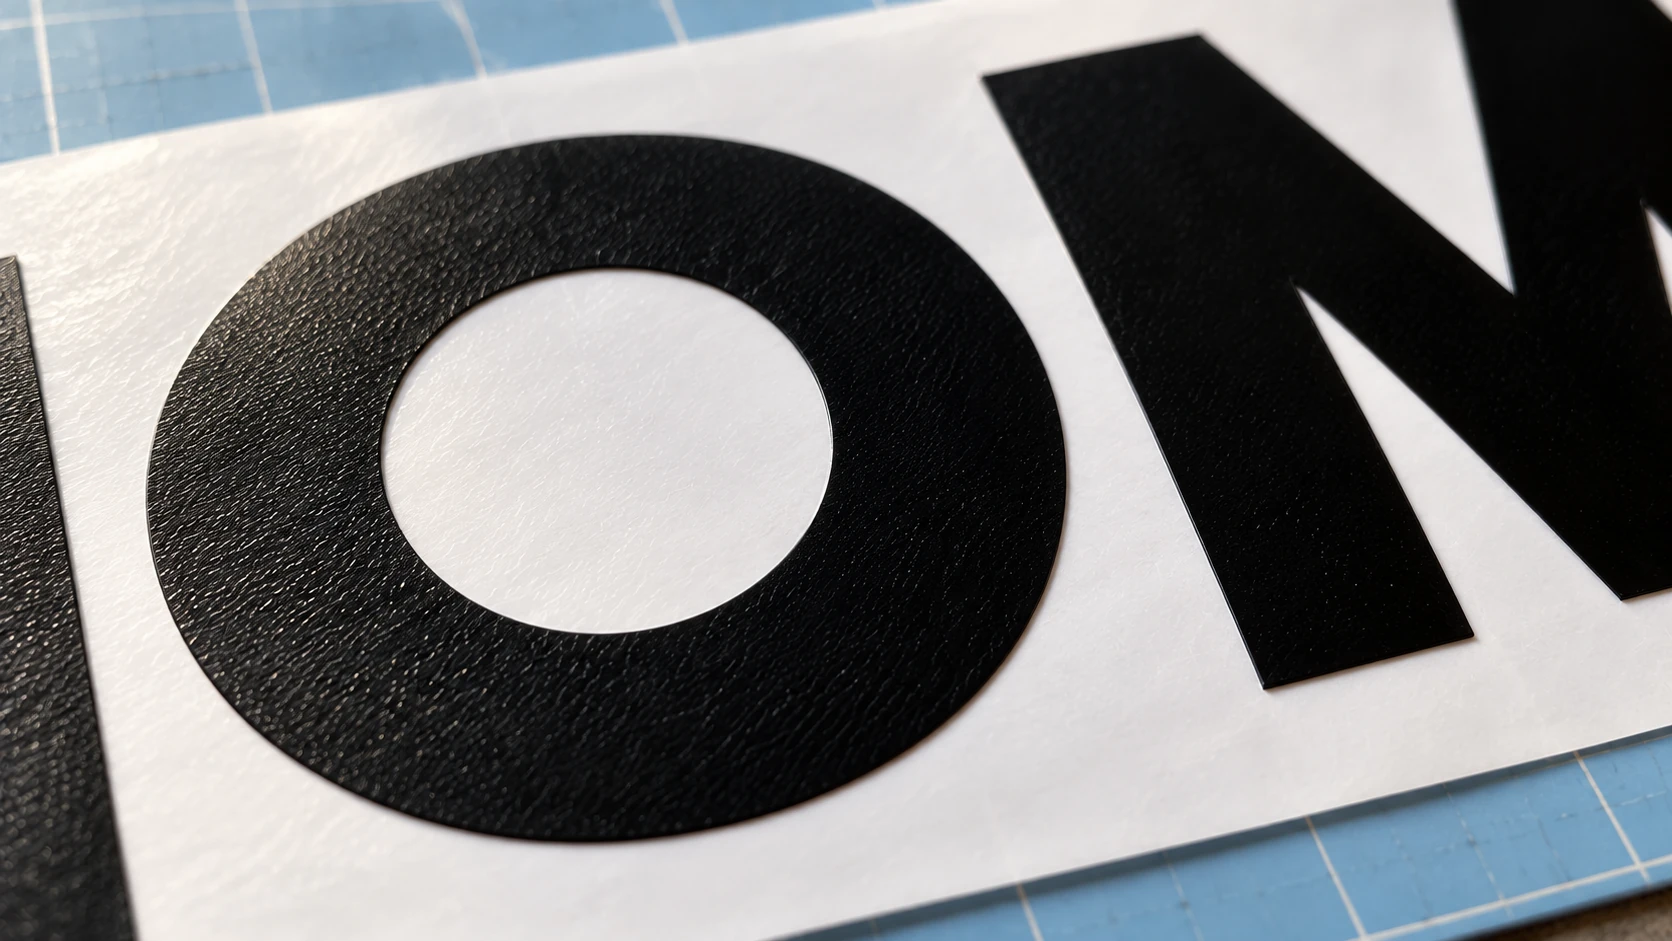
The white center of the O is the exposed release backing. Remove the unwanted center while keeping the surrounding letter on the sheet.
Weeding Tools Compared
There is no single best weeding tool. There is a best tool per job, and most people settle into using two.
| Tool | Best at | Weak at | Notes |
|---|---|---|---|
| Weeding hook | General excess removal, hooking centers of letters | Very tiny pieces in tight quarters | The default. The bent tip grabs and lifts without needing a fingernail |
| Pin or needle tool | Tiny centers, specks, lifting a corner without touching neighbors | Pulling large areas, slow for bulk work | Precision instrument. Also the tool of choice for popping air bubbles later |
| Fine-point tweezers | Removing pieces the hook loosened, retrieving bits stuck to excess | Starting a lift on flat unweeded vinyl | Underrated as the second hand. Hold the design down while the other hand pulls |
| Craft knife tip | Rescue work: coaxing a piece the blade did not fully release | Everything else | Easy to scratch the backing. A last resort, not a daily driver |
If you only buy one thing, buy the hook. If you weed intricate designs regularly, the pin tool and tweezers stop being optional.
Reverse Weeding for Intricate Designs
For genuinely intricate work, delicate script, lacy patterns, designs where the excess outweighs the design ten to one, normal weeding gets flipped on its head.
Instead of removing the excess and leaving the design on the backing, you apply transfer tape over the entire uncut-looking sheet first, burnish it well, and peel the whole sheet up on the tape. Then you weed the excess away from the tape side, where every piece is held firmly in place by the tape instead of sitting loose on slick backing.
The difference is stability. On the backing, a delicate swirl has nothing holding it but a strip of adhesive, and one careless pull takes it with the excess. On transfer tape, the design is anchored across its entire surface while you pick the excess off around it.
The same logic is why HTV is often easier to weed than adhesive vinyl in the first place: HTV is cut mirrored from the back, with its carrier sheet acting as a built-in transfer tape holding every element in place while you weed.
Static and the HTV Carrier
Speaking of HTV: its clear carrier sheet is a static generator. You peel away a big sheet of excess, set it aside, and the weeded scraps leap off it and land back in the middle of your design, where they will happily press themselves into your shirt under the heat press if you do not notice.
Cheap fixes:
- Wipe the work area with a dryer sheet before you start, and drag the excess across one as you remove it.
- Keep a scrap box next to you and get excess pieces into it immediately, not into a growing pile on the desk that shares static with everything.
- Do a final graze with the back of your hand over the weeded design before pressing. Loose scraps cling to skin better than they cling to carrier.
Info
Check the carrier against raking light one last time before the press. A stray sliver of HTV is invisible until heat makes it permanent.
Small Text Without Tears
Small text is the final boss of weeding, so it gets its own strategy list:
- Respect the floor. Very small text with thin strokes is a weeding problem no technique fully solves. Chunky rounded fonts survive small sizes far better than thin serifs, whose fine strokes tear during weeding and lift during transfer. When a design forces tiny type, pick the font for weedability first.
- Weed the counters first, then the excess. Pop the centers of the letters out with the pin tool while the surrounding excess is still holding everything rigid. Then pull the excess last. Doing it in the other order leaves each fragile letter unsupported while you jab around inside it.
- Box every line. Weeding boxes matter most exactly here. One line of text per pull.
- Consider reverse weeding. Small adhesive-vinyl text is the number one candidate for the transfer-tape-first method above.
- Or offload the problem entirely. For decal work, sometimes the honest answer is printable vinyl: print the design, contour cut around it, and skip weeding the text at all. Our decals and stickers guide covers when cut vinyl is the right call and when print-and-cut is.
Know When to Recut
There is a point in every bad weed where continuing costs more than starting over, and most of us blow straight past it out of stubbornness.
The math is simple. A recut costs you a bit of vinyl and a few minutes of machine time. Rescuing a torn design costs twenty minutes of surgery with a craft knife, and half the time the patched result bothers you forever anyway.
Recut when:
- The excess is tearing at every junction, which means the cut depth was wrong for the whole sheet, not just that spot.
- A load-bearing piece of the design came up with the excess and stretched on the way.
- You are more than a few minutes in and still fighting every single pull.
And then actually fix the cause before the recut. Bump the pressure, swap the blade, warm the vinyl, or go back into the file and thicken the detail that keeps tearing. Recutting with nothing changed just schedules the same fight twice.
Make the Next Weed Boring
The best weeding session is a boring one: the excess comes up in a few calm pulls, the counters pop out, and you spend your time on the fun part instead.
Most of that boredom is earned before the cut. If your designs start life as traced images, run them through MonoTrace first. It is free, its automatic speck filtering kills the confetti at the source, and clean smooth paths are the difference between excess that releases and excess that fights. Your future self, hook in hand, will thank you.
Related Tools
Ready to try these tools?
Sign up free, no credit card required. Free tools available immediately.
Start Free