

How to Clean Up a Traced Image So It Cuts Clean
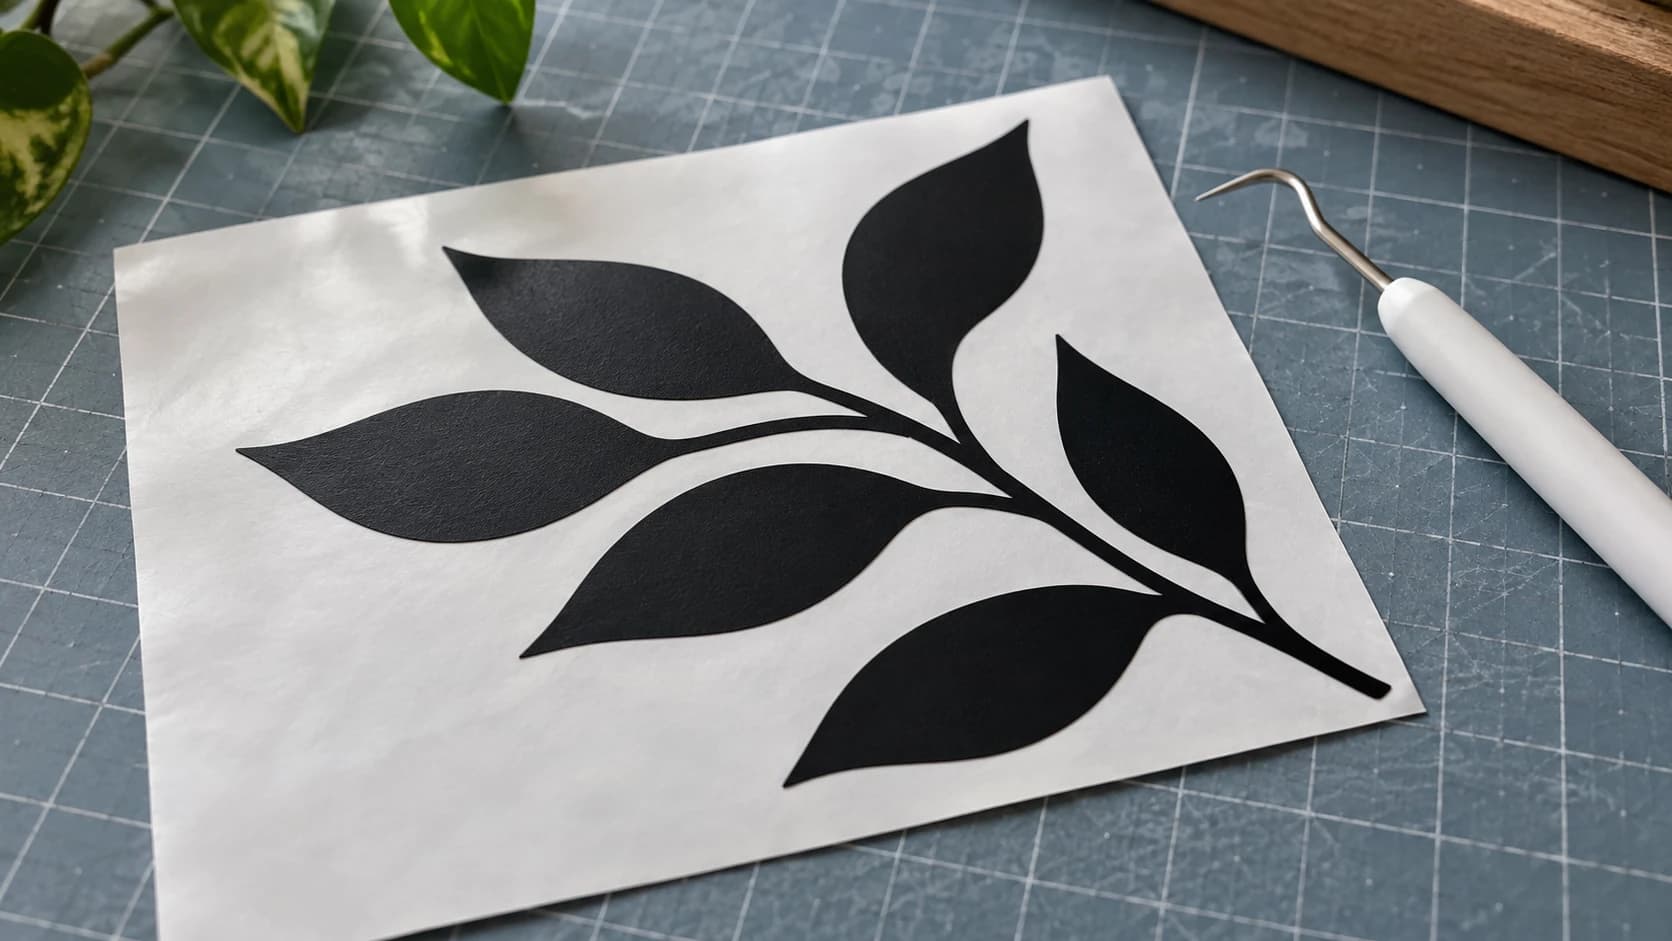
You traced the image. You got an SVG. You loaded it up, hit go, and the result is a mess. The outline has tiny stair steps you can feel with a fingernail. There is a confetti storm of specks scattered around the design that the blade dutifully cut out anyway. The blade went over the same line twice. And somewhere in there, a detail you cared about just vanished.
Tracing worked. Cleanup did not happen.
Almost every "my trace looks bad" problem traces back to one of four things, and each one has a specific fix. This post is the triage. If you have not converted your image yet, start with our PNG to SVG guide or the Cricut-specific version, then come back here when the file exists and the cut is ugly.
Tip
Short answer: Fix the source image before you trace, not the SVG after. A tracer draws the boundary between dark and light. Give it a clean, high contrast, solid black shape on solid white and almost every cleanup problem disappears on its own.
Why Cleanup Belongs Upstream
Here is the part that saves the most time, and it is the opposite of what most people try first.
A tracer does exactly one thing: it walks the border between the dark parts of your image and the light parts, and it draws a path along that border. It does not know what your design is. It does not know that the gray smudge in the corner is a scanner artifact and the gray smudge in the middle is a shadow you wanted. Everything darker than the cutoff becomes a shape. Everything lighter becomes background.
So if the border is fuzzy, the path is fuzzy. If there are eleven dust specks over the cutoff, you get eleven extra shapes. If your line art is a thin gray pencil stroke on off-white paper, half of it lands on the wrong side of the cutoff and disappears.
Deleting eleven stray paths in a vector editor takes several minutes of clicking. Erasing eleven specks with one selection in a raster editor takes about four seconds. Same result, wildly different effort. Fix the pixels, retrace, done.
PRINT. CUT. CARVE.



- Multiple formats (SVG, DXF, PNG)
- Machine-tested designs
- Commercial licenses
Sponsored by PrintCutCarve.com
Diagnose It First
Look at the trace at the size you plan to cut, not zoomed out to fit the screen. Most defects are invisible at 25 percent zoom and glaringly obvious at 100 percent. Then match what you see to this:
| What you see | Most likely cause | Where to fix it |
|---|---|---|
| Tiny specks and confetti around the design | Image noise, paper grain, or a background that is not pure white | Raster, before tracing |
| Stair-stepped, chunky, faceted edges | Source image resolution is too low for the cut size | Raster, before tracing |
| Curves that look right but the machine stutters | Way too many nodes packed into every path | Raster, before tracing |
| Every line is cut twice, slightly apart | You traced a line drawing, so each stroke has an inner and outer edge | Design decision, before tracing |
| Thin details missing or broken into dashes | Strokes fell below the cutoff, or below what your material can hold | Raster or scale, before tracing |
| Centers of letters fall out | Islands with no bridges | Assembly technique, after cutting |
Notice how many of those say "before tracing." That is the whole point.
Problem 1: Specks and Confetti
This is the number one complaint, and it is the easiest one to kill.
Specks come from anything slightly dark that is not part of your design. JPEG compression artifacts around high contrast edges. Dust on a scanner bed. The texture of the paper you photographed. A background that looks white on screen but is actually a very light gray, so parts of it dip below the cutoff in patches.
The fix is to make your background genuinely, mathematically white, and your design genuinely black.
Open the image in Canvas Pro, which is free and runs in the browser. Then, in rough order of how blunt you want to be:
- Magic wand the background and delete it. Click the background with the wand, then fill it with pure white. Anything that survives is either part of your design or a speck that was not connected to the background.
- Paint over stragglers with a white brush. For scattered dust in the middle of the design, a few passes with a hard white brush is faster than any clever technique.
- Crop out the junk. Watermarks, borders, page edges, and the shadow of your hand holding the phone are all easier to crop than to erase.
- Export as PNG and retrace.
If you are tracing a photographed pencil or ink drawing, turn on Sketch mode in MonoTrace before you vectorize. It is built to even out paper tone and the uneven shadow you get from shooting a drawing on a desk with one lamp. It solves the "the whole left side of my page traced as a giant black blob" problem in one checkbox.
Warning
Do not try to hide specks by scaling the design down. They scale down with everything else and your blade still cuts them, just smaller and more annoying to weed. Small does not mean gone.
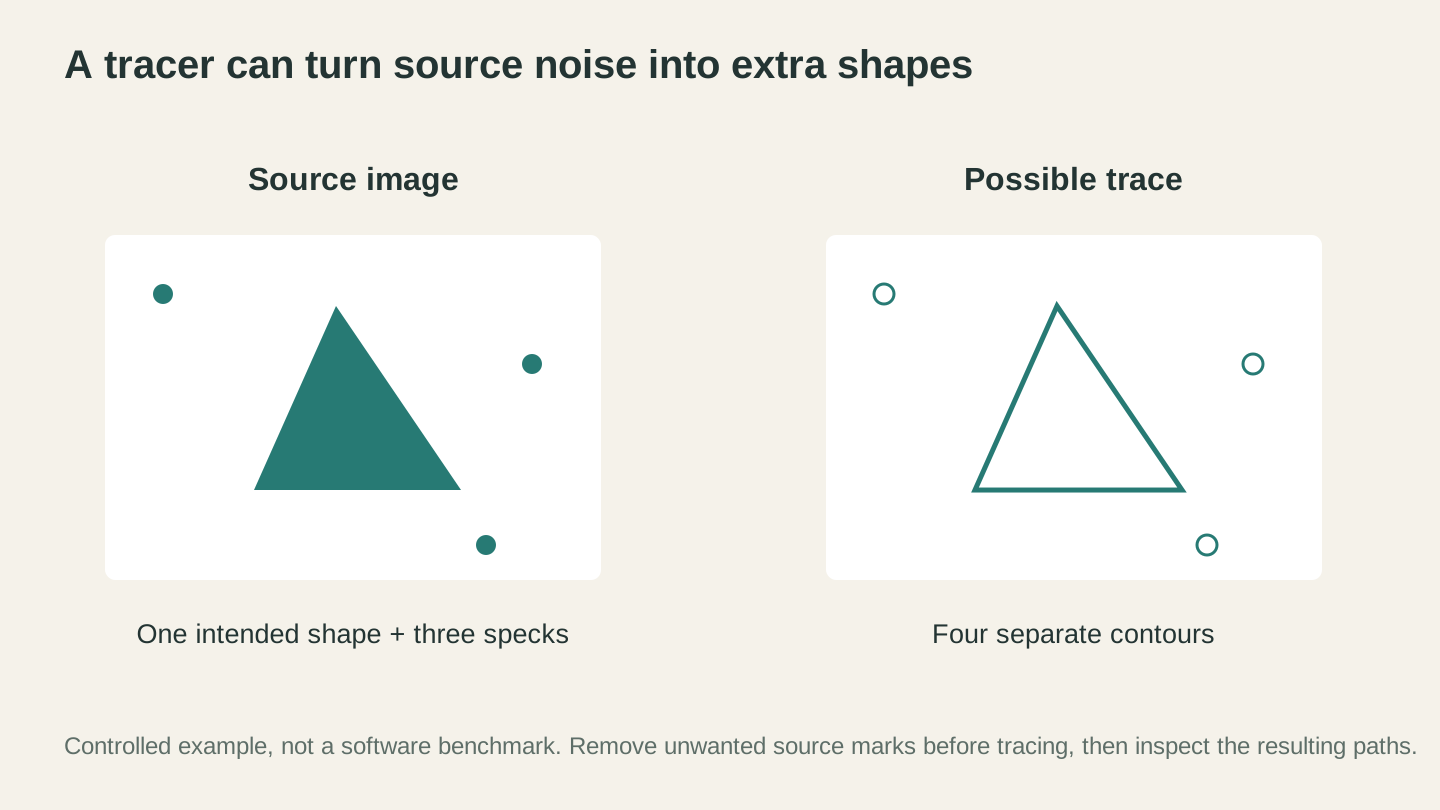
Tracing can turn stray specks into separate paths. Removing noise in the source can save cleanup work after conversion.
Problem 2: Jagged, Stair-Stepped Edges
If your curves look like a staircase, the tracer did not fail. It faithfully traced a staircase, because that is what was in the image.
Pixels are squares. A diagonal edge in a small image is literally a series of little steps. At 3000 pixels wide those steps are far below anything a blade can resolve, so the trace comes out smooth. At 250 pixels wide, each step is big enough to become a real corner in the path, and then a real notch in your material.
The fix, in order of preference:
Get a bigger source image. Go back to wherever the image came from and grab the largest version available. Take a new photo at full resolution instead of using the screenshot. This solves it completely and nothing else solves it as well.
Soften the edge before you trace. If a bigger version does not exist, a light pass with the blur tool along the offending edges rounds the pixel stair steps into something closer to an actual curve, and the tracer then follows that smoother boundary. You lose a little fine detail and gain a much better outline. For silhouettes and bold logos this trade is almost always worth it.
Rebuild the shape. For simple geometry, redrawing the outline with the shape and polyline tools in Canvas Pro takes a couple of minutes and gives you an edge that is smooth by construction. If your design is basically a circle, a rounded rectangle, and some text, do not fight a bad JPEG. Just draw it.
There is no amount of clever vector editing that adds back detail the pixels never had. Resolution is upstream of everything.
Problem 3: Node Bloat
Nodes are the anchor points along a path. A clean traced letter "S" might need a couple dozen. A trace of a noisy photo can produce thousands, all crammed into wobbly micro-curves that follow every pixel of grain.
Node bloat causes real, physical problems:
- Cutting software gets sluggish or refuses to load the file
- The blade or head decelerates constantly to hit every point, so the job takes far longer than it should
- On a laser, dense node clusters can leave visible burn marks where the head slowed down
- Curves that should be smooth develop a faint case of the wobbles
MonoTrace shows you the path node count in the results panel right after it vectorizes. Use it as a cleanliness meter. Trace, read the number, clean the raster, trace again, watch the number drop. When you clean up a speckled background properly, that number often falls dramatically, because every speck was its own little closed path.
Tip
Node count is the fastest objective feedback you will get on your cleanup work. If you cleaned the image and the node count barely moved, you did not actually change what the tracer sees. Go back and check your background is really white, not almost white.
Problem 4: Doubled Lines
This one confuses people for years, so it is worth spelling out.
You have a line drawing: black outlines, white inside. You trace it. Now your machine cuts every line twice, once on each side, leaving a thin sliver of material between the two cuts.
Nothing broke. A tracer follows the boundary between dark and light, and a drawn stroke has two of those boundaries: the outside of the stroke and the inside. So you get two paths per line. If you wanted the blade to travel down the middle of that stroke, you asked for the wrong thing.
You have two good options:
Option A: fill the shape. If you want a solid cut-out silhouette, fill the interior of your line art with black before tracing. Use the fill tool in Canvas Pro to flood the inside of each closed region. Now there is exactly one boundary, and you get exactly one contour.
Option B: keep the outline and use it. Sometimes the doubled path is exactly right. A traced outline of a leaf gives you a thin leaf-shaped ring, which is a perfectly nice thing to cut from vinyl or acrylic. Decide which one you want before you blame the tracer.
For engraving rather than cutting, the doubled path usually does not matter at all, because you are filling the region between the two paths anyway.
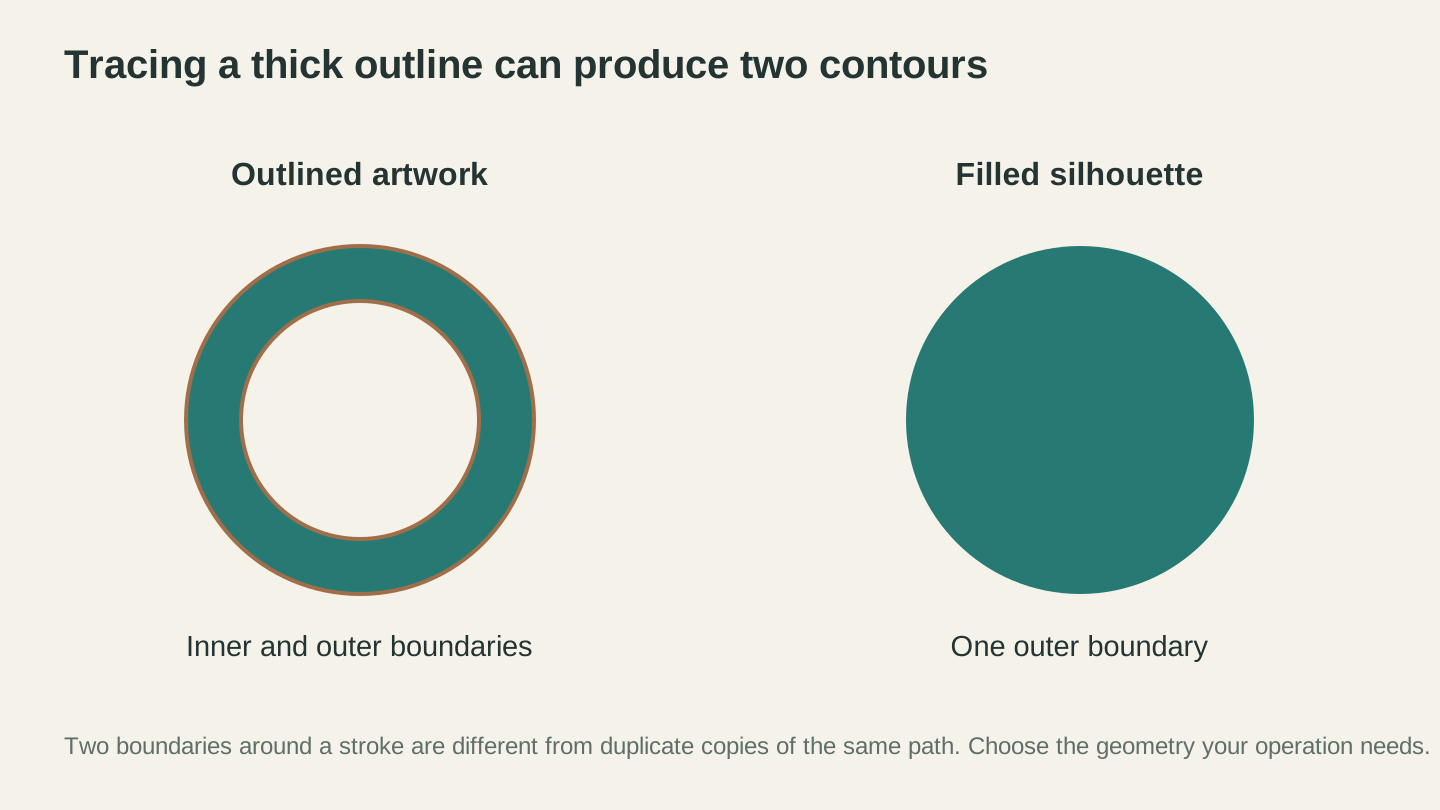
A thick stroke has two boundaries, so its outline trace can produce two contours. That is different from accidentally duplicated paths.
The Cleanup Pass, Start to Finish
Here is the whole routine as one sequence. It takes a few minutes once you have done it twice.
- Open the source image in Canvas Pro. Start from the biggest version of the image you can find.
- Crop to the design. Remove borders, page edges, watermarks, and anything you are not cutting.
- Kill the background. Wand select it, fill with pure white. Then brush out anything left floating in the middle.
- Drive the grays to one side or the other. You want black that is black and white that is white, with as little in between as possible. The dodge and burn tools are useful here: burn the parts of the design that are too faint, dodge the background areas that are dingy. Grays are where ambiguity lives.
- Fix or thicken thin strokes. Anything narrower than your material can hold will tear during weeding or snap during transfer. Thicken it now with a brush, or plan to scale the whole design up.
- Export as PNG.
- Trace it in MonoTrace. Turn on Sketch mode if the source was a photographed drawing. Vectorize, then note the node count.
- Toggle between the PNG and SVG views on the canvas. Compare them directly at full zoom. This catches missing details faster than staring at the SVG alone.
- Download the SVG. If your machine wants DXF instead, run it through File Converter, which also uses no tool credits. Downloading the converted file requires an active paid plan.
- Test cut on scrap at the exact final size before committing good material.
Steps 3 and 4 do most of the work. Steps 8 and 10 catch the things you missed.
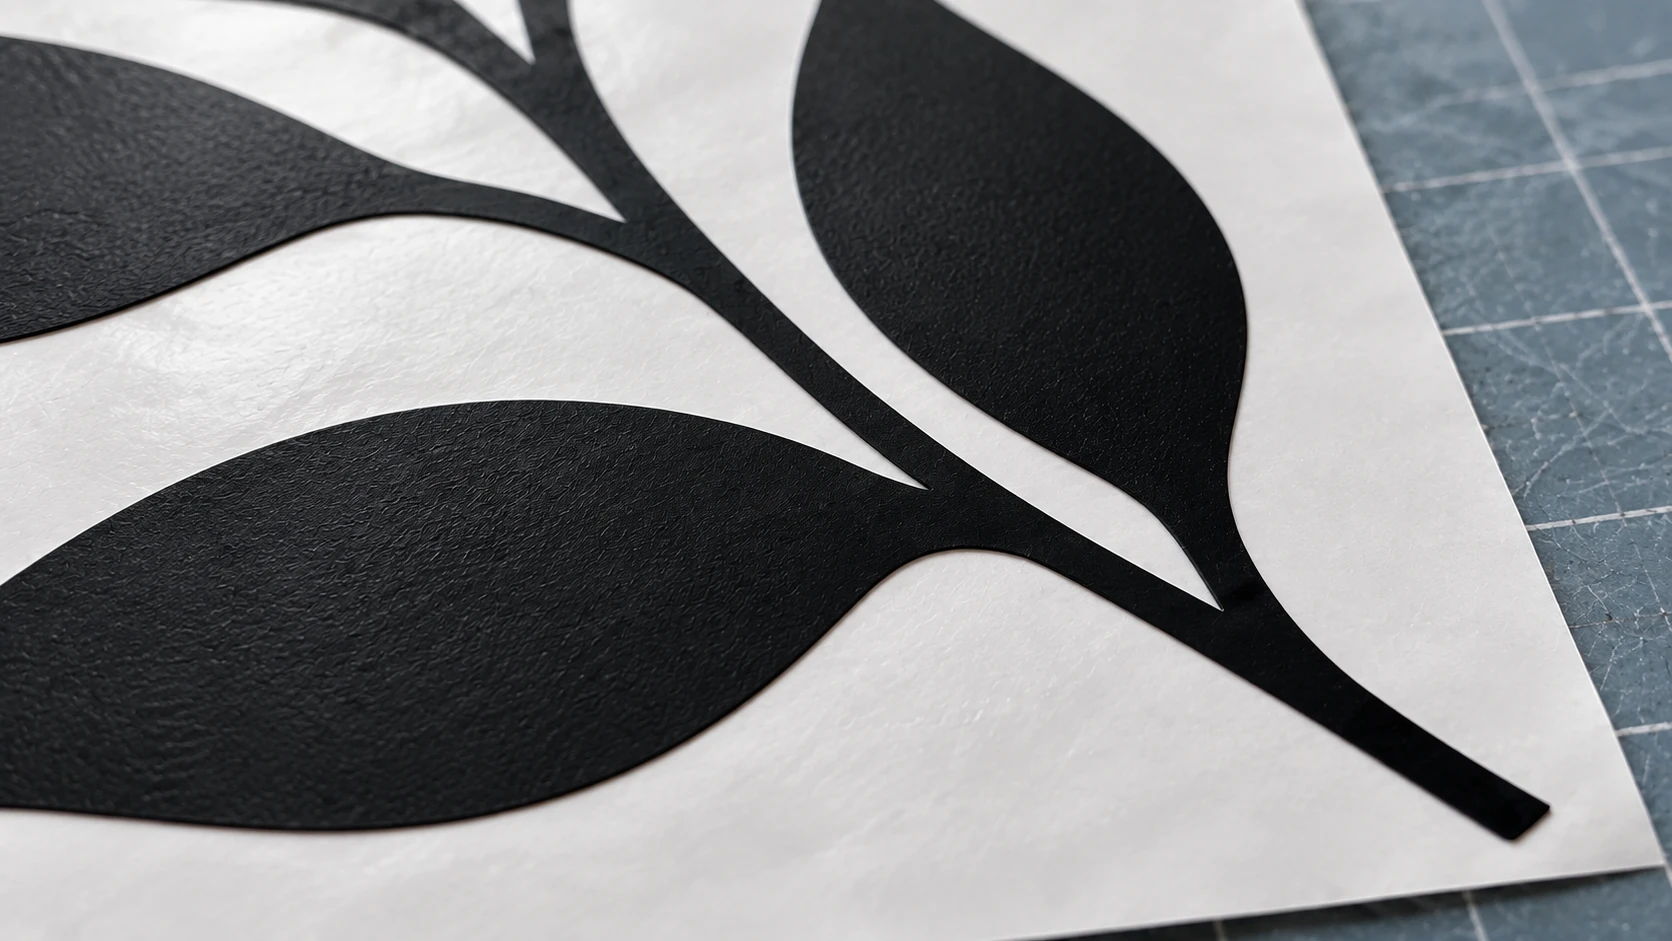
The same decal up close shows smooth edges and broad connections between the leaves and stem. Judge cleanup at the intended cut size, then inspect a real material test.
Knowing When It Is Clean Enough
Perfect is not the goal. Cuttable is the goal. A trace is clean enough when:
- There are no shapes in the file that you cannot point at and name
- The smallest detail is comfortably larger than your material's minimum feature size, which for vinyl is usually around a sixteenth of an inch for anything you intend to weed by hand
- The node count is in the hundreds rather than the thousands for a typical single design
- A test cut on scrap comes off the mat without tearing
That last one outranks everything on screen. Our vinyl decal guide covers the weeding and transfer side, which is where design problems tend to reveal themselves loudly.
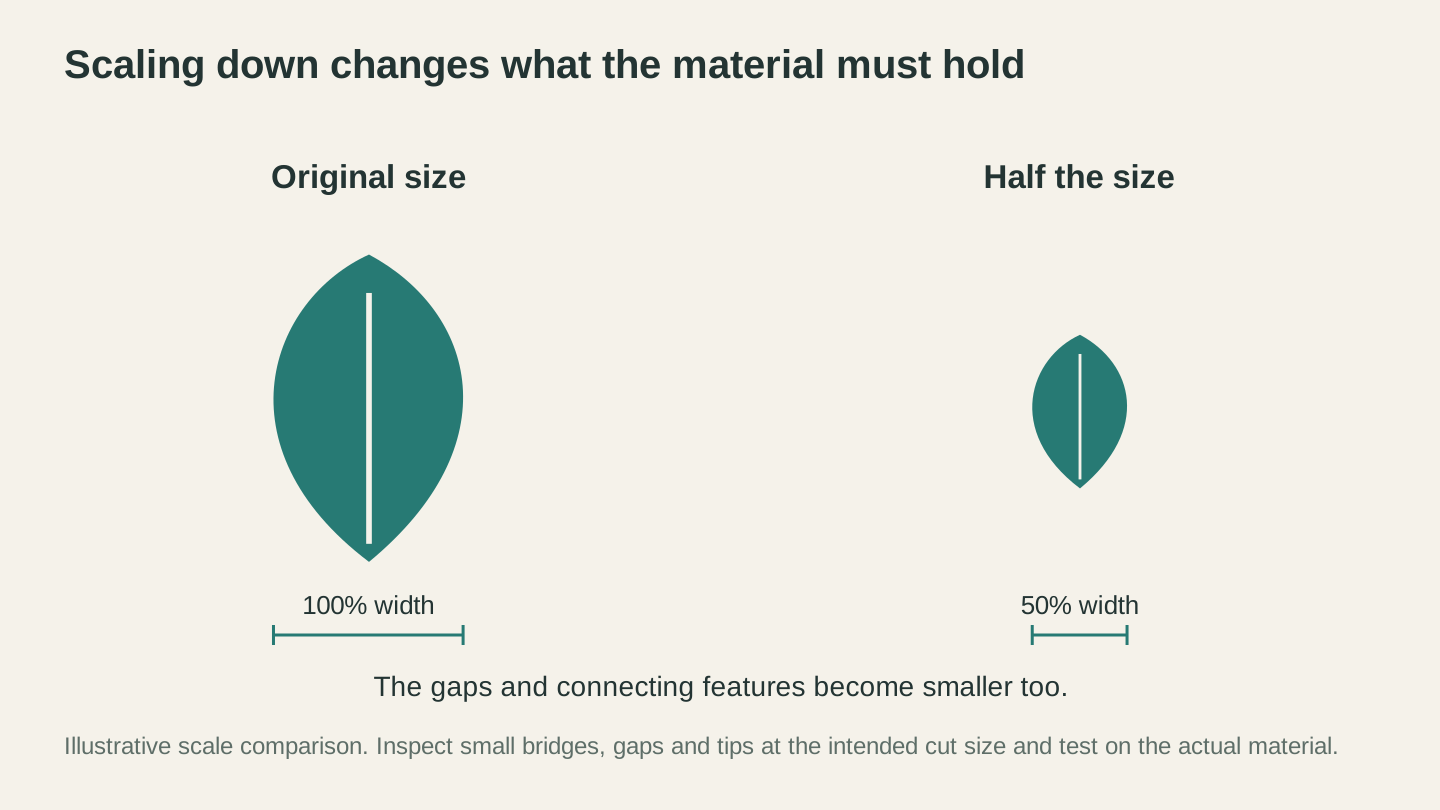
Reducing the whole design also reduces its gaps, bridges and tips. Inspect those features at the size you intend to cut; a clean preview alone does not establish a usable minimum size.
Frequently Asked Questions
Why does my trace look perfect on screen but cut badly?
Because your screen is showing you the design at maybe 15 percent of its cut size. Zoom to 100 percent, or better, set the document to the real cut dimensions and look at it there. Defects that are one pixel on screen can be a visible notch in wood.
Can I just delete the stray paths in a vector editor instead?
You can, and for two or three strays it is genuinely faster. Past that, cleaning the raster and retracing wins, because one background fill removes hundreds of specks at once and you get a lower node count for free.
My design has fine details that keep disappearing. What do I do?
Two possibilities. Either the detail is too light in the source image, in which case darken it before tracing. Or the detail is too small for the material, in which case scale the whole design up or simplify that area. A blade cannot cut a line thinner than the material can physically hold together.
Does the file format of my source image matter?
A bit. PNG is preferable to JPEG for line art and logos, because JPEG compression sprays faint artifacts around every high contrast edge, and those artifacts are exactly the specks you will be cleaning up. If you have a choice, use the PNG.
Do I need to pay for any of this?
No. MonoTrace, Canvas Pro, and File Converter use no tool credits. You do need to be signed in to use them. Downloading the converted file requires an active paid plan.
Go Clean One Up
The mental shift that makes all of this easy: stop thinking of the SVG as the thing you fix. The SVG is a report on what your image looked like. If the report is bad, edit the image and run it again.
Open your problem image in Canvas Pro, spend three minutes making the background white and the design black, then trace it in MonoTrace and watch the node count drop. Both are free, both need nothing but a signed-in account, and the difference in the finished cut is not subtle.
New to your machine in general? Our cutting machine beginner's guide covers blades, mats, and materials from the start.
Related Tools
Ready to try these tools?
Sign up free, no credit card required. Free tools available immediately.
Start Free