

How to Set Up Your Diode Laser in Beam Bench
Every diode laser owner hits the same wall on day one: the machine is assembled, the software is installed, and the two refuse to speak to each other. No port. Or a port that connects and then nothing moves. Or it moves, but the first job dies on a mysterious error about laser mode.
This guide is the full version of getting a diode laser talking to Beam Bench, our free laser app. The getting started walkthrough covers the whole install-to-first-burn journey at a trot; this one slows down on the setup part specifically, including the failure modes and the checks that prove your connection is actually healthy.
Tip
Short answer: create and save a profile in Device Settings (start from the Generic GRBL Diode preset), plug in over USB, choose Serial and keep the baud rate your preset set (115200 for Generic GRBL Diode), Connect, and wait for Ready. Then verify with the Console and a tiny 0.1 mm jog before you trust it with a job.
First, the profile: teach Beam Bench your machine
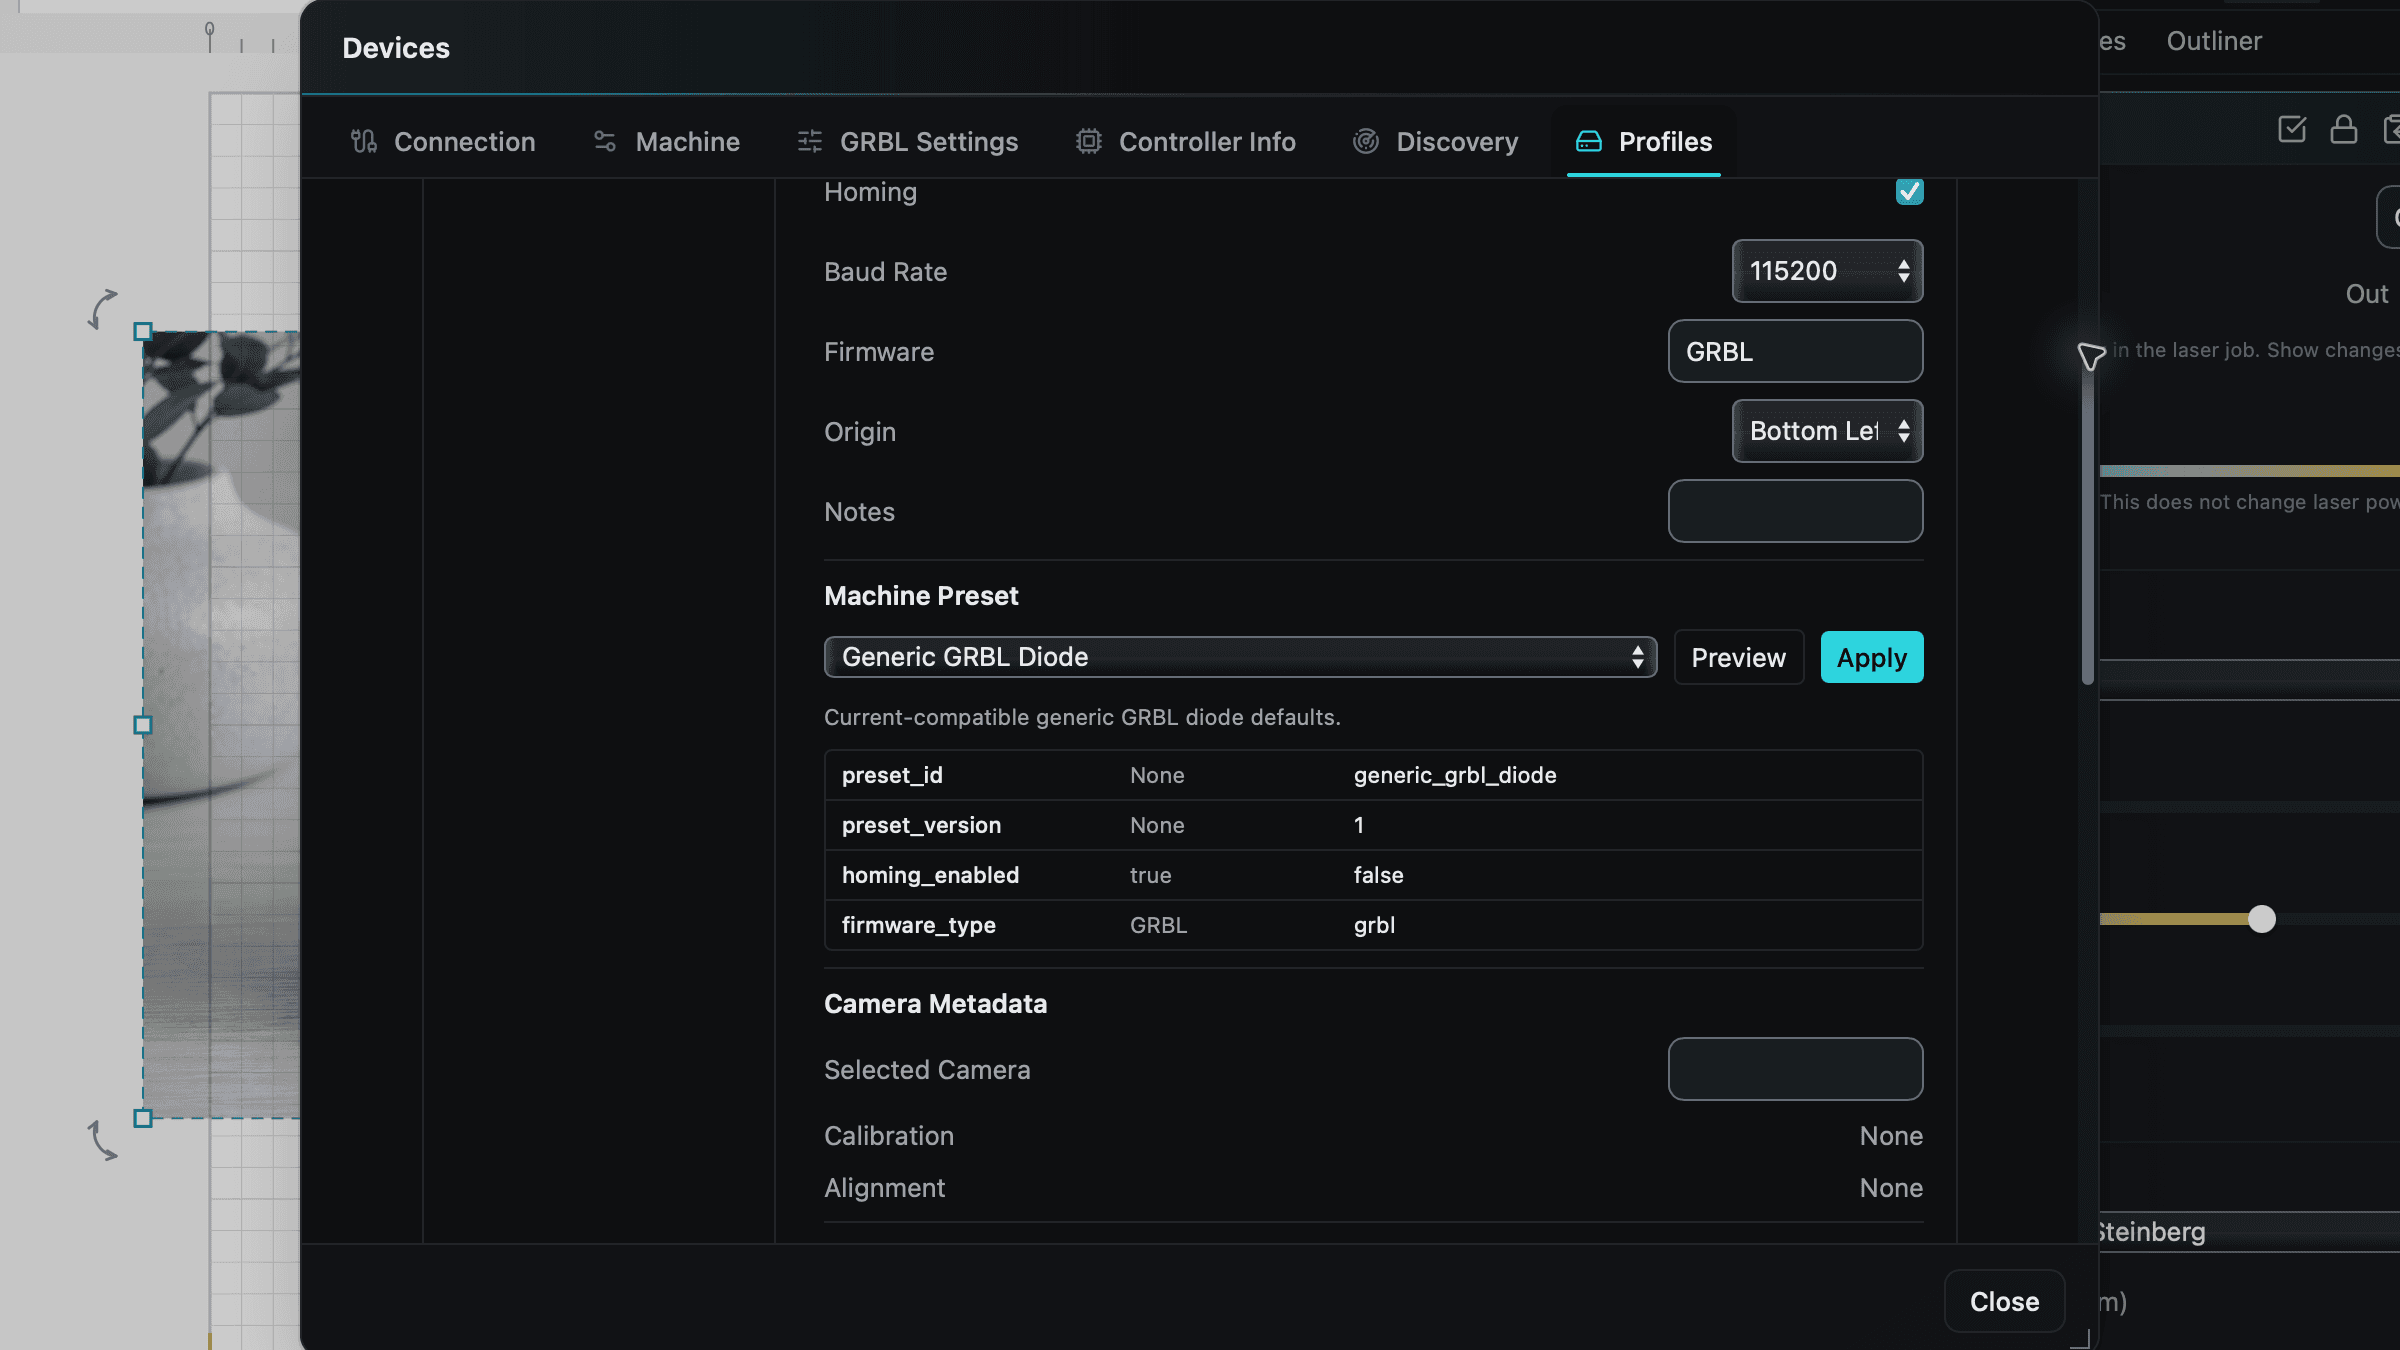
Click Device Settings in the top toolbar to open the Devices dialog, then the Profiles tab.
- Click New, give the profile a name, and Save it (the preset's Preview and Apply buttons stay greyed out until you do).
- Open Machine Preset and look for your machine. There are ready-made presets for several popular machines, including the Sculpfun S30 Pro Max 20W and the LaserPecker family, plus the one most diode owners want: Generic GRBL Diode.
- Click Preview. Beam Bench shows you exactly which fields the preset will change before it touches anything. Then Apply, check the bed size matches your actual machine, and click Set Active.
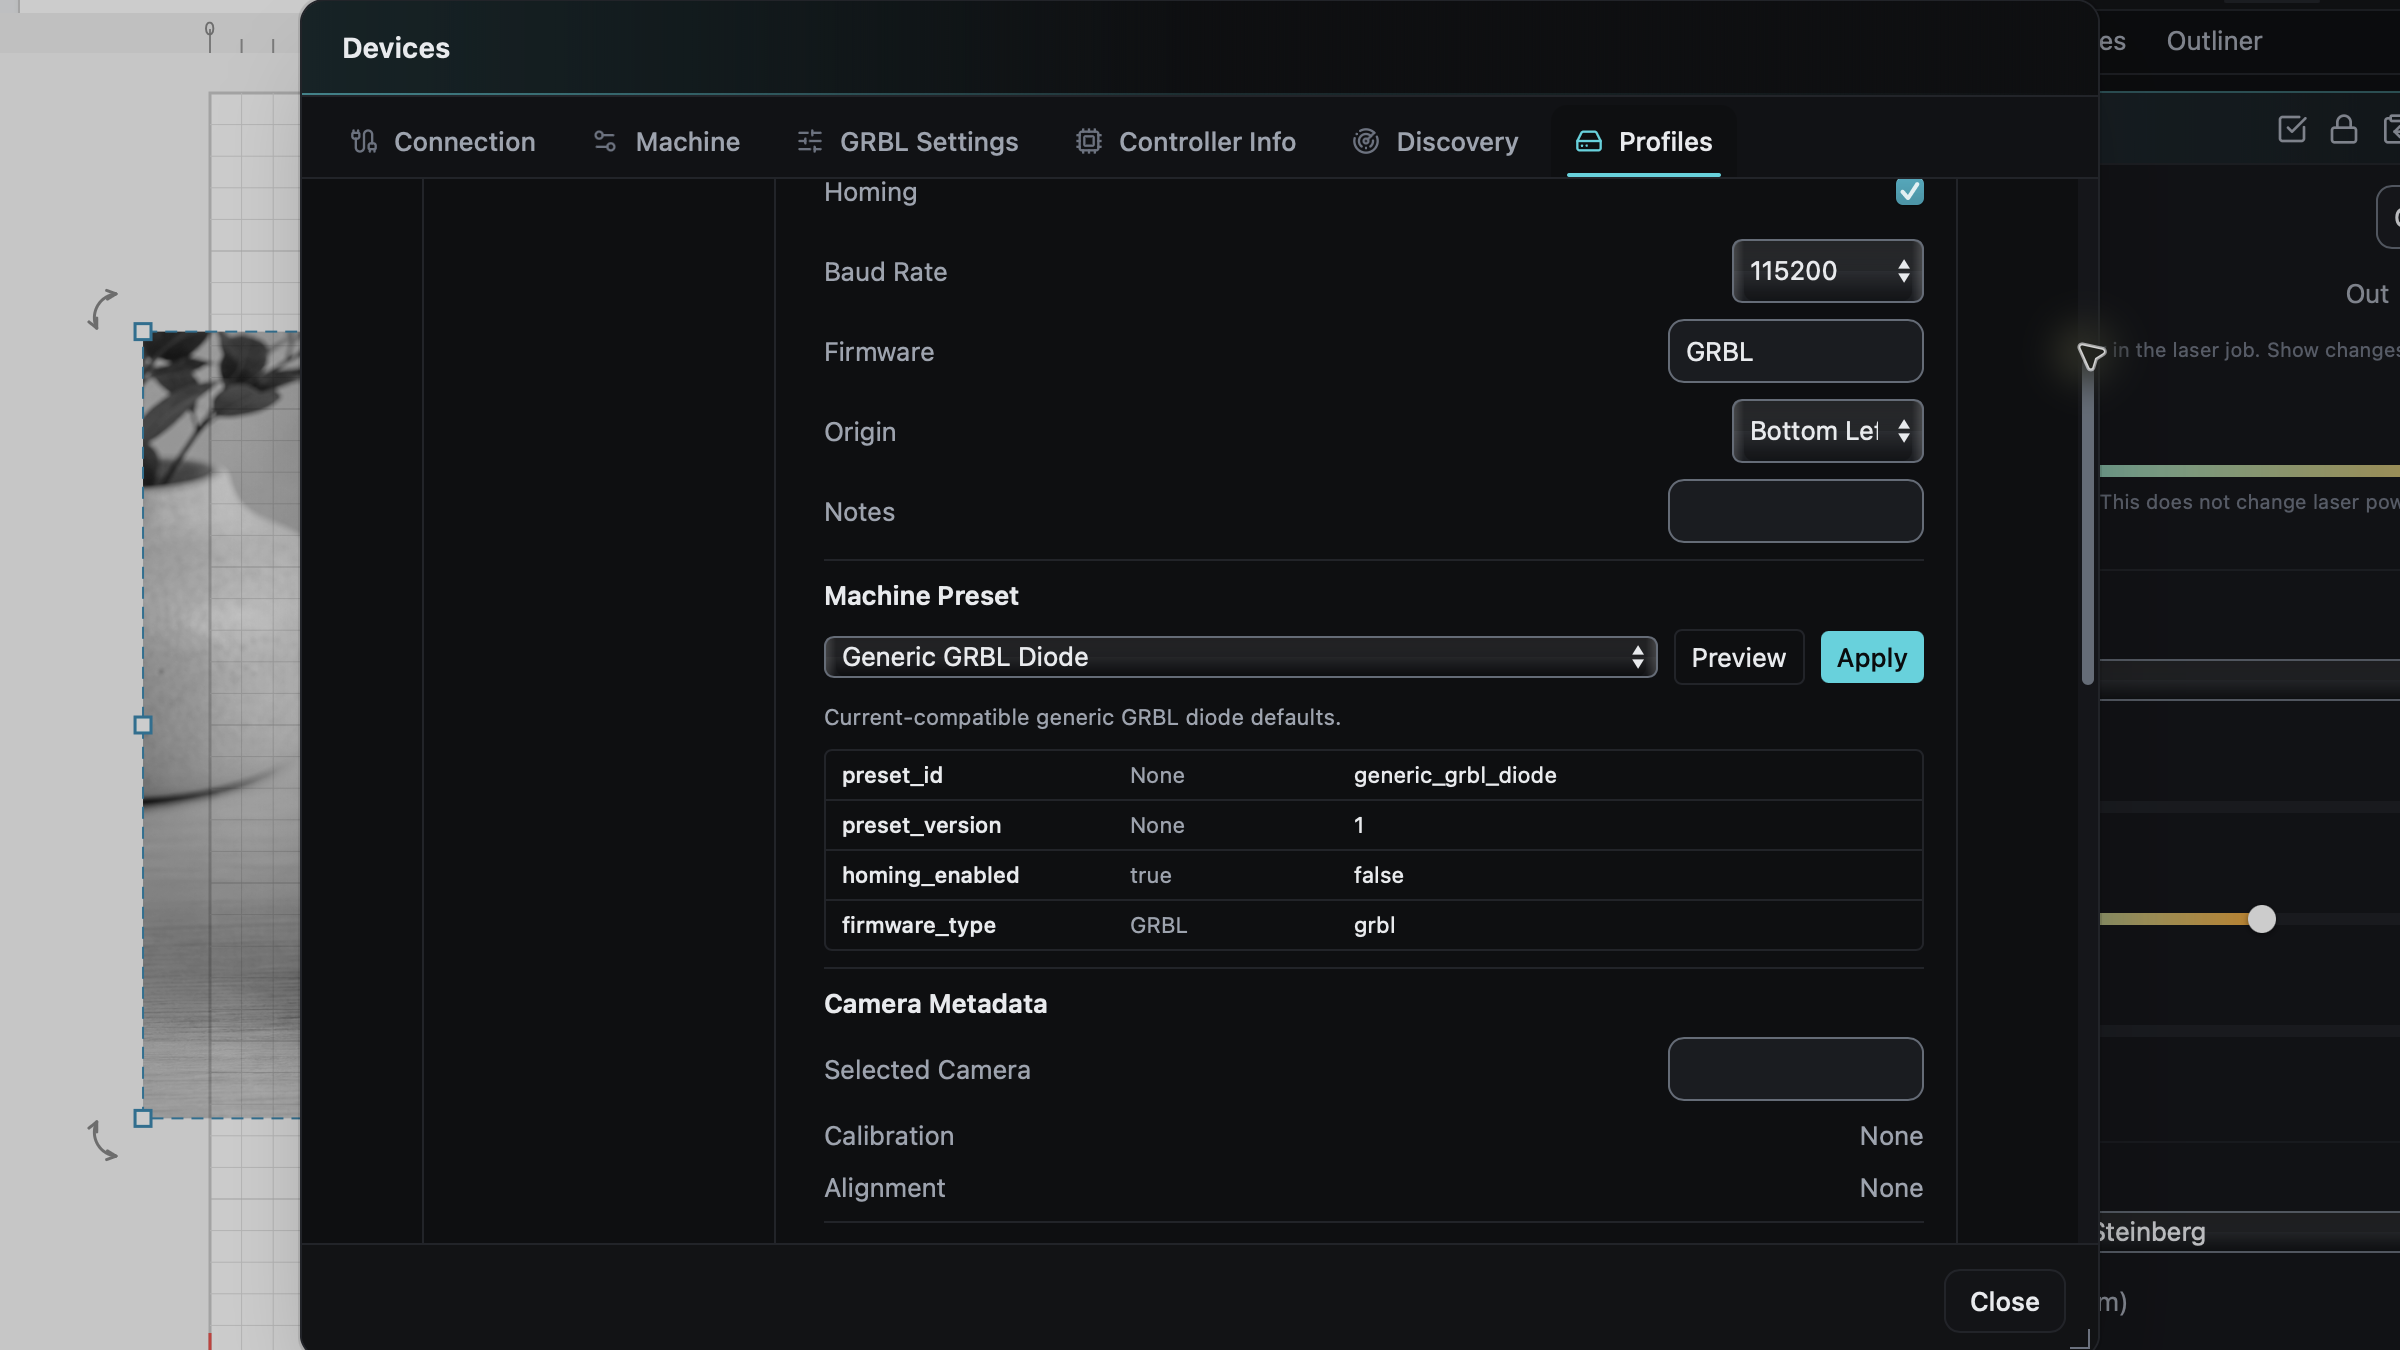
Here's the part that takes the pressure off: you don't have to get every field perfect. On the first successful GRBL connection, Beam Bench reads the controller's own stored settings and updates several profile fields from them: maximum speed, the power scale your board actually uses, and whether firmware homing is enabled. Bed size is the exception, it stays whatever your preset says, so that's the one field worth checking against your actual machine. If you connect with no profile at all, Beam Bench creates one called GRBL Auto-Detected. The preset gets you close; the controller fills in a good chunk of the rest.
PRINT. CUT. CARVE.



- Multiple formats (SVG, DXF, PNG)
- Machine-tested designs
- Commercial licenses
Sponsored by PrintCutCarve.com
Cables, drivers, and the port that isn't there
Physical checklist before the software can do anything:
- Use a data cable. The USB lead that shipped with the laser is fine. A random charging cable from the drawer may carry power and no data, which produces the classic "no port ever appears" mystery.
- Power the laser on before you look for ports. The controller has to enumerate.
- Windows usually needs a serial driver. Most diode controllers use a CH340 or CP210x USB-serial chip; your machine's documentation says which, and the chip maker's driver makes the COM port appear.
- Linux needs group permissions: add yourself to
dialout(sudo usermod -aG dialout $USER), then log out and back in. Some distributions useuucportty.
In the Connection tab, choose Serial (yes, even though the cable is USB; GRBL machines present as serial ports, and Beam Bench's literal USB option is for a different family of boards). Then pick your port.
One quiet favor Beam Bench does for you: the port list hides things that are obviously not lasers, like Bluetooth and debug ports, while anything that looks like a USB-serial adapter (CH340, CP210, FTDI, and friends) stays visible. If your port doesn't show, tick Show all ports to see the complete list. The Baud Rate comes from your profile, so if you applied a preset, leave what it chose (115200 for Generic GRBL Diode; some machines, several LaserPecker models included, use faster rates). Beam Bench tries a limited automatic fallback when the standard rate gets silence, but an unusual rate from your machine's documentation is normally something you select yourself.
Click Connect and wait for Ready.
The two-minute health check
A green Ready is necessary but not sufficient. Before trusting the machine with a job, run this little ritual:
- If the status says ALARM instead of Ready, that's GRBL waking up cautious, common on machines with homing enabled. Click Unlock to clear it; once the status reads Ready, home the machine (step 5) if yours supports it.
- Open the Console panel. You'll see the conversation with the controller: sent lines marked with an arrow out, replies marked with an arrow in, including the GRBL startup banner. A healthy connection chats; a dead one sits silent. This panel is also the first thing to screenshot when asking for help.
- Open the Move panel and click Get Position. A real X/Y readout means two-way communication works.
- Jog once, tiny. Select the smallest step, 0.1 mm, and click one arrow. The head should twitch. If nothing moves on a Ready connection, the usual culprits live between the controller and the motors (wiring, motor drivers, power) rather than in the software.
- Home, but only if your machine actually has homing switches. The Home button being clickable doesn't prove the hardware exists. Machines without switches will grind against their frame ends. Check your machine's documentation first.
Warning
Never test a connection by firing the laser. Everything above proves the link works with the diode off. Keep it that way until material, glasses, and ventilation are in place. Our laser safety guide covers the full pre-burn routine.
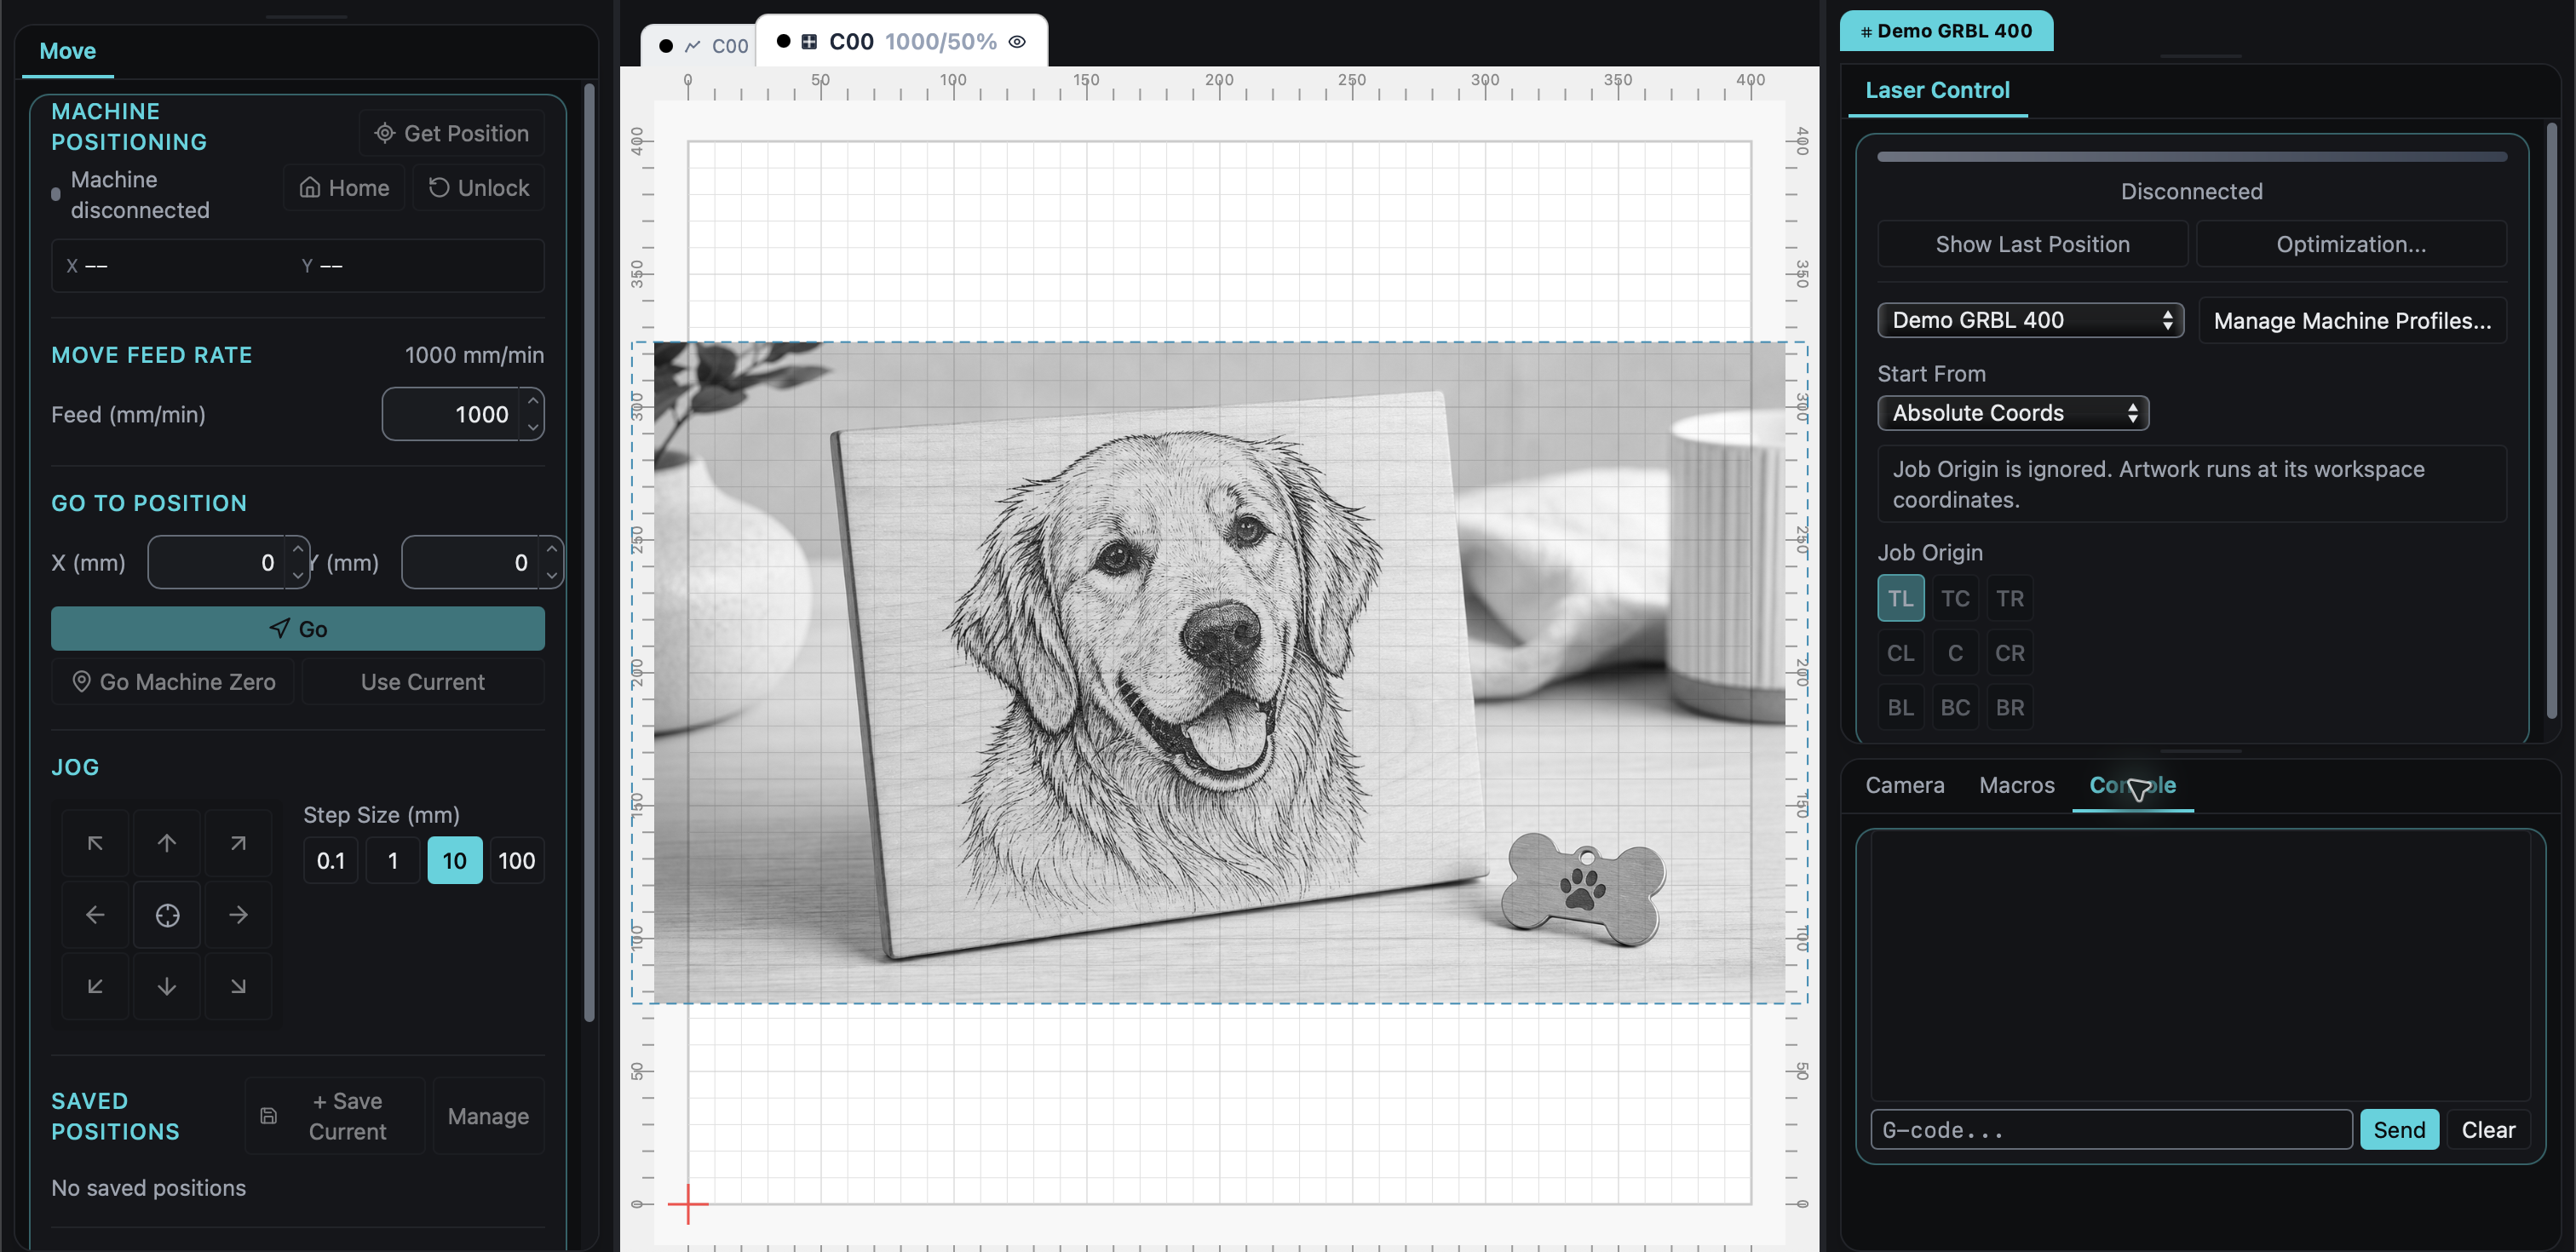
The controls shown before connecting. This demonstration profile is disconnected, so the jog controls are disabled and the Console has no controller response yet.
The laser mode error (and the honest fix)
Sooner or later, most GRBL diode owners meet this preflight failure: the job won't start because the controller isn't in laser mode, GRBL setting $32. Without it, the machine treats the laser like a spindle: it won't modulate power correctly, and it pauses motion in ways that leave burn blobs. (Engraving always requires laser mode; a narrow exception exists for vector-only jobs on constant-power profiles, which a beginner setup won't be using.)
The fix lives in Devices, then the GRBL Settings tab (available once you're connected):
- Find
$32in the list, click its value, enter1, and click OK. - Disconnect and reconnect. Beam Bench refreshes its picture of the controller's settings on connection, and the preflight check reads from that picture. A reconnect makes sure the app and the board agree.
- Run the job again.
The GRBL Settings tab will happily write any setting your controller supports, which is powerful and exactly as dangerous as it sounds. Change what you understand, one setting at a time, and note the old value first.
Settings worth leaving alone (for now)
The Machine tab of the Devices dialog exposes much of the active profile: origin corner, homing expectation, framing behavior, rotary attachment settings, output policy, and more (a few deeper fields live in the Profiles tab and the separate Machine Profiles editor). Two beginner-relevant notes:
- Laser-On Framing makes the Frame function fire the beam at a fixed 1% power while tracing the job bounds, useful for alignment on some setups, but it means framing is no longer a light-free operation. Leave it off until you have a specific reason, and notice that the Frame button in Laser Control tells you which mode it's in.
- Origin (Bottom Left or Top Left) sets which corner your project's coordinates grow from, and Beam Bench flips job geometry vertically to match. If your jobs come out vertically mirrored, this is the first suspect.
Everything else, from Start G-code to scanning-offset calibration, exists for real reasons you will grow into. The presets fill in the pieces your machine genuinely needs (a few machines require their preset's startup commands), so none of it needs hand-editing to burn plywood tonight.
When it still won't connect
- No port, even with Show all ports: the usual suspects are the cable and the driver. Swap to a known data cable first; it's the cheapest test.
- Port exists, Connect times out: wrong baud (check your machine's documentation), or another program is holding the port open. Close other laser software and try again.
- Connects, then drops: Beam Bench doesn't silently auto-reconnect; when a connection drops, reopen Devices and hit Connect again. Repeated drops usually point at the cable, a USB hub, or power management putting the port to sleep.
- Everything connects but you're stuck anyway: the Console output plus your machine model is exactly what to bring when you ask for help. Craft Chat is our free AI maker assistant and does well with "here's what my console says" questions, and Help, then Report a Bug in Beam Bench reaches us directly.
Connected is the boring milestone (that's the point)
Nobody frames their first successful serial connection, but everything else, the first burn, the photo engravings, the eventual production runs, sits on top of this half hour of setup. Do the profile properly, run the health check once, fix $32 if it comes up, and the machine fades into the background where good tools belong.
Beam Bench is free at beambench.com. If you're still choosing your first machine, our beginner laser buying guide pairs well with this one.
Ready to try these tools?
Sign up free, no credit card required. Free tools available immediately.
Start Free