

Dithering vs Grayscale for Laser Photo Engraving: Which to Use
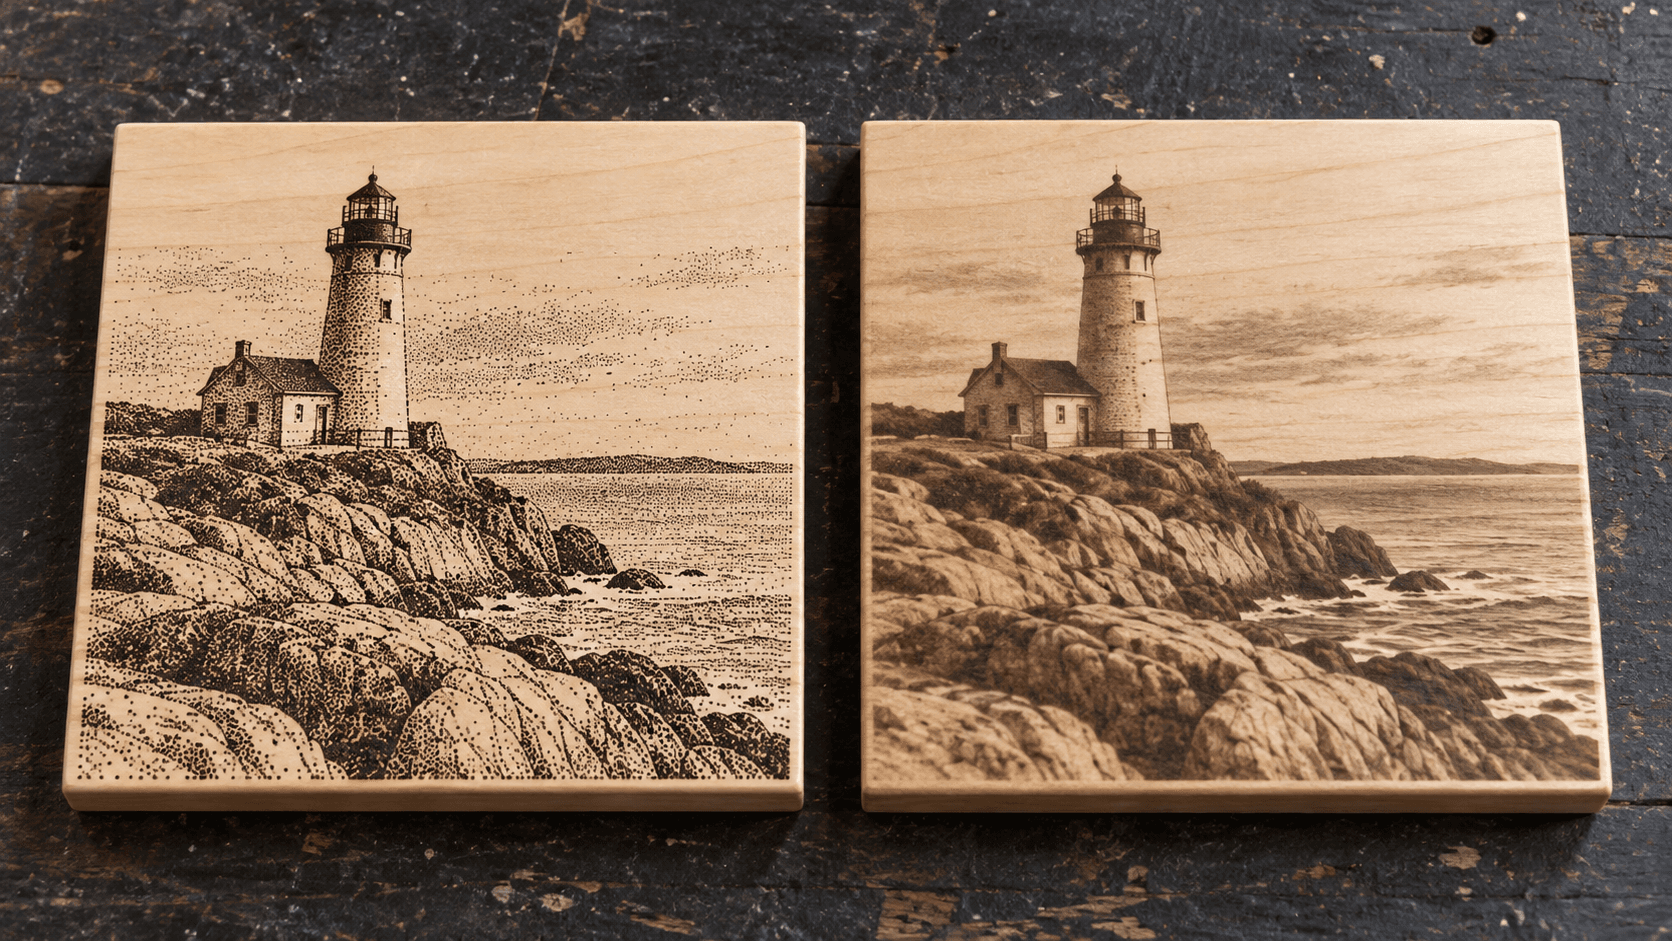
Load a photo into your laser software and it asks you a question that sounds technical and turns out to matter enormously: dither, or grayscale?
Pick wrong and a beautiful photo comes out as a muddy smear or a blotchy mess. Pick right and the same photo looks like it was printed onto the wood. The difference comes down to how each mode fakes the gray tones in between black and white.
How Each Mode Works
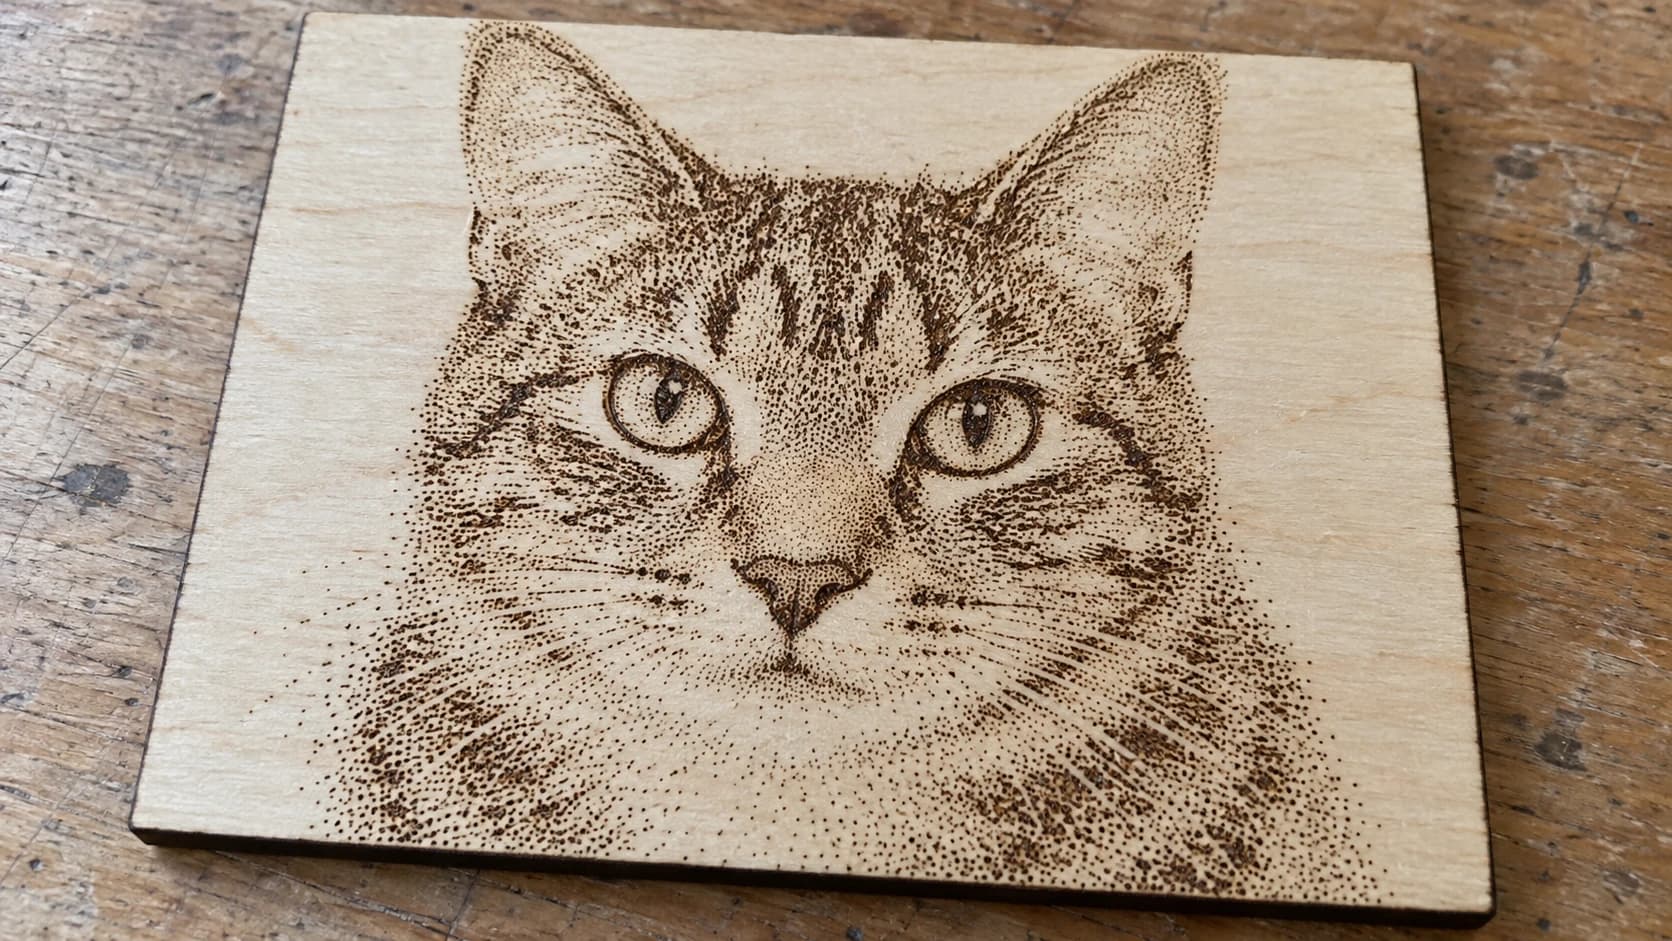
Dithering never varies the laser power. Each spot is either burned or not burned. Gray tones come from the pattern of dots: dense dots read as dark, sparse dots read as light, the way a newspaper photo works up close.
Grayscale varies the laser power (or sometimes speed) for each spot. A dark pixel gets more power and burns darker, a light pixel gets less. In theory, it's a smooth, continuous tone.
The catch with grayscale is "in theory." It only works if your material darkens smoothly and predictably as the power goes up. Many materials don't.
Which Materials Suit Which Mode
| Material | Usually better | Why |
|---|---|---|
| Slate, tile, stone | Dithering | Marks are basically on or off |
| Anodized or coated metal | Dithering | The coating is either removed or not |
| Glass | Dithering | Frosts or doesn't |
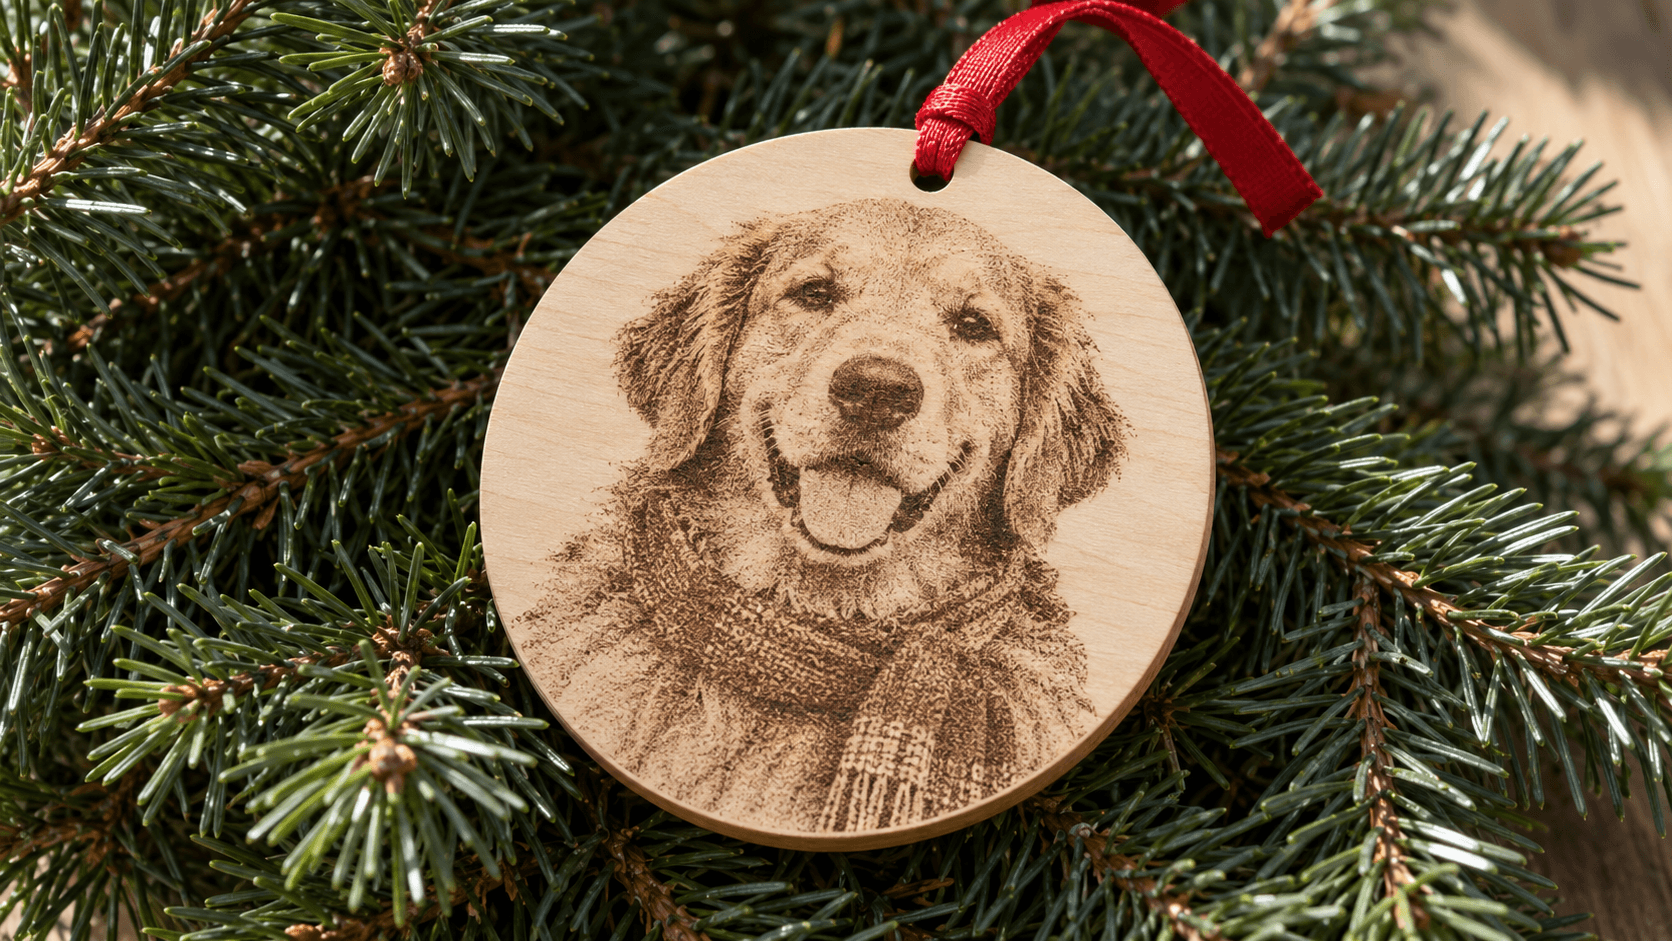
| Light hardwoods (maple, birch, alder) | Either; test both | Responds to power fairly evenly |
| Plywood with uneven grain | Dithering | Grain causes patchy grayscale |
| Leather | Either; test both | Varies by leather type |
These are starting points, not rules. Machines differ, and so do individual boards. Always run a small test on the exact material.
Tip
Wood with strong grain, like oak or pine, fights with grayscale. The soft earlywood burns darker than the hard latewood at the same power, so the grain stripes show through the photo. Dithering tends to hide grain better.
Dithering Has Its Own Choices
Not all dithering looks the same. Some patterns scatter dots randomly for a soft, photographic look. Others use orderly grids for a more graphic, halftone feel. Our dithering guide explains the two families.
You can try several styles on your own photo with DitherLab. It runs free in your browser and exports a PNG for engraving or SVG dots for vector workflows.
When Grayscale Shines
Grayscale isn't the underdog. It's the better choice when:
- The material responds evenly, like a good, clean-grained light hardwood, and you've confirmed it with a test.
- You want smooth gradients, such as a soft sky or a skin tone, where dithered dots would look grainy.
- You're doing depth engraving, where the gray level controls how deep the laser goes rather than how dark the mark is. This is mostly a job for more powerful machines and takes careful testing.
Prep Matters More Than the Mode
Either mode will disappoint if the photo isn't ready for engraving:
- Crop tightly to the subject.
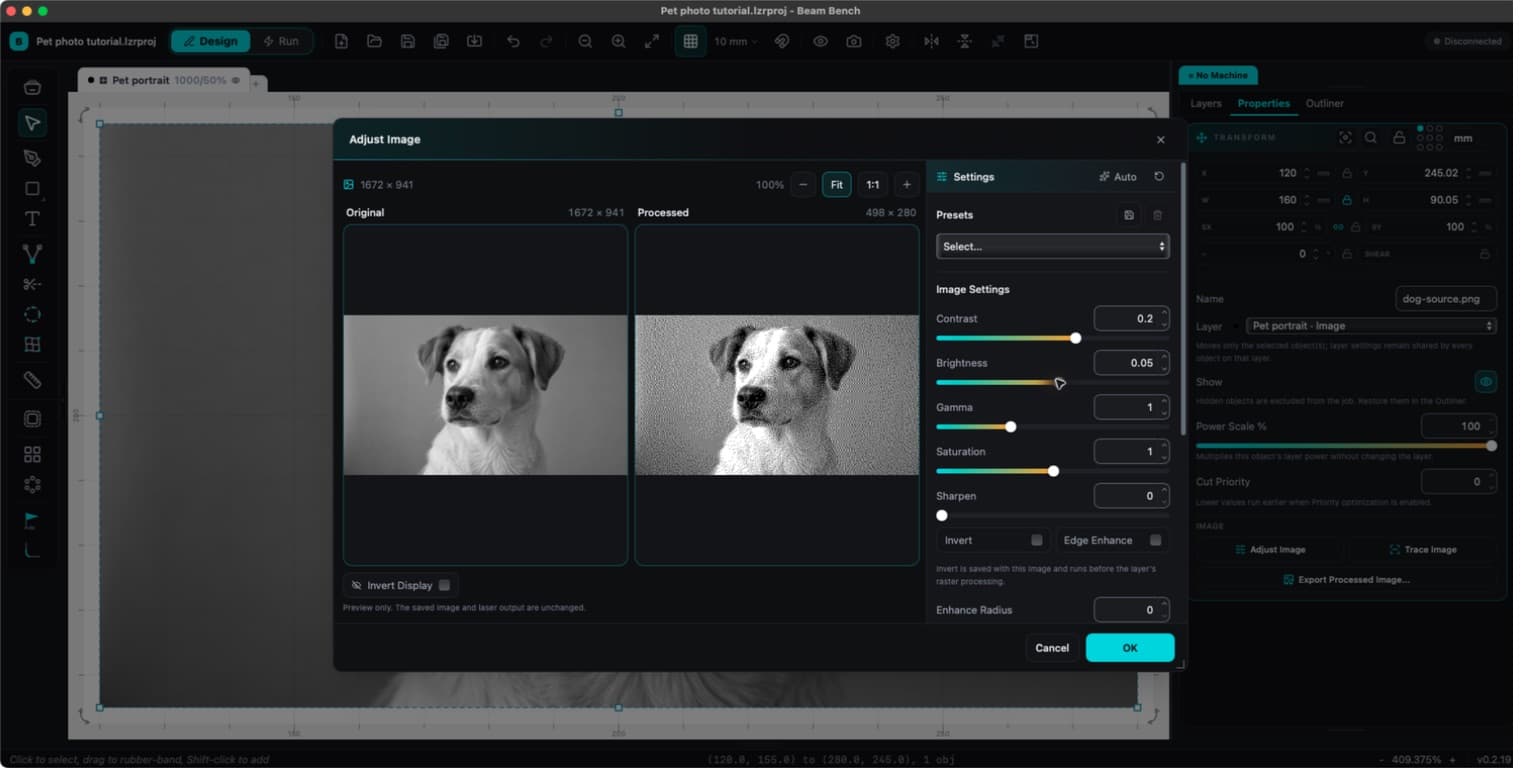
- Boost contrast, more than looks natural on screen.
- Brighten the midtones, because wood engraves darker than a monitor shows.
- Size the image to the final engraving size before converting.
If the photo is busy or low-contrast, consider converting it to line art instead. Photo Converter redraws a photo as clean engraving lines for one credit, which sidesteps the tone problem entirely and works beautifully on grainy wood.
How to Decide in Five Minutes
Run a quick side-by-side test:
- Prepare one small crop of your photo, about 2 inches square.
- Engrave it once dithered and once in grayscale on a scrap of the real material.
- Look at both from arm's length, the distance people will actually view it.
Whichever looks better at arm's length is your answer for that material. Write it down so you don't have to test again next time. Our slate photo engraving guide and engraving photos on wood cover the details for those two favorites.
Start with dithering if you're unsure. It's more forgiving, and DitherLab lets you try styles for free before you burn anything.
Keep reading
Related Tools
Ready to try these tools?
Sign up free, no credit card required. Free tools available immediately.
Start Free