

How to Laser Engrave Photo Ornaments That Actually Look Good
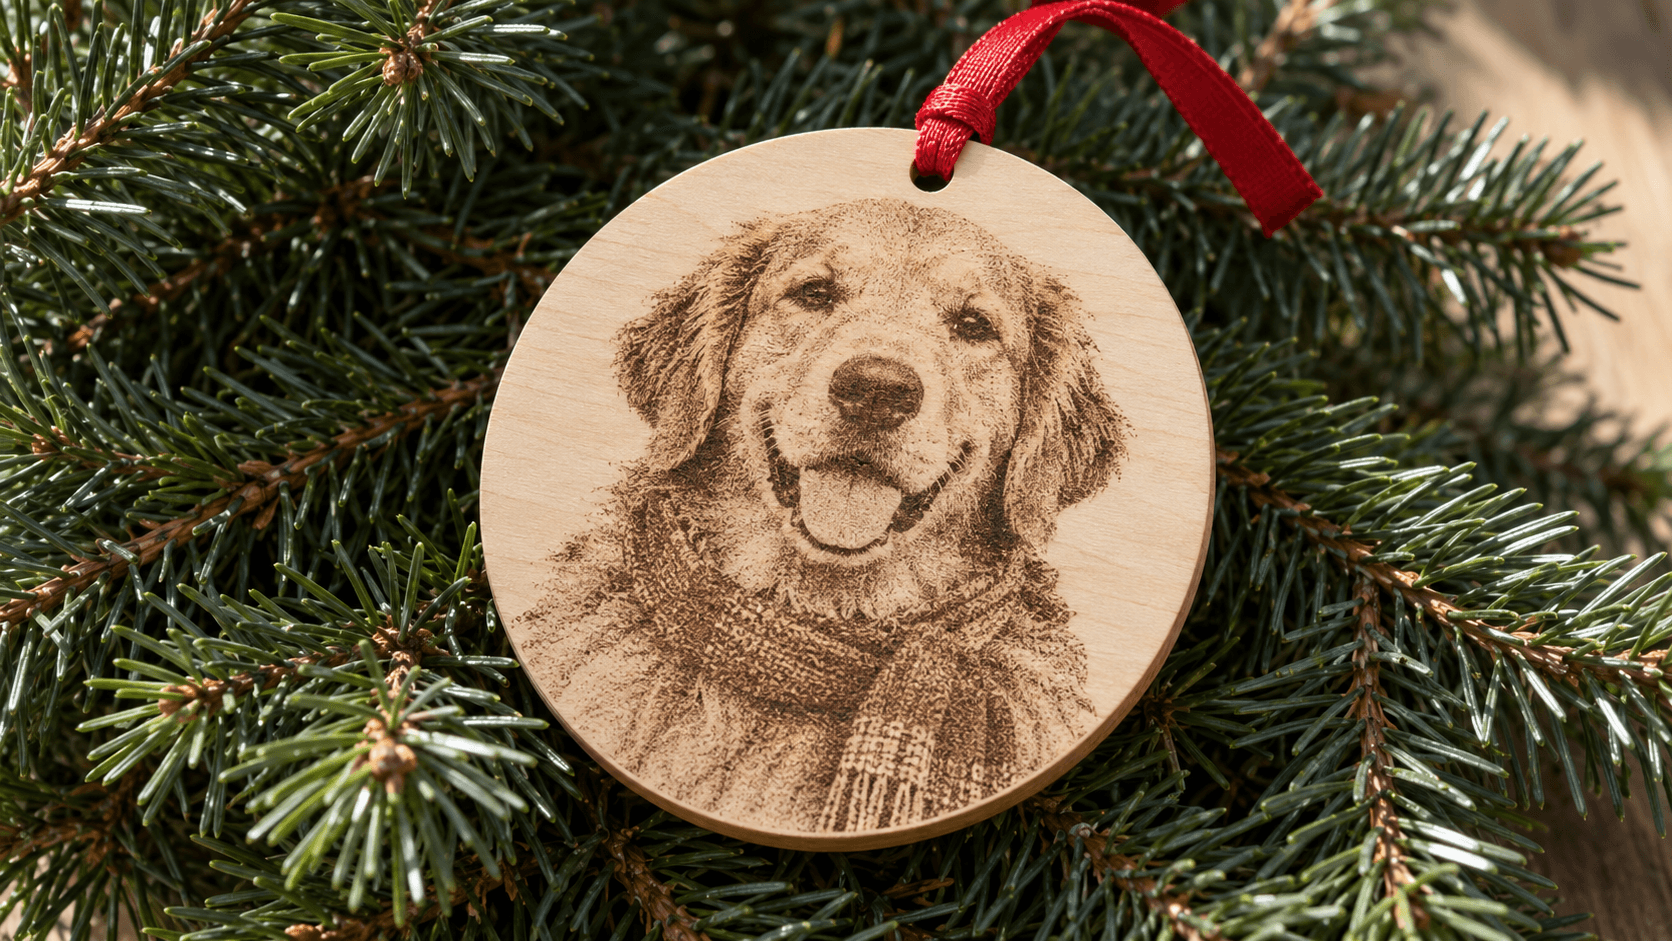
A photo ornament can be the best gift under the tree or a brown smudge that vaguely resembles a dog. The difference is almost never the laser. It's the photo you start with and what you do to it before it reaches the machine.
Ornaments make this harder than a big plaque. You're squeezing a face into a 3 inch circle, so every bit of detail counts.
Start With the Right Photo
The single biggest predictor of a good photo ornament is the original picture. Look for:
- One subject, close up. A face or a pet that fills most of the frame. A family of six on a beach turns into six dots at ornament size.
- Good, even light. Faces in harsh shadow engrave as half a face.
- Contrast between subject and background. A black dog on a dark couch disappears.
- Sharp focus on the eyes. If the eyes are soft, the whole piece looks soft.
Tip
Ask customers for their original photo file, not a screenshot from social media. Screenshots are compressed and small, and the compression blocks show up in the engraving.
If the background is busy, remove it. PixelPrep removes backgrounds and can upscale a small photo before you engrave it. Background removal needs a paid plan, and upscaling costs a credit.
Crop for the Shape
Crop to the ornament's shape before anything else, so you're judging the image at the size it'll actually be. For a round ornament, crop to a square and leave a little space around the face, since the outer edge is where the hanging hole goes.
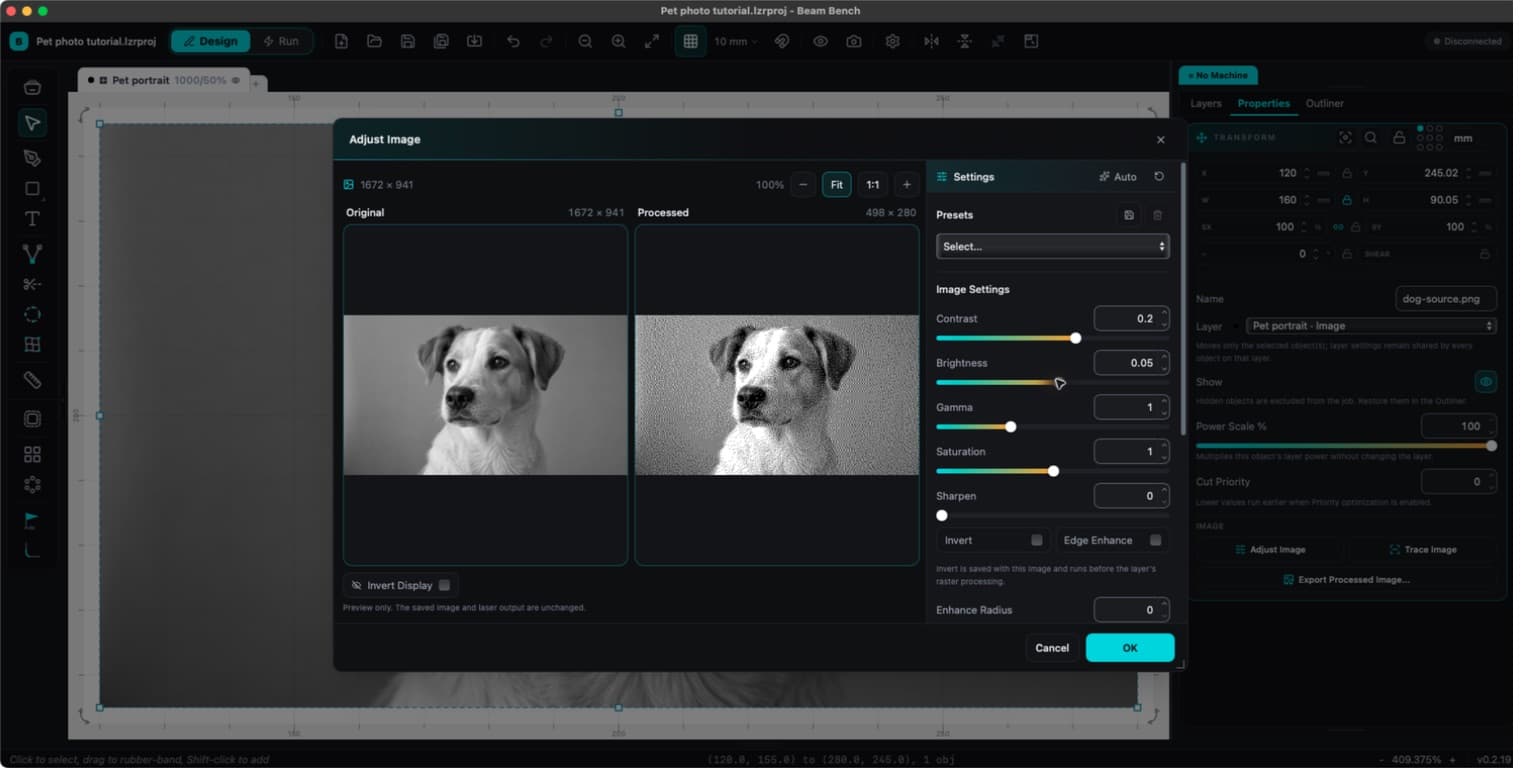
Then bump the contrast and brightness slightly more than looks natural on screen. Wood engraves darker than your monitor shows, and midtones tend to merge.
Dithering or Line Art?
There are two good routes, and they give very different looks.
| Approach | Look | Best for |
|---|---|---|
| Dithered photo | Like a photograph in fine dots | Pets, portraits, slate |
| Line art | Like a pen-and-ink drawing | Busy photos, rustic wood |
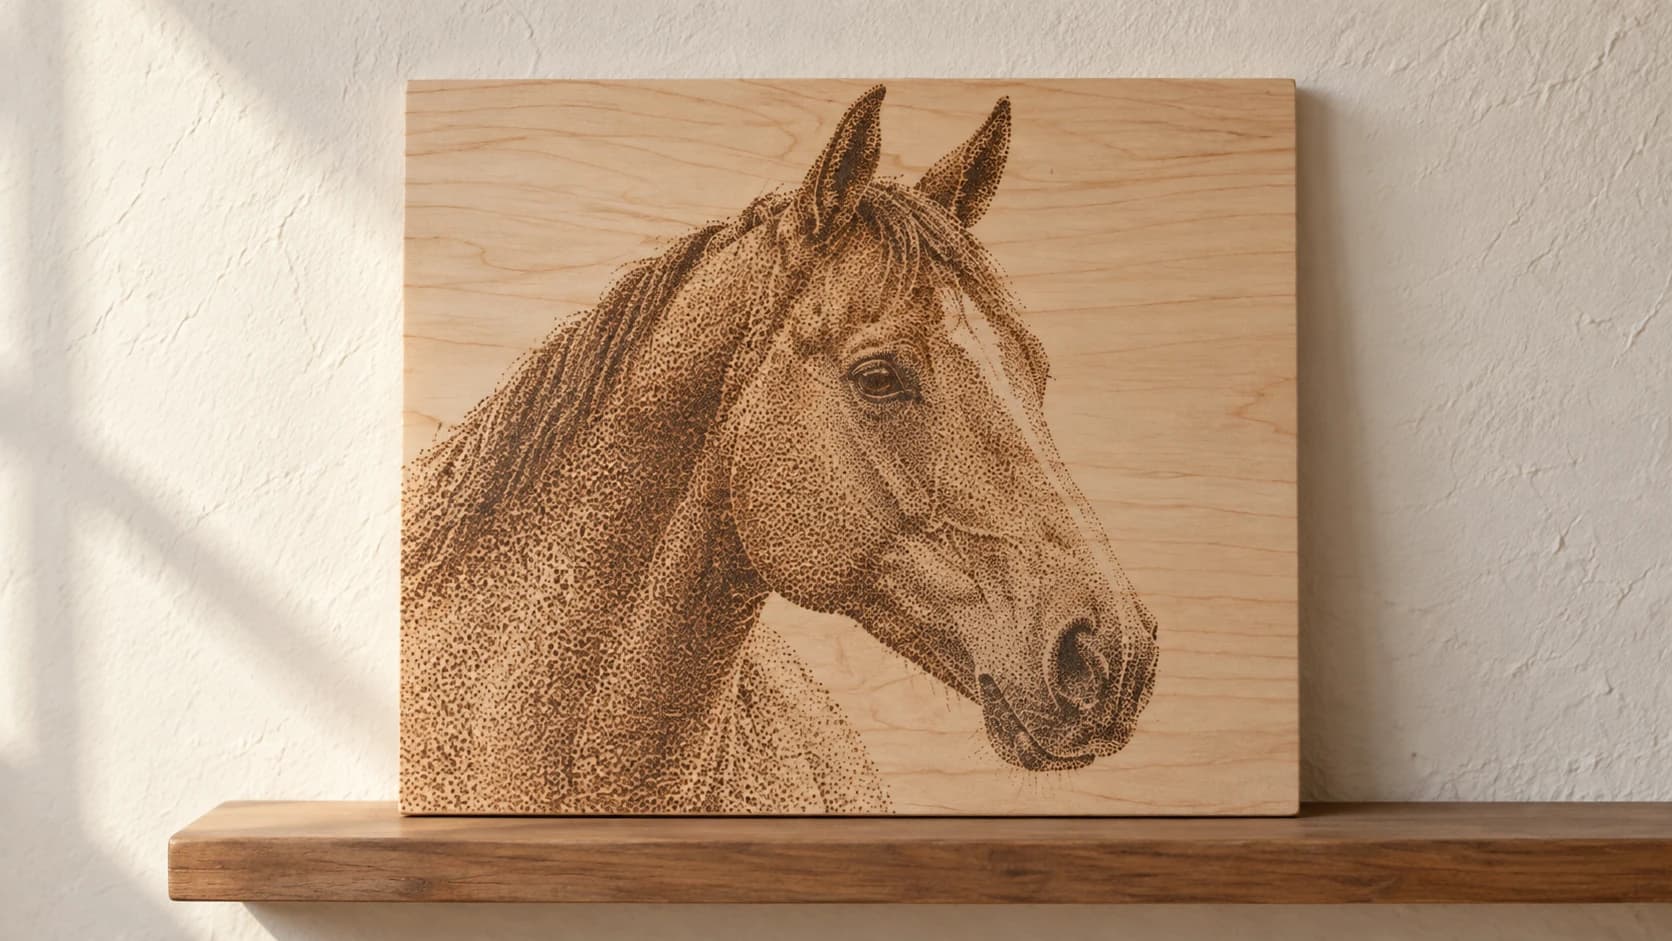
Dithering turns the gray tones into patterns of dots the laser either burns or skips. It's how you get photographic detail out of a machine that only knows on and off. DitherLab runs in your browser for free and lets you try several dithering styles on your photo. Our dithering guide explains when each style works best.
Line art redraws the photo as clean black lines. Photo Converter does this with AI for one credit, and it's a great fit for ornaments because simple lines survive the small size and the grain of the wood. It also has an inverted mode for dark materials like slate.
Wood or Slate?
Light hardwood (maple, birch) gives a classic warm look. Pick blanks with an even, tight grain, because a strong grain pattern fights with a photo.
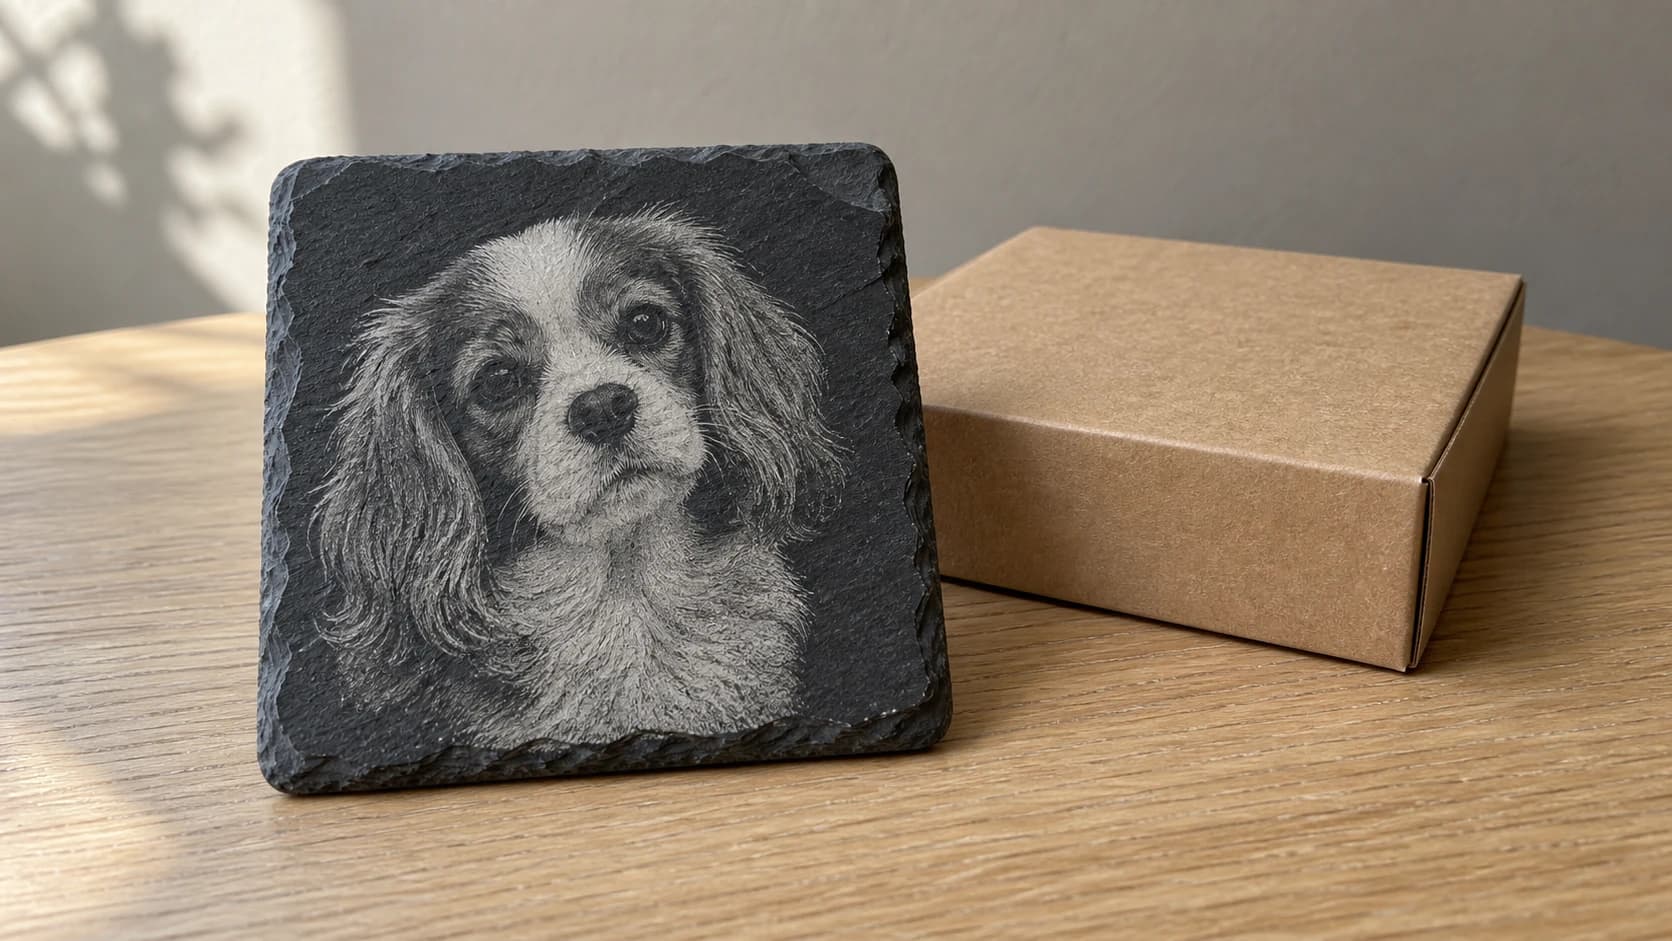
Slate is the photo engraver's secret weapon. The engraved areas turn light gray against the dark stone, so you engrave an inverted image. Our slate photo engraving guide covers the inversion step in detail.
Warning
Wood slices with bark look great on a market table, but the rings and cracks in end grain make photos patchy. Keep slices for names and simple graphics, and save the photos for plywood, hardwood blanks, or slate.
Test on a Scrap First
Settings vary a lot between machines and blanks, so no chart can give you the right numbers. What you can do is run a small test grid on a scrap of the exact same material: a few speed and power combinations across a little patch of your dithered image.
Pick the patch where the darkest areas are dark but the lightest areas haven't turned tan. Our wood engraving settings guide walks through running a test grid.
Finishing Touches
- Lightly wipe off smoke residue with a slightly damp cloth or a bit of denatured alcohol before finishing.
- A matte clear coat protects the engraving without glare hiding the image.
- Add the name and year on the back, so the front stays all photo.
Taking Photo Orders
Photo ornaments take longer to prep than names, so price them in their own tier and set an earlier cutoff. Our holiday order cutoffs guide shows how to set those dates.
Grab one good photo, run it through DitherLab, and engrave a test ornament tonight. Your first one will tell you more than any settings chart.
Keep reading
Related Tools
DitherLab
Apply dithering and halftone treatments to images and export a raster image or vector dots.
Photo Converter
Convert a photo into engraving-oriented line art with standard or inverted output.
PixelPrep
Remove image backgrounds or upscale images at the available enlargement settings.
Background removal requires a plan; upscaling uses credits
Ready to try these tools?
Sign up free, no credit card required. Free tools available immediately.
Start Free