

Why Your Laser Cuts Come Out Brown (and How to Fix It)

You cut a beautiful little star out of birch plywood, pop it out of the sheet, and it looks like it spent the afternoon in a campfire. Dark edges, a smoky halo on the face, and maybe some weird scorch dots on the back.
"Brown" is really three different problems that look alike at first glance. Each one has its own cause and its own fix, so the first job is figuring out which one you've got.
Diagnose It First
| What you see | Where | Usual cause |
|---|---|---|
| Dark, crusty cut edges | The edge itself | Too much heat in the cut |
| Tan or yellow haze around cuts | Top surface | Smoke settling back on the wood |
| Small scorch marks or lines | The back side | Flashback from the bed |
Most pieces have a bit of all three, but one usually dominates. Fix that one first.
Problem 1: Charred Edges
Some browning on a laser-cut edge is normal. You're cutting with heat, so a wood edge will always darken a little. Heavy, crusty black char that rubs off on your fingers is another story.
The usual causes:
- Too much power or too slow a speed. The beam lingers and burns more than it cuts. Run a small test grid on a scrap to find the fastest speed that still cuts all the way through.
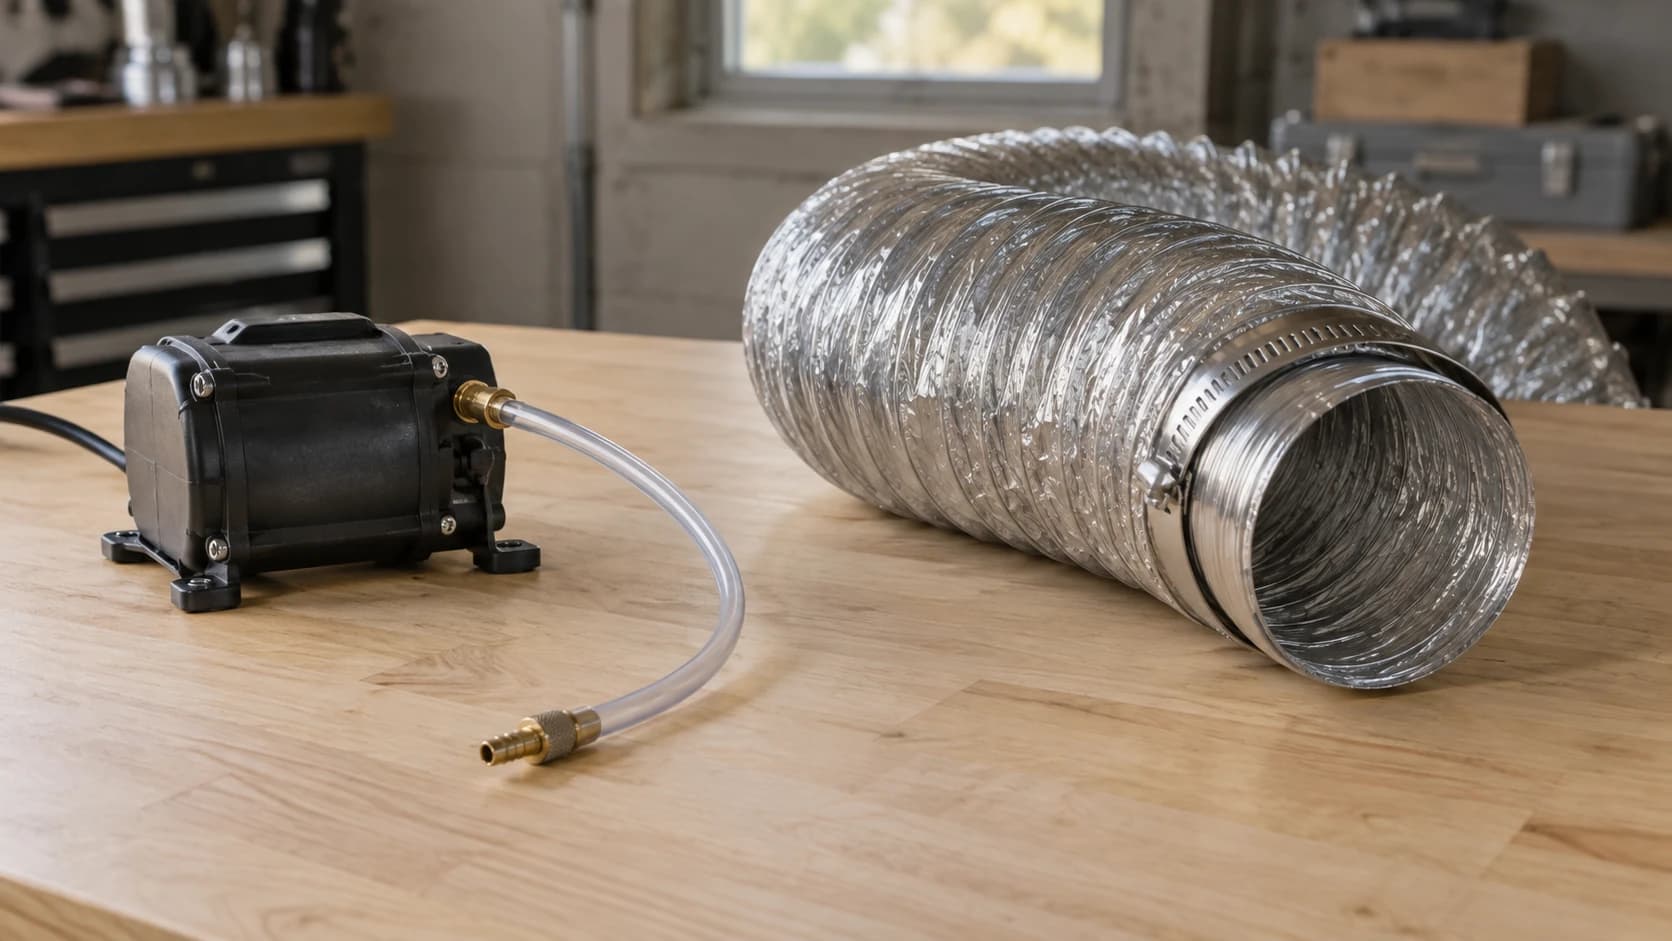
- Weak or missing air assist. Air blowing at the cut point clears smoke and debris and keeps the wood from flaring up. It's the single biggest upgrade for clean edges. Our air assist and fume extraction guide covers setup.
- Too many passes. Several slow passes heat the edge again and again. One pass that just cuts through is usually cleaner.
- The material itself. Plywood glue layers char darker than solid wood. Cheaper ply with more glue looks worse.
Tip
Check your focus before changing any settings. A beam that's slightly out of focus is wider and weaker, so you crank the power to compensate and burn the edges.
Problem 2: Smoke Stains on the Surface
That tan haze around the cut is smoke and resin settling back onto the wood. It's worse on light woods like birch and maple, because there's nothing to hide it.
Fixes, roughly in order of how much they help:
- Mask the surface. Painter's tape or paper transfer tape over the wood catches the smoke. Peel it after cutting and the surface underneath is clean.
- Improve exhaust. If smoke hangs in the machine, it lands on your work. Make sure the extraction pulls air across the bed and out.
- Use air assist to push smoke away from the cut instead of letting it drift across the surface.
- Cut before you engrave, or engrave first and mask the engraved area, depending on what you're making. Experiment on scrap to see which order stains less on your machine.
Warning
Some masking materials and tapes contain vinyl or other plastics that aren't laser-safe. Use masking sold for lasers or plain paper-based tape. Our laser safety guide lists materials to avoid.
Problem 3: Marks on the Back (Flashback)
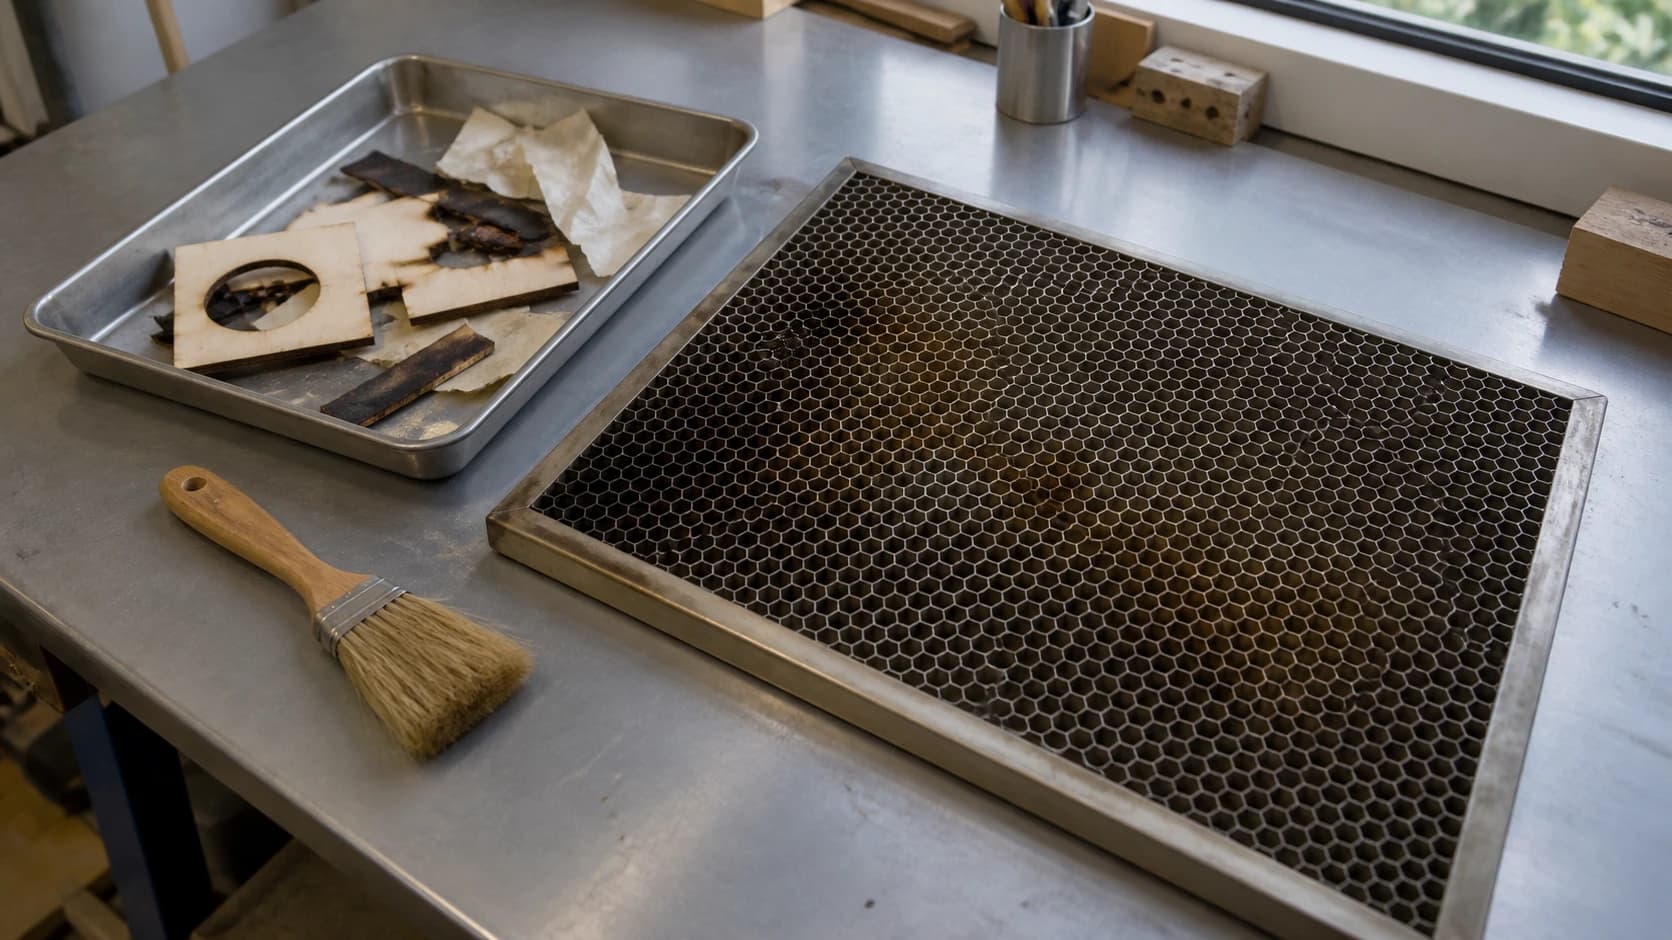
When the beam goes all the way through, it hits whatever is underneath. On a honeycomb bed, that energy and hot debris bounce back up and leave little scorch marks or lines on the underside of your piece.
To reduce it:
- Raise the work on pins or a slat bed so there's less surface right below the cut.
- Clean the honeycomb. A bed caked with resin and soot reflects and smolders more.
- Don't overpower cuts. Extra power that isn't needed to cut through just goes into the bed.
Cleaning Up What's Already There
For pieces that already came out brown:
- Light sanding removes surface smoke stains easily on most woods.
- A cloth with a little denatured alcohol lifts smoke residue without raising the grain much. Test on a scrap first.
- Edges can be lightly sanded too, though a little darkening there is part of the laser look and many buyers like it.
Our finishing guide covers sealing after cleanup, since a finish can lock in any residue you missed.
Still Stuck?
Every machine, material, and air setup is a bit different. If you've worked through the list and your cuts still come out toasted, describe your machine, material, and settings to Craft Chat, our AI maker assistant, and it'll help you narrow it down. Our laser engraving mistakes post covers more common problems.
Start with focus and air assist. Those two fix more brown cuts than every other trick combined.
Keep reading
Ready to try these tools?
Sign up free, no credit card required. Free tools available immediately.
Start Free