

Easy First 3D Prints for Total Beginners
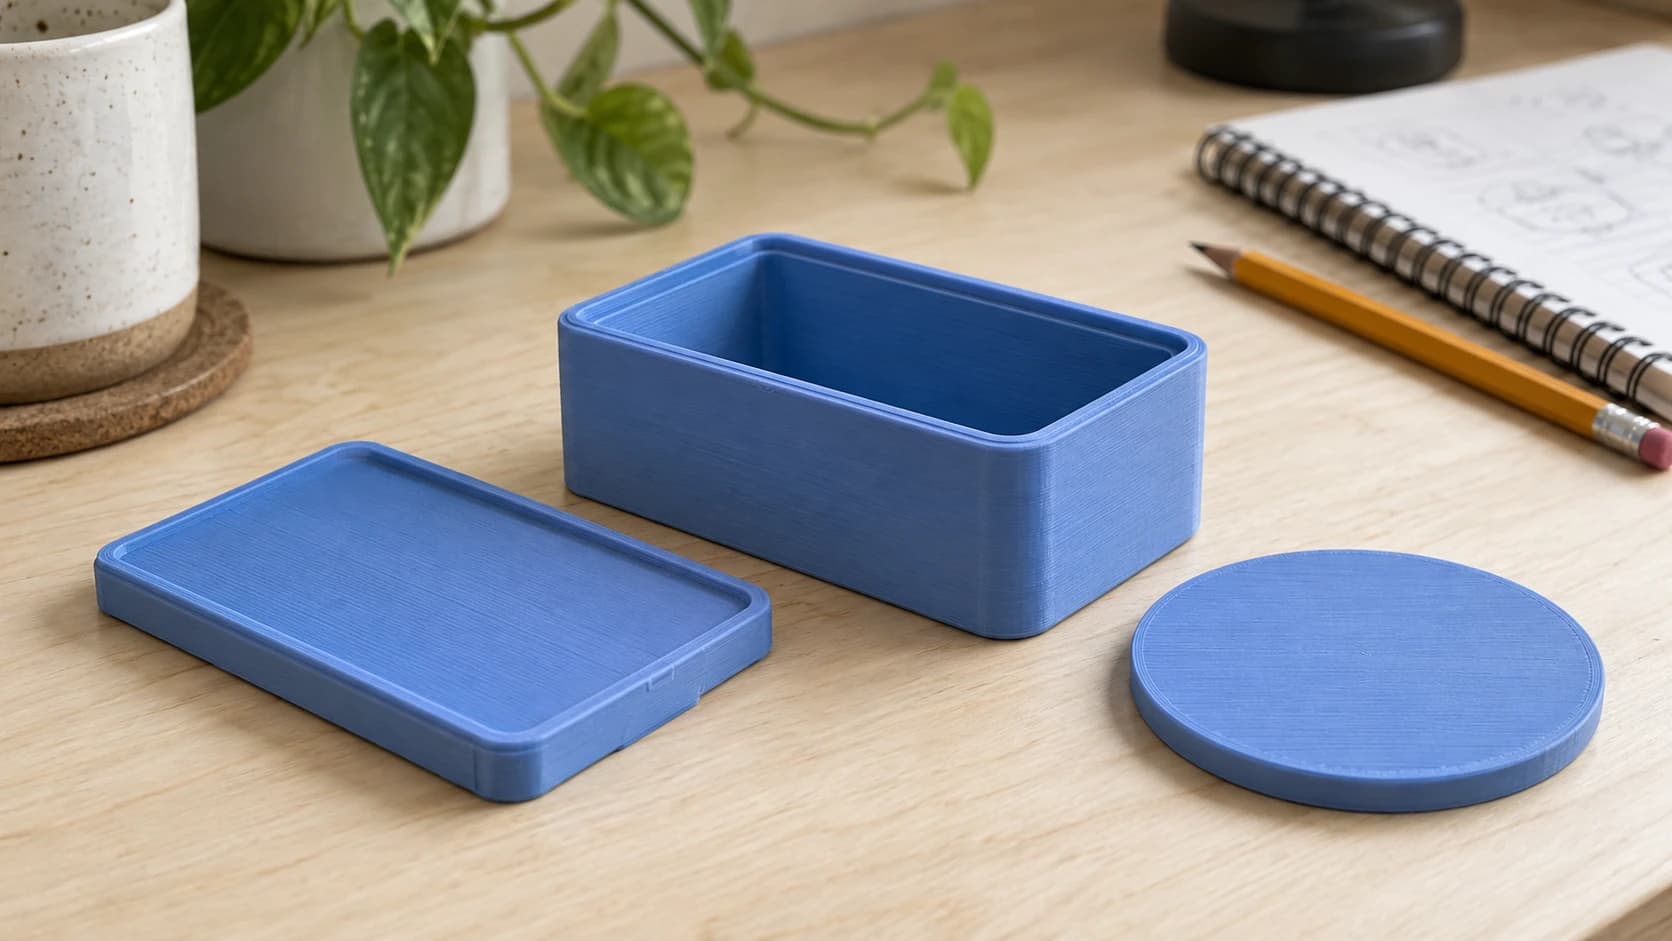
The printer is unboxed, the test print went fine, and now you are staring at a million downloadable models with no idea which ones will actually work. Pick wrong and you get a spaghetti nest at 2 a.m. Pick right and you get a two-hour win that makes you want to print something else immediately.
That second feeling is the whole game in your first month. Early failures are not just wasted filament. They are the thing that sends printers to the closet. So this list is not about the coolest models. It is about the prints that succeed on a machine you have not fully dialed in yet, and what each one quietly teaches you along the way.
One note before we start: if the printer itself is still in the box, read our 3D printing beginner's guide first. This post assumes the machine is assembled, leveled once, and loaded with filament.
What Makes a Print Beginner-Safe
Not all "easy" models are actually easy. A cute model can hide a support nightmare. Before downloading anything, check it against this list:
It prints flat on the bed. A model with one big flat face sits down, sticks, and stays put. Anything balancing on a small footprint is begging to get knocked loose halfway through.
It needs no supports. Supports are a skill of their own: where to place them, how to remove them, how to hide the scars. Skip all of it for now. Plenty of great models are designed to print support-free.
It finishes in under two hours. Long prints multiply risk. A ten-hour print that fails at hour nine hurts. A ninety-minute print that fails costs you a coffee break and a lesson.
It forgives a rough first layer. Your bed leveling is not perfect yet. A chunky, solid model shrugs off a slightly squished or slightly gappy first layer. A model with fine text or thin spires on the bottom face does not.
It uses PLA. PLA sticks easily, barely warps, and needs no enclosure. Every print in this post assumes PLA. Save the PETG and TPU experiments for month two, and see the filament guide when you get there.
| Green flags | Red flags |
|---|---|
| One large flat face | Tiny contact patch on the bed |
| No supports required | Overhangs steeper than 45 degrees |
| Under 2 hours | 6+ hour print time |
| Chunky, solid walls | Thin spires, fine bottom-face detail |
| PLA | ABS, ASA, flexibles |
PRINT. CUT. CARVE.



- Multiple formats (SVG, DXF, PNG)
- Machine-tested designs
- Commercial licenses
Sponsored by PrintCutCarve.com
Prints That Teach You the First Layer
The first layer decides everything. These prints are basically all first layer, so every flaw is visible and every improvement is obvious.
1. Bag clips. Flat, fast, and you can never have too many. Print three or four in one job. If one corner lifts or one clip looks rougher than the others, you just learned that part of your bed needs attention.
2. Cable clips. Same idea, smaller, with a functional payoff. Adhesive-back cable clips take twenty minutes each and instantly justify the printer to whoever shares your desk.
3. A flat coaster or drink mat. One big uninterrupted bottom face. This is the print that shows you exactly what your first layer looks like across a wide area: too close and you see ridges plowed into each line, too far and you see gaps between them. Adjust, reprint, compare. That loop is bed tuning.
Tip
Keep your first successful coaster and never throw it away. When prints start failing months from now, compare the new first layer against it. A known-good reference beats memory every time. If things do go sideways, the troubleshooting guide walks through the usual suspects.
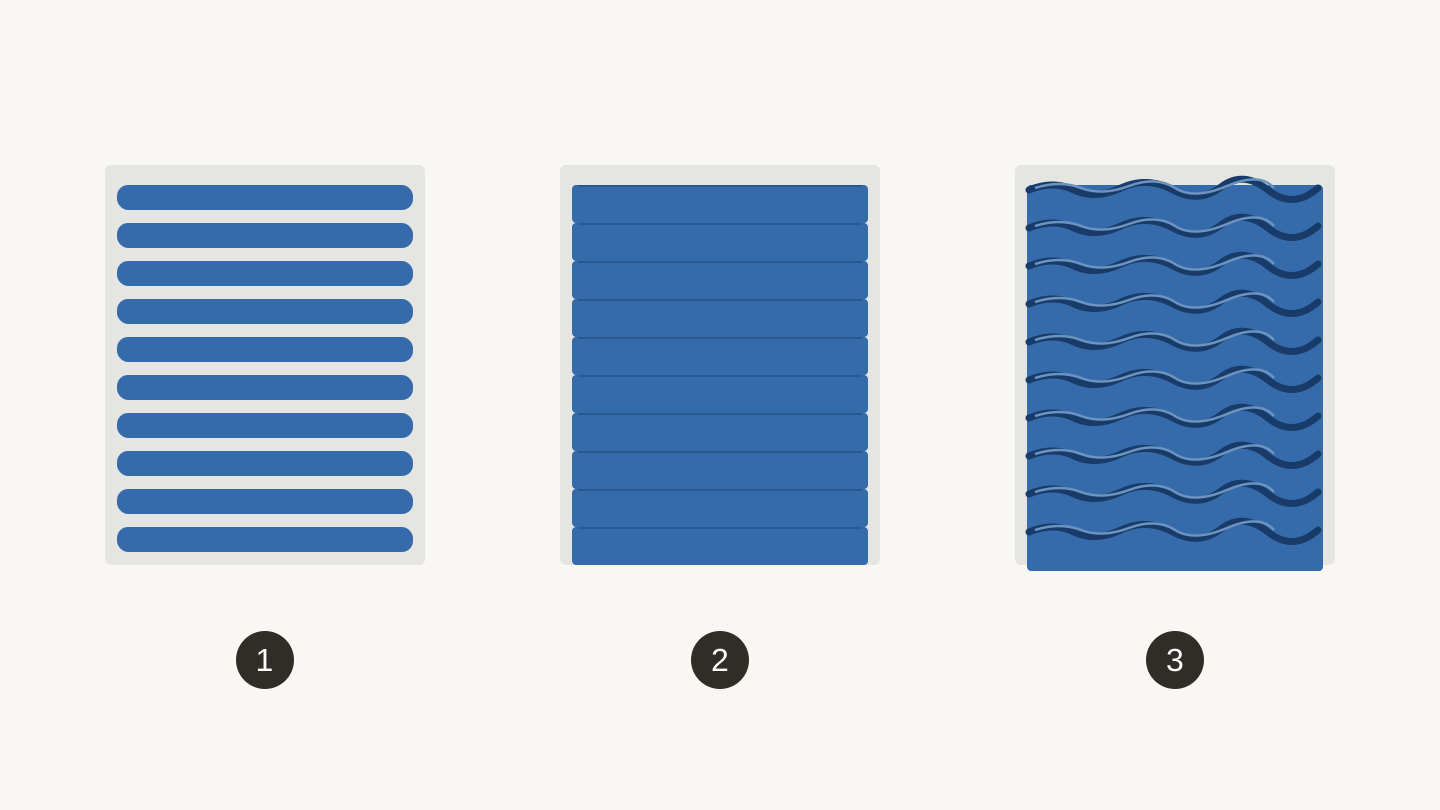
Inspect the underside of a simple coaster: 1, separated lines; 2, evenly touching lines; 3, squeezed lines and ridges. The diagram exaggerates the differences so they are easier to compare.
Prints That Teach You Tolerances
Printed parts are never exactly the size the model says. Every machine over-extrudes or under-extrudes a little, and these prints teach you your machine's personality.
4. A phone stand. The classic first "real" print, and for good reason: flat base, gentle angles, no supports, done in about an hour. Pick one with a charging cable slot and you also get a fit test. If the cable binds, your printer runs tight. Worth knowing.
5. A snap-lid box. Any small container with a lid that clicks shut. The lid either snaps satisfyingly or it doesn't, and that feedback tells you how much clearance your machine needs between mating parts. Most designers build in 0.2 to 0.4mm of clearance; now you find out where yours lands.
6. A print-in-place hinge. These come off the bed as one piece with a working joint already inside, no assembly. The first time you flex one feels like a magic trick. If the hinge is fused solid, your first layer is squishing too much, which is a genuinely useful diagnosis wrapped in a fun print.
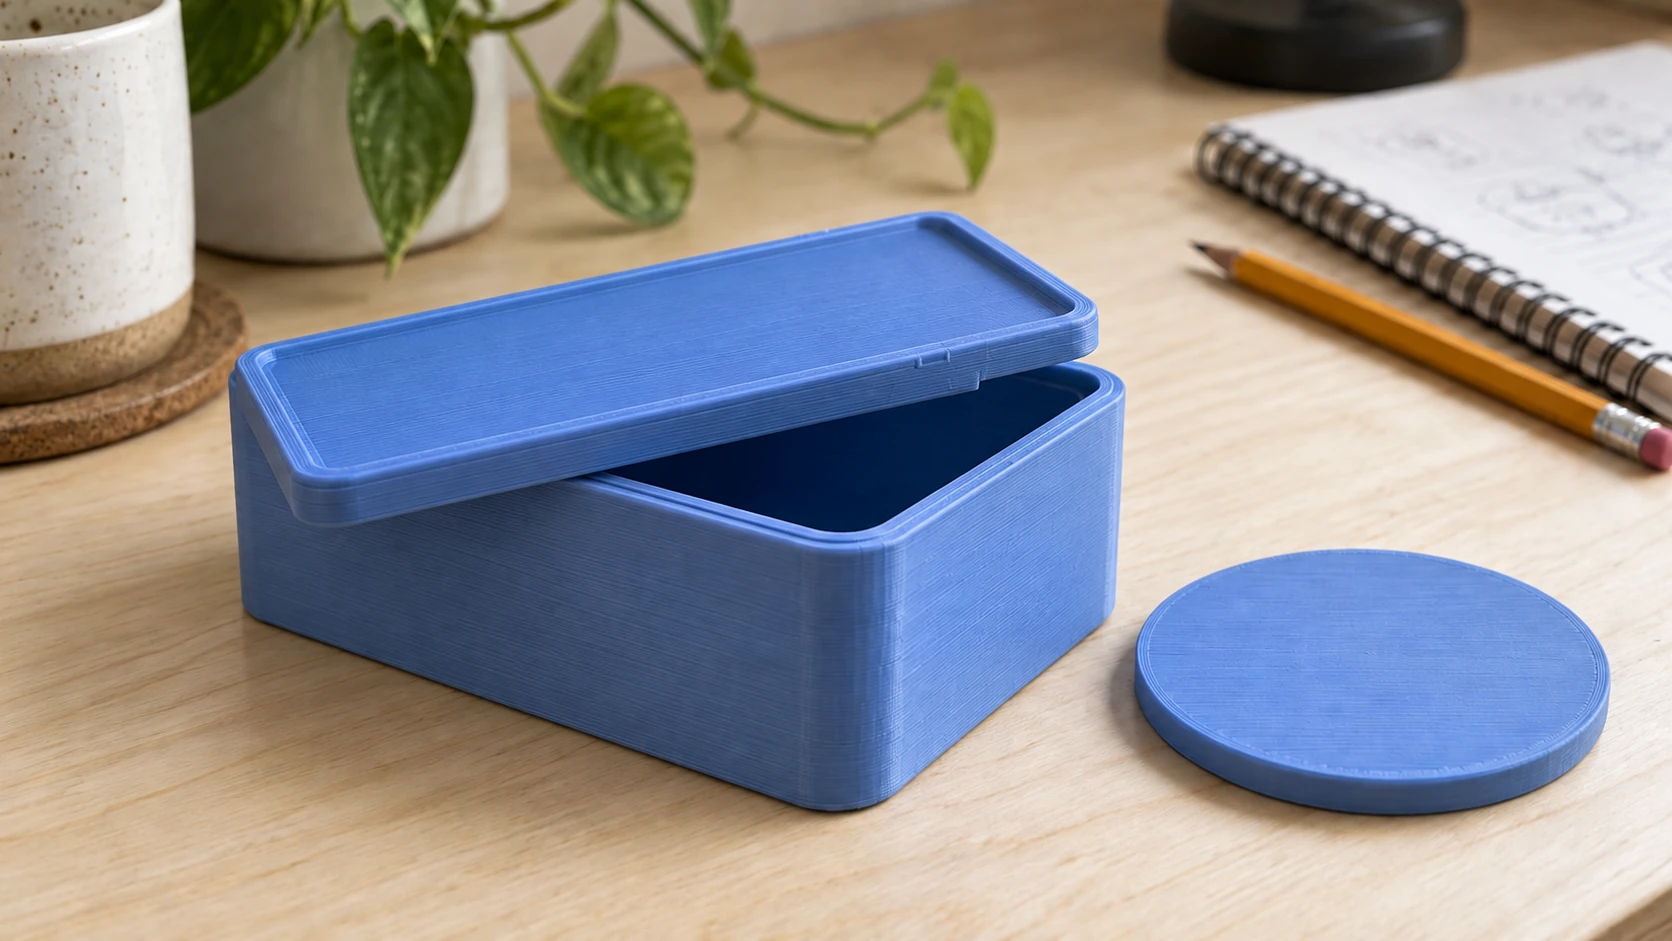
A small box turns clearance into something you can feel. Print a short test of the mating edges before committing to a larger container.
Prints That Teach You Overhangs
Every layer needs something under it to sit on. Up to about 45 degrees of lean, the previous layer provides enough. Past that, things droop. These prints let you explore the boundary safely.
7. The Benchy. The famous little tug boat that the entire community uses as a torture test. It packs overhangs, curves, bridging, and small details into a one-hour print. Yours will have flaws. Everyone's first Benchy has flaws. That is the point: it shows you what your machine struggles with so nothing surprises you later.
8. A headphone hook. A desk-edge or wall hook has one natural overhang: the curve of the hook itself. Well-designed ones sweep up at a printable angle instead of jutting straight out. Print one and look closely at the underside of the curve. That slightly rough surface is what a 45-degree overhang looks like on your machine.
9. A small planter with sloped walls. Vase-shaped prints with steadily leaning walls show you sustained overhang performance rather than one dramatic moment. Plus you end up with a planter, and succulents do not judge your layer lines.
10. A calibration cat. The other community staple. Sit it next to the Benchy on your shelf as proof of survival. Between the two, you will have seen most of the geometry problems a printer can face, in miniature, for pennies.
Prints That Teach You Multi-Part Assembly
The last beginner skill is realizing a "print" can be several prints that come together.
11. A desk organizer with a sliding drawer. Two separate prints, one object. The drawer either glides or grinds, which is your tolerance lesson applied at a larger scale. Bonus: it is genuinely useful, and if you catch the organizing bug, our useful things to 3D print roundup is thirty more ideas deep.
12. A two-part box with a twist or friction lid. Anything where two printed halves must mate. When a lid seats with a soft, confident thunk, you have officially tuned your printer well enough to make things that feel manufactured instead of homemade.
A Note on File Formats
Sooner or later a model arrives in the wrong format: an OBJ when your slicer wants STL, or a 3MF your older slicer refuses to open. No need to install anything. Craftgineer's File Converter converts between STL, OBJ, and 3MF without a tool-credit charge in the browser, no credits required. Upload, convert, download, slice. Downloading the converted file requires an active paid plan.
Info
3MF is the most modern of the three formats and can carry color and print settings along with the geometry, which matters for the multicolor work below. STL is the oldest and most universally supported. When in doubt, STL slices anywhere.
Your First Impressive Print
Somewhere around week three, downloading other people's models starts to feel like a warm-up. The natural next step is printing something personal, and two Craftgineer tools are built exactly for that jump.
A lithophane of a photo you love. ReliefMaker converts a photo into a height map, so the print looks like a plain white panel until light shines through it, and then the image appears. The fast local engine is free, and the higher-detail Gemini mode costs one credit. Lithophanes print flat on the bed with no supports, which means they are technically still a beginner-safe print. They just don't look like one.
Flat multicolor art from an image. MosaicFlow splits an image into color regions and outputs a 3MF with each color as its own piece, ready for filament swaps or a multicolor system. Uploads and previews do not charge credits. AI generation uses credits. Downloads require an active paid subscription or a current unlock for that design. A two-color version of a logo or a pet portrait is a very achievable fourth-week project.
When those feel comfortable, the impressive 3D prints list is full of projects that look far harder than they are.
Print Number One Is Waiting
Start with the bag clips. Seriously. Twenty minutes from now you can be holding a thing your printer made, and every print after that gets a little more ambitious: the coaster teaches your first layer, the phone stand proves you can make something useful, the Benchy shows you the machine's limits, and the sliding drawer proves you have tamed them.
Then grab a favorite photo, sign in to Craftgineer, and run it through ReliefMaker for a lithophane. The local engine is free, and it makes a better first gift than anything on a model site.
Happy printing.
Related Tools
File Converter
Convert supported combinations of vector, document, raster-image, and 3D-mesh formats.
Plan required for downloads
ReliefMaker
Create depth maps from images or AI generation and build relief meshes for carving or printing.
Downloads require a plan or a design unlock
MosaicFlow
Turn uploaded or AI-generated artwork into separate color regions for inlays, with optional 3D exports.
Downloads require a plan or a design unlock
Ready to try these tools?
Sign up free, no credit card required. Free tools available immediately.
Start Free