

Getting Started with Leathercraft: Tools, Leather, and Your First Three Projects
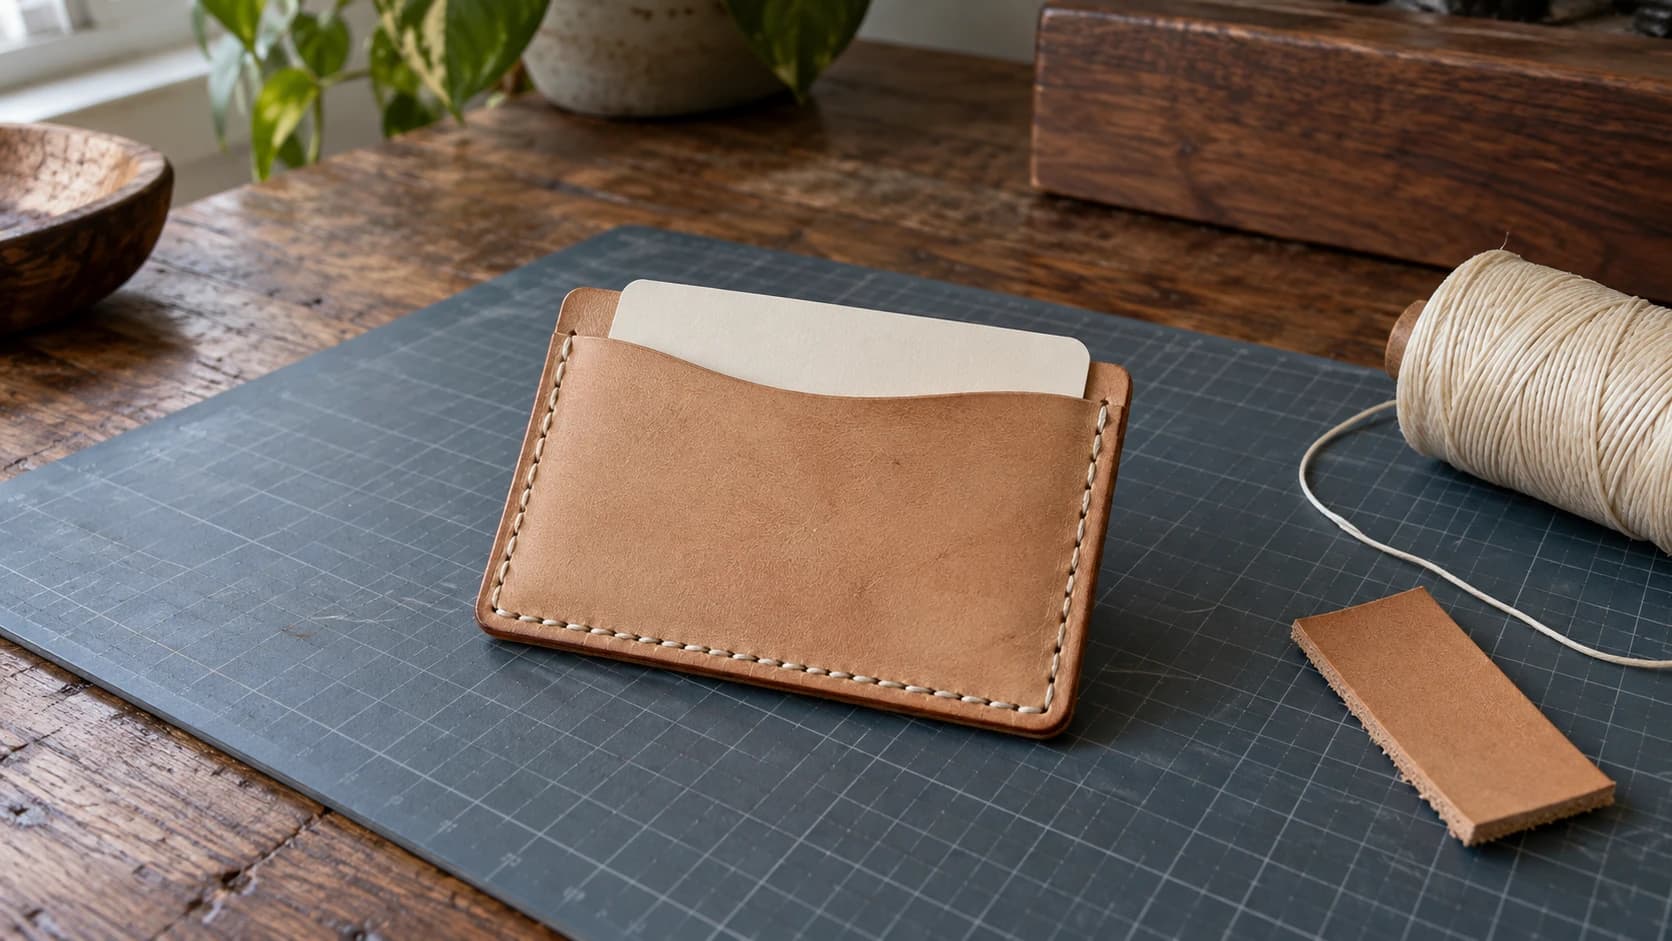
Here is how most people almost start leathercraft. They watch someone stitch a wallet in a satisfying ten-minute video, get genuinely excited, open a leather supplier's website, and find four hundred tools with names like "French skiver" and "pricking iron, 3.38mm, reverse". Then they close the tab and go back to watching videos.
The catalog is lying to you by volume. Hand leathercraft needs no machines, makes almost no noise, and the whole kit fits in a shoebox, which makes it about as apartment-friendly as a craft can get. You can build your first real project at a kitchen table with fewer tools than you own screwdrivers, and the skills stack in a forgiving order. It starts with the one leather decision that actually matters.
The One Leather Decision That Matters: Veg-Tan vs Chrome-Tan
Almost everything confusing about buying leather collapses into one question: how was it tanned? There are two main answers, and as a beginner you only want one of them.
Vegetable-tanned leather (veg-tan) is tanned slowly with plant tannins. It comes out of the tannery firm and light tan, ready to absorb whatever you do to it, and that is exactly why it is the beginner leather. It cuts cleanly, holds a crease, takes stamps and tooling, accepts dye evenly, and its edges burnish to that glassy finish that makes handmade goods look expensive. It also ages into a rich honey color, so even your clumsy first card holder gets better looking every month.
Chrome-tanned leather is tanned quickly with chromium salts. It is soft, floppy, comes pre-colored, and dominates the garment and upholstery world. It is great material in the right hands, but it shrugs off most beginner techniques: it burnishes poorly if at all, will not take tooling the way veg-tan does, usually comes pre-dyed and resists new dye, and its softness makes clean cutting and stitching harder, not easier.
| Veg-tan | Chrome-tan | |
|---|---|---|
| Feel | Firm, structured | Soft, floppy |
| Edges | Burnish to a glossy finish | Rarely burnish cleanly; usually painted or folded |
| Dyeing | Takes dye and stamps beautifully | Usually pre-colored, resists new dye |
| Ages | Darkens to a warm patina | Changes little over time |
| Beginner projects | Card holders, belts, wallets, key fobs | Bags and garments, later |
| Where you'll see it | Craft suppliers, tooling leather | Furniture, jackets, most fashion goods |
So the rule for your first year is simple: buy natural veg-tan and nothing else. Every tutorial you will follow assumes it, every technique below works on it, and one leather in one weight removes a whole layer of guesswork.
One safety note if you also own a laser: this tanning difference is not just about craft technique. Burning chrome-tanned leather can release hazardous chromium compounds, and no exhaust fan makes that safe, so laser work is strictly a veg-tan game with manufacturer-approved materials. If you want to combine engraving with hand stitching (a genuinely great combo), read our laser engraving leather guide before any hide goes near the machine.
PRINT. CUT. CARVE.



- Multiple formats (SVG, DXF, PNG)
- Machine-tested designs
- Commercial licenses
Sponsored by PrintCutCarve.com
The Honest Tool List (and the Catalog Trap)
Leathercraft has a catalog trap the same way woodworking does, except the tools are smaller so it feels cheaper to fall in. Stamp sets, swivel knives, strap cutters, skiving machines, forty styles of edge beveler. All real tools. None of them needed for your first five projects.
Here is what you actually need to cut and stitch leather by hand:
| Tool | What it does | Beginner notes |
|---|---|---|
| Utility or craft knife | All your cutting | A snap-blade utility knife is fine. Sharp beats fancy. |
| Stitching chisels | Punch the stitching holes before you sew | One 4-prong and one 2-prong (for curves) in the same size covers everything. |
| Harness needles | Blunt-tipped needles for saddle stitch | Sold in packs. You use two at once. |
| Waxed thread | Polyester or linen, pre-waxed | One neutral spool goes a long way. |
| Mallet | Drives the chisels | Poly or rawhide. Never a metal hammer, it destroys chisels. |
| Cutting mat | Protects table and blade | A self-healing mat, the bigger the better. |
| Steel ruler | Straight cuts and layout | You probably own one. |
That is the whole load-bearing kit. A few honorable mentions that earn their place quickly but can wait for project two or three: strong contact cement or leather glue (holds pieces for stitching), a wing divider (scratches a neat line for your stitch holes), an edge beveler and a wooden slicker for proper edge finishing, and a scrap of canvas, which burnishes edges surprisingly well while you decide if you care.
What you do not need yet: a swivel knife, any stamps, a strap cutter, a stitching pony, dye in six colors, or anything with "professional" in the name. Buy tools when a project refuses to happen without them. That rule alone will save you real money in your first year.
Tip
Stuck choosing between two chisel sizes, or wondering what thread weight matches 3mm chisels? Ask Craft Chat, Craftgineer's AI maker assistant. It is free with monthly message limits, and leather tool questions are exactly what it is for.
Your First Three Projects, in Order
The order matters more than the projects. Each one adds exactly one or two new skills on top of what the last one taught, so you are never fighting everything at once.
1. A Card Holder
The classic first project for good reason: it is small, uses scrap-sized pieces, and contains the entire core loop of leathercraft in miniature.
What it teaches:
- Cutting. Straight lines with a knife and ruler, and the discipline of two or three lighter passes instead of one deep forced cut.
- Saddle stitch. The traditional hand stitch behind saddles and fine leather goods since long before sewing machines: two needles on one thread, crossing through each hole from opposite sides. It is slower than a machine, and each stitch is locked independently, so one worn stitch does not unravel the seam.
- Edge finishing. Dampen the edge, rub it briskly with canvas or a slicker, and watch rough fuzz turn into a dark glossy line. This step is most of the difference between "handmade" and "homemade".
Expect your first one to take an afternoon and to be slightly wonky. That is the tuition. Your second one, made a week later, will be shockingly better.
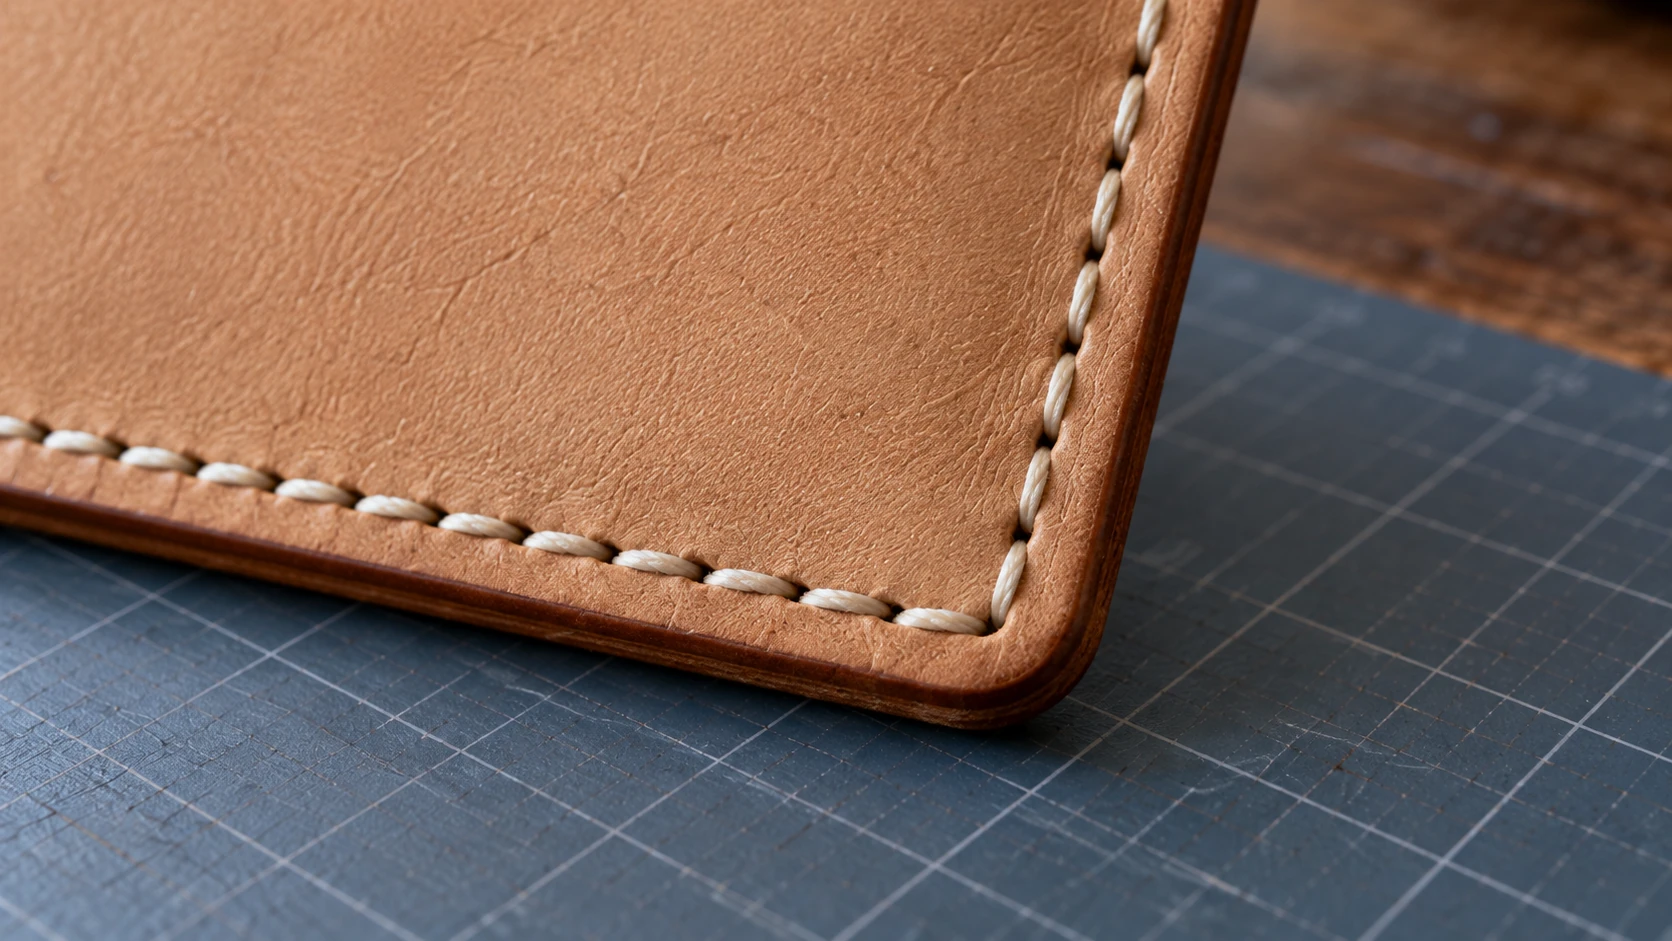
The same card holder at closer range shows aligned holes, a continuous stitch line and a finished edge. These small details have a large effect on the result.
2. A Keychain or Key Fob
After the card holder, a key fob feels like a victory lap, and that is the point. It is an hour of work that produces a finished, giftable object, and it introduces hardware: a rivet or a snap, set with the mallet you already own plus an inexpensive setter.
What it teaches: punching clean holes, setting rivets and snaps without mushrooming them, and working at small scale where every edge is visible. Fobs are also the perfect use for scraps, and because they are fast, they are the classic "make ten, give ten" project. If friends start asking to buy them, that is a real signal; our guide to things makers can sell covers where small leather goods fit in a maker business.
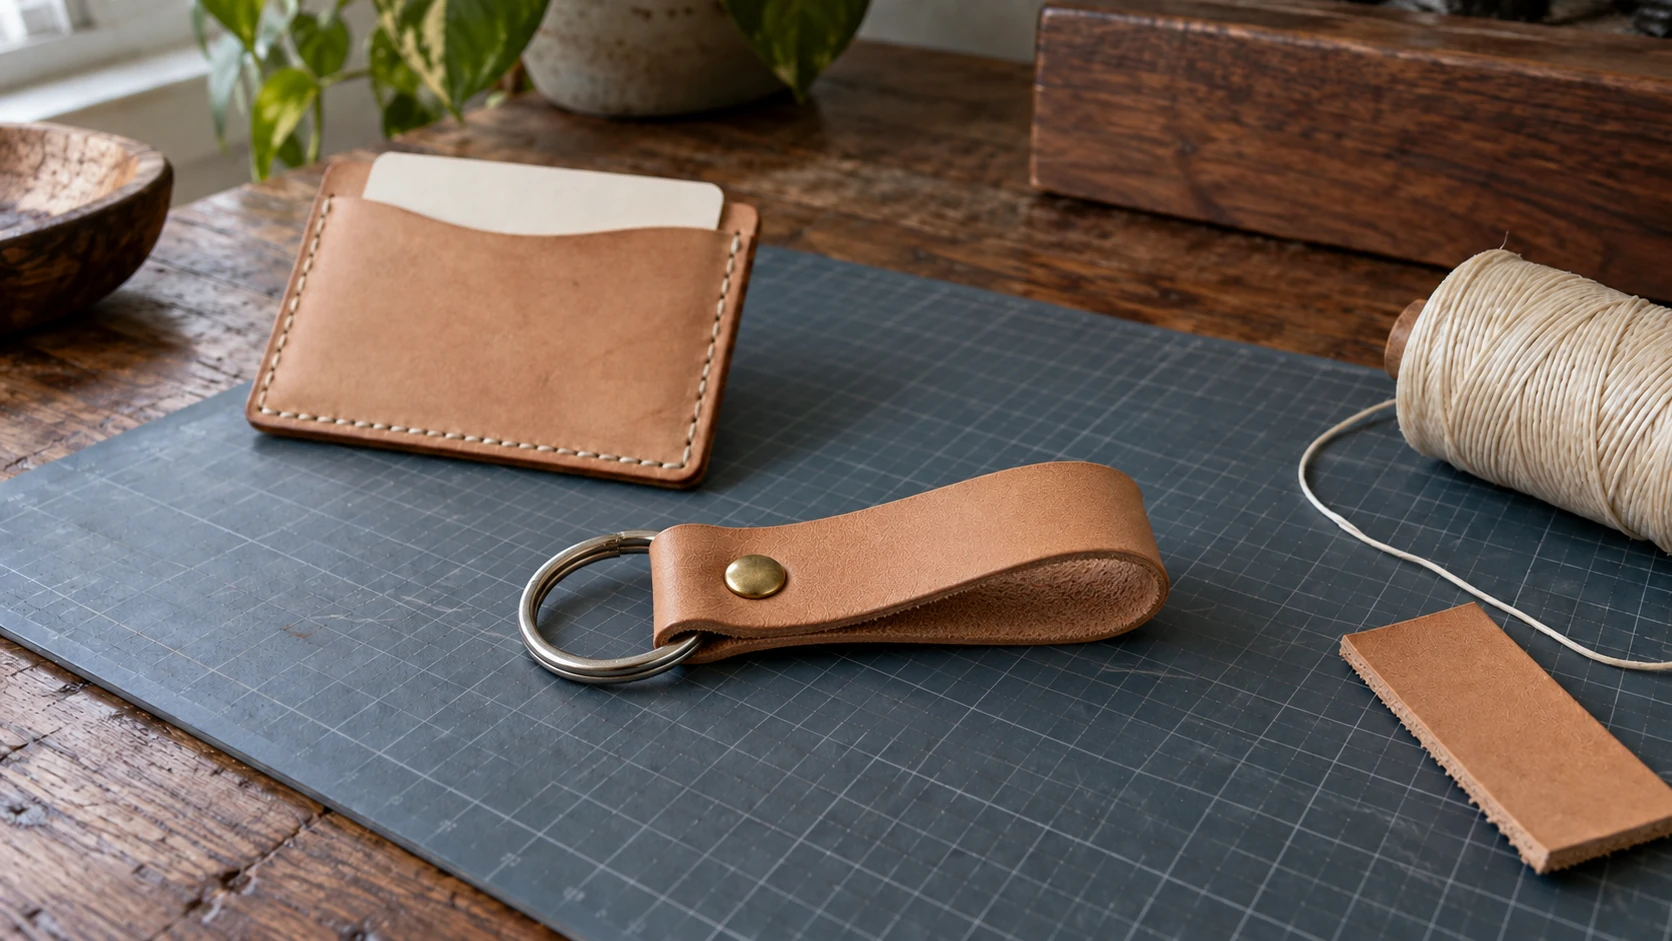
A matching key fob uses the same leather and workspace. The folded strip captures the ring, and the rivet secures the overlapping ends.
3. A Belt, or a Simple Wallet
Now pick based on personality. A belt is the patience project: one long strap, two rivets or a few stitches at the buckle, and almost no assembly. What it really teaches is consistency: keeping a cut, an edge, and a dye job even across three feet of leather instead of three inches. It is also the natural place to try dyeing basics on veg-tan: dye in light coats, buff hard after it dries, and seal it, testing on scrap first because dye always dries darker than it looks going on.
A simple wallet (two or three pockets, one fold) is the assembly project. It teaches gluing before stitching, keeping multiple pieces aligned, and stitching through three or four layers at the corners. It is a card holder with consequences.
Finish all three and you have cutting, saddle stitch, edge finishing, hardware, dyeing, and multi-piece assembly. That is genuinely most of the craft. Everything after is refinement and ambition.
Where to Buy Leather Without Getting Burned
Leather buying trips up beginners more than any tool question, because hides are sold in odd units and the word "genuine leather" means almost nothing. Three rules cover it.
Buy shoulders and panels, not sides. A side (half a cow) is the economical choice for someone with a product line, not for someone making their second card holder. Suppliers sell veg-tan shoulders and pre-cut panels in sizes around a square foot or two, which is plenty for every project above. Many also sell scrap bags by the pound, which are the cheapest possible way to practice cutting and stitching before touching your good leather.
Learn the weight system. Leather thickness is sold in ounces, where one ounce is roughly 0.4mm of thickness. Good starting ranges for the projects above: card holders and wallets in light 2 to 4 oz, fobs in the middle at 4 to 6 oz, and belts in stout 8 to 10 oz. Buying one weight for one project beats guessing at a bundle.
Ask two questions before paying: how was it tanned, and what grade is it? A reputable supplier answers both without blinking. "Veg-tan, full grain or top grain" is what you want to hear. Vague answers, mystery "genuine leather" bundles, and craft-store grab bags with no tannage listed are how beginners end up with chrome-tan that refuses every technique in this guide.
Info
Supplier listing full of jargon like "5/6 oz natural veg-tan double shoulder, B grade"? Paste it into Craft Chat and ask whether it suits your project. Decoding supplier-speak is a lot cheaper than ordering the wrong hide.
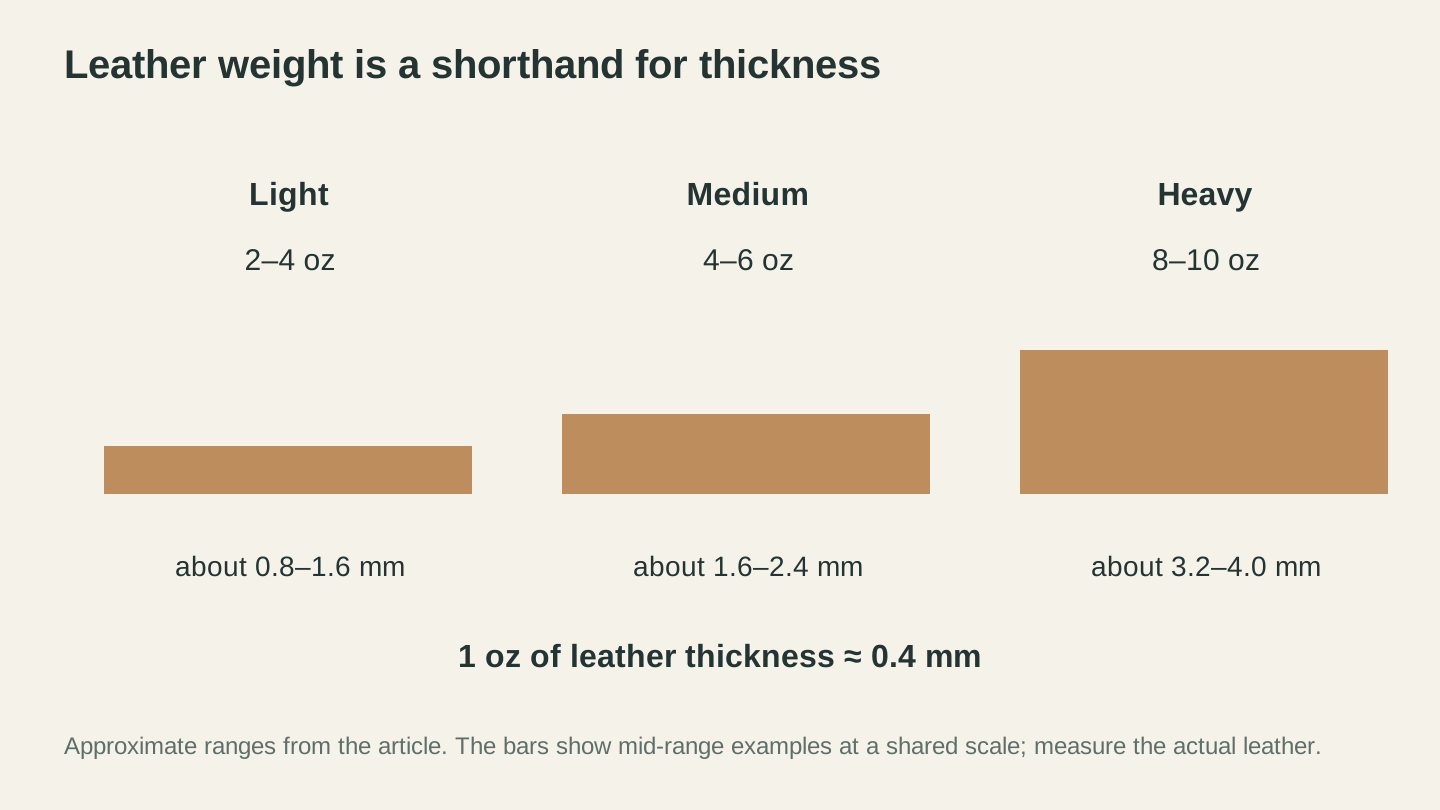
Leather ounces describe thickness, not the total weight of the piece. One ounce is approximately 0.4 mm; measure your stock when fit matters.
What It Actually Costs
Rough US-dollar numbers before shipping, because prices vary plenty by region and supplier, but honest ones:
| Item | Rough cost |
|---|---|
| Starter tools (knife, chisels, needles, thread, mallet, mat) | $50 to $100 |
| Veg-tan panel or small shoulder | $25 to $60 |
| Scrap bag for practice | $10 to $20 |
| Hardware (rivets, snaps, buckle, setters) | $15 to $30 |
| Realistic all-in start | Around $100 to $200 |
Time runs about like this: a first card holder takes an afternoon, a key fob about an hour once you have stitched anything at all, and a belt or simple wallet a relaxed weekend. Within a month of casual evenings you can be making things people assume you bought.
Space is the hidden bargain. The whole kit lives in a shoebox and the "workshop" is any table with a cutting mat on it. If you are setting up a corner for it anyway, our maker workshop setup guide covers lighting and work surfaces that make detail work like stitching far less squint-inducing.
Frequently Asked Questions
Do I need a sewing machine for leather?
No, and for small goods you do not want one. Hand saddle stitch locks every stitch independently, so a damaged thread does not run down the seam the way one continuous machine thread can. Machines earn their keep at bag-making volume, not at wallet number three.
Should I start with a kit or buy tools separately?
A pre-punched starter kit (leather cut and holes punched, you just stitch) is a fine way to learn saddle stitch on night one. Just know that kits skip cutting and hole punching, which are half the craft, so treat one as lesson zero rather than the path.
Can I combine leathercraft with a laser engraver?
Yes, and engraved veg-tan with hand-stitched edges is a genuinely premium combination. But tanning chemistry is a safety issue under a laser: chrome-tan releases hazardous fumes and stays off the machine entirely. Read the laser engraving leather guide first.
Start With One Panel and One Afternoon
Leathercraft rewards starting small in a way few crafts do. One panel of veg-tan, a shoebox of tools, and an afternoon gets you a card holder you will actually carry, and every project after that borrows skills from the last one.
When you hit the inevitable mid-project question (why is my thread fraying, which dye works on veg-tan, what oz for a watch strap), ask Craft Chat. It is Craftgineer's free AI assistant for maker questions, with monthly message limits on the free tier, and it is a lot faster than digging through forum threads with leather-conditioner on your hands.
Ready to try these tools?
Sign up free, no credit card required. Free tools available immediately.
Start Free